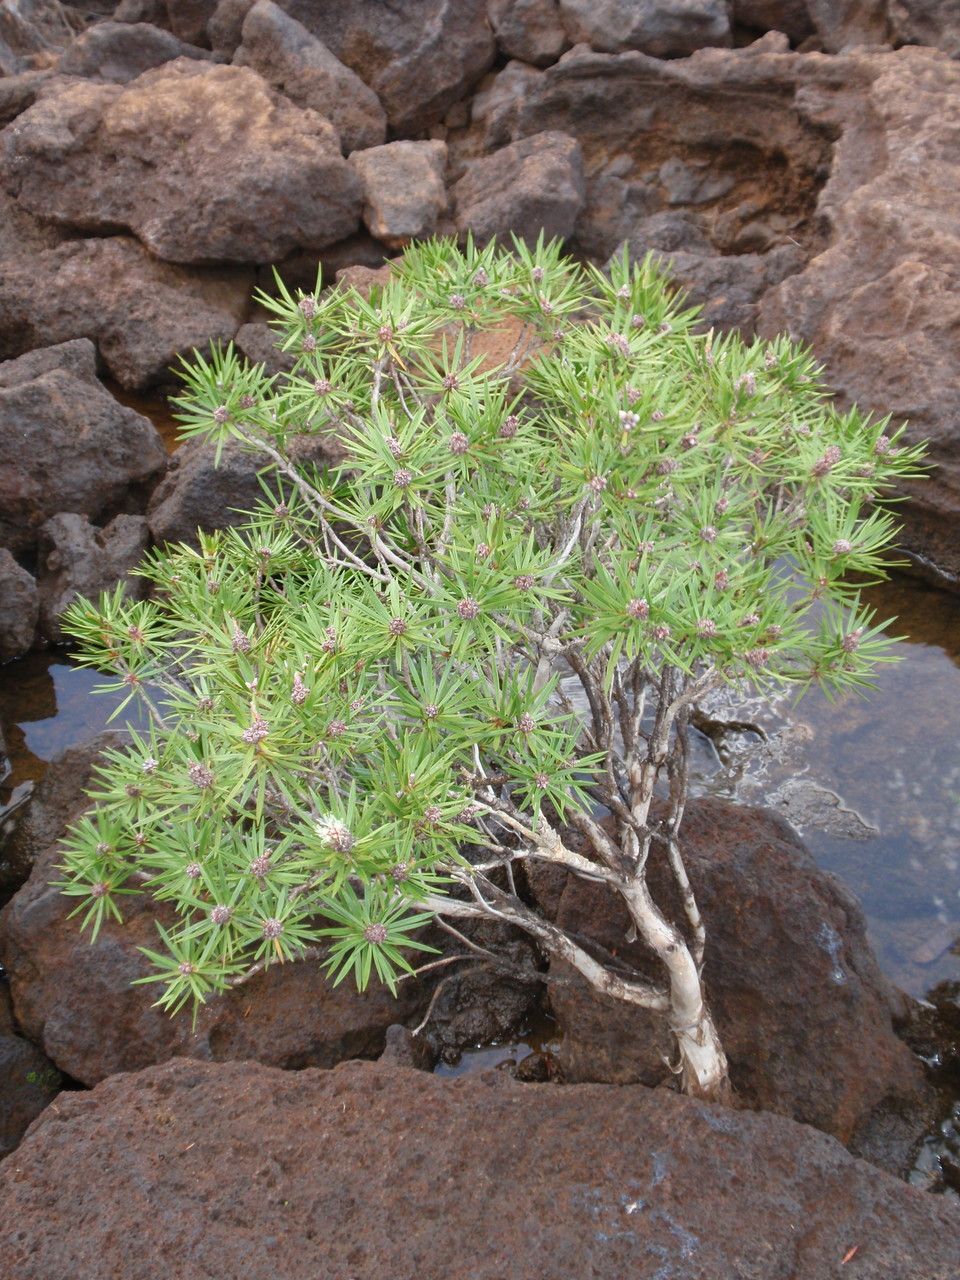
Hello there, fellow garden enthusiasts! I’m so thrilled you’re interested in Melaleuca brongniartii, or as I affectionately call it, the “Lemon-Scented Paperbark.” Its delicate, fluffy white flowers and the absolutely divine citrusy aroma it releases, especially after rain, make it a real showstopper. Plus, I’ll let you in on a little secret: propagating this beauty is surprisingly accessible, even for those just starting their gardening journey! It’s a wonderful way to fill your garden with more of that lovely scent or to share these delightful plants with friends.
The Best Time to Start
For the best chance of success, I always recommend taking cuttings from your Melaleuca brongniartii during the late spring or early summer. This is when the plant is actively growing, and the new, semi-hardwood growth has the energy and vigor to root quickly. Avoid taking cuttings from very soft, floppy new growth or old, woody stems. You’re looking for that “bendable but not breakable” stage.
Supplies You’ll Need
Gathering your supplies beforehand makes the whole process so much smoother. Here’s what I always have on hand:
- Sharp, clean pruning shears or a sharp knife: For making clean cuts.
- Rooting hormone (powder or gel): This really gives your cuttings a boost.
- A well-draining potting mix: I like a blend of perlite, coarse sand, and a good quality seed-starting mix (about a 1:1:1 ratio). You want something that won’t hold too much moisture.
- Small pots or trays: Clean containers are a must to prevent disease. Look for ones with drainage holes.
- Plastic bags or a propagator lid: To create a humid environment.
- Watering can with a fine rose or a spray bottle: For gentle watering.
- Labels or plant tags: To keep track of what you’ve planted!
Propagation Methods
Melaleuca brongniartii is wonderfully responsive to stem cuttings. This is my go-to method because it’s straightforward and yields great results.
- Select Your Cuttings: Choose healthy stems that are about 4-6 inches long. Pinch off any lower leaves, leaving just a few at the very top.
- Prepare the Cuttings: Using your clean shears, make a clean cut just below a leaf node (the point where a leaf attaches to the stem). This is where rooting is most active. You can gently wound the bottom inch of the stem if you like, but it’s not always necessary with this plant.
- Apply Rooting Hormone: Dip the cut end of your stem into rooting hormone, tapping off any excess.
- Plant Your Cuttings: Fill your small pots with your prepared potting mix. Make a pencil-sized hole in the center and carefully insert the cutting, ensuring the hormone-coated end is covered. Gently firm the soil around the stem.
- Water and Cover: Water your cuttings gently but thoroughly. Then, cover the pots with a plastic bag or place them in a propagator lid to maintain high humidity. You want to create a mini greenhouse effect. Keep them out of direct, harsh sunlight at this stage – bright, indirect light is perfect.
The “Secret Sauce” (Pro Tips)
Over the years, I’ve picked up a few tricks that make a real difference:
- Hygiene is King: Always use sterilized tools and clean pots. This plant can be susceptible to fungal issues when stressed, so the cleaner you are, the happier your cuttings will be.
- Bottom Heat is Your Friend: If you have space, placing your pots on a heated propagation mat can significantly speed up rooting. The warmth mimics spring soil temperatures and encourages root development from below.
- Watch for Wilting: If your cuttings start to look a bit droopy, don’t panic! It often means the humidity inside the bag has dropped a bit. Gently mist them with water and ensure the bag is sealed well again.
Aftercare & Troubleshooting
Once your cuttings have developed a good root system – you’ll often see roots poking out of the drainage holes or feel some resistance when you gently tug on the stem – it’s time to move them into slightly larger pots. Continue to keep them in bright, indirect light and maintain consistent moisture in the soil, but avoid waterlogging. Gradually acclimatize them to lower humidity by opening the bag or propagator lid for longer periods over a week or two.
The most common issue you might encounter is rot, usually caused by too much moisture and poor drainage. If you see a cutting turn black and mushy, sadly, it’s best to discard it and clean everything thoroughly before trying again. Another sign of failure is if the stem simply shrivels and dies. This could be due to lack of humidity, poor rooting hormone application, or taking the cutting at the wrong time.
A Little Patience Goes a Long Way
Propagating plants is a journey, and like any good journey, it requires a little patience. Don’t get discouraged if your first few attempts aren’t perfect. Keep practicing, keep observing your plants, and most importantly, enjoy the process of bringing new life into your garden. Happy propagating!
Resource:
https://identify.plantnet.org/k-world-flora/species/Melaleuca%20brongniartii%20Däniker/data