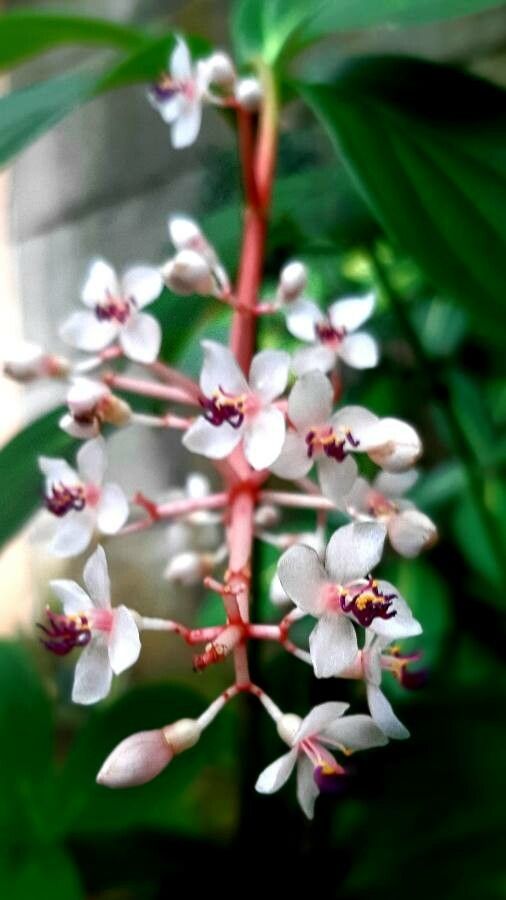
Oh, hello there! Grab your mug, and let’s chat about a truly gorgeous plant: Medinilla formosana. I’ve had the pleasure of coaxing so many new life from these beauties over the years, and honestly, it’s such a thrill to watch a tiny piece of a plant transform into a whole new specimen. Medinilla formosana is famed for its stunning, cascading pink flower clusters – a real showstopper! Propagating them is a delightful way to expand your collection or share the magic with fellow plant lovers. Now, are they a breeze for absolute beginners? I’d say they’re more of a “patient beginner” project. They aren’t the most difficult, but they do appreciate a bit of care and the right conditions.
The Best Time to Start
For the highest success rate with propagating Medinilla formosana, the spring and early summer are your golden window. This is when the plant is actively growing and has plenty of energy to put into rooting. Look for healthy, mature stems that aren’t actively flowering. You want vigorous growth, not something that looks stressed.
Supplies You’ll Need
To get your propagation station set up, here’s what I like to have on hand:
- Sharp, clean pruning shears or a hobby knife: This is crucial for making clean cuts.
- Perlite or coarse sand: Essential for improving drainage and aeration in your mix.
- Seed-starting mix or a well-draining potting mix: I often use a blend of half peat moss and half perlite.
- Rooting hormone (optional, but recommended): This can give your cuttings a nice boost. Look for one with indole-3-butyric acid (IBA).
- Small pots or propagation trays: Clean pots are a must to prevent disease.
- Clear plastic bags or a propagator: To create a humid microclimate for your cuttings.
- Watering can with a fine rose: For gentle watering.
Propagation Methods
The most reliable way I’ve found to propagate Medinilla formosana is through stem cuttings.
- Select Your Cuttings: Choose healthy, non-flowering stems from your mature plant. Aim for cuttings that are about 4-6 inches long. Make a clean cut just below a leaf node. A node is where a leaf attaches to the stem; this is where roots will most likely form.
- Prepare the Cuttings: Gently remove the lower leaves from the cutting, leaving just a few at the top. This prevents them from rotting in the propagation medium. If the leaves are very large, you can even cut them in half to reduce water loss.
- Apply Rooting Hormone (if using): Dip the cut end of the stem into your rooting hormone, tapping off any excess.
- Plant Your Cuttings: Fill your small pots or trays with your prepared, moistened potting mix. Make a small hole with your finger or a pencil. Insert the cut end of the stem into the hole, ensuring the nodes that were underground are covered. Gently firm the soil around the cutting.
- Create a Humid Environment: Water the soil lightly. Then, cover the pots with clear plastic bags or place them in a propagator. This humidity is key to keeping the cuttings from drying out while they establish roots. I like to prop up the plastic bag with small stakes so it doesn’t touch the leaves.
- Provide Warmth: Place your cuttings in a warm spot with bright, indirect light. Avoid direct sunlight, which can scorch the delicate cuttings.
The “Secret Sauce”
Here are a couple of tricks I’ve learned over the years that really make a difference:
- Bottom Heat is Your Friend: If you can, place your pots on a heat mat designed for seedlings. This gentle warmth encourages root development from below and significantly speeds up the process. It’s like a cozy incubator for your cuttings!
- Don’t Drench, Just Dampen: When watering, you want the soil to be consistently moist, but never waterlogged. Soggy conditions are a fast track to rot. I often check the moisture by gently pressing the soil; if it feels cool and gives way slightly, it’s probably good. If water pools on the surface, you’ve gone too far.
Aftercare & Troubleshooting
Once your cuttings have been in their humid environment for several weeks, you can start checking for roots. Gently tug on a cutting. If you feel resistance, it means roots have formed! At this point, you can gradually acclimate them to normal humidity by opening the plastic bag a little more each day over a week or two. Once they are robust enough, you can transplant them into their own individual pots.
Keep them consistently watered and in bright, indirect light. Common issues include rot, which usually appears as a mushy, black stem at the soil line. This is almost always due to overwatering or poor drainage. If you see this, unfortunately, that cutting is likely lost. Another sign is wilting that doesn’t perk up after watering; this can indicate that the roots haven’t formed, or potentially that the cutting is too dry.
A Encouraging Closing
Propagating plants is a journey, and sometimes a slow one, but the rewards are so worth it. Be patient with your Medinilla formosana cuttings. Watch them, nurture them, and celebrate every tiny sign of progress. Before you know it, you’ll have new plants to admire and share. Happy propagating!
Resource:
https://identify.plantnet.org/k-world-flora/species/Medinilla%20formosana%20Hayata/data