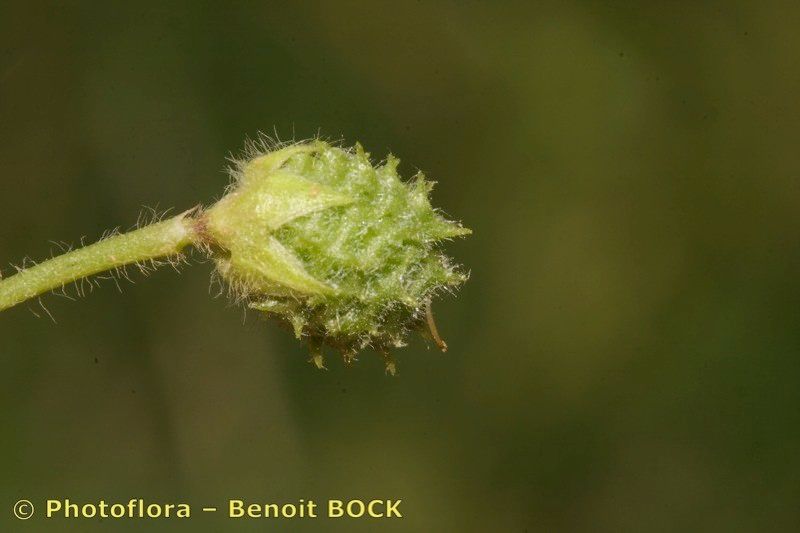
Hey there, fellow plant lovers! Gather ’round for a little chat about a plant that’s been capturing my heart for years: Medicago rigidula. You might know it by its common names, like the Rigid Medick or prickly alfalfa, but whatever you call it, it’s a gem. It offers these lovely, almost architectural little green structures and sometimes even pretty, tiny flowers. The real joy, though, is in creating more of them yourself. It’s incredibly satisfying to watch a tiny cutting transform into a thriving plant. And for you beginners out there, I think you’ll find Medicago rigidula to be quite forgiving.
The Best Time to Start
For the absolute best chance of success, I always lean towards the late spring or early summer. This is when the plant is actively growing and has plenty of energy. Think of it as the plant’s prime time, full of vigor. You can sometimes get away with it in the fall, but the growth will be slower, and the success rate drops a bit.
Supplies You’ll Need
Here’s what I usually grab before I get my hands dirty:
- Sharp pruning shears or a clean, sharp knife: For making clean cuts.
- Seed starting mix or a well-draining potting mix: Something light and airy is key. I often mix in a bit of perlite.
- Small pots or trays: terracotta pots are nice if you’re doing a few, but plastic works just fine.
- Watering can with a fine rose attachment: You want a gentle shower, not a deluge.
- Rooting hormone (optional but helpful): A little boost never hurt anyone!
- Plastic bag or propagator: To create a humid environment.
- Labels and a pen: Trust me, you’ll thank me later for keeping track!
Propagation Methods
Medicago rigidula is pretty adaptable, but I find two methods work wonders: stem cuttings and division.
Stem Cuttings: My Go-To Method
- Select your stems: Look for healthy, non-flowering stems that are about 4-6 inches long. They should have at least a few sets of leaves. Gently bend a stem – if it snaps easily, it’s probably ready.
- Make the cut: Using your clean shears or knife, make a clean cut just below a leaf node. This is where new roots love to form.
- Prep the cutting: Carefully remove the lower leaves, leaving at least two at the top. This prevents them from rotting in the soil.
- Dip in rooting hormone (if using): Lightly dip the cut end into your rooting hormone. Tap off any excess.
- Plant it up: Fill your small pots with your prepared mix. Make a little hole in the center and insert the cutting, ensuring the leaf nodes you removed are below the soil surface. Gently firm the soil around it.
- Water and cover: Water gently and then cover the pot with a plastic bag or place it in a propagator. This creates that crucial humid environment.
Division: For Bigger, Established Plants
If you have a mature Medicago rigidula that’s looking a bit crowded or you just want more, division is your friend.
- Gently unpot: Carefully remove the entire plant from its pot or dig it up from the garden.
- Inspect the root ball: Gently tease apart the soil to expose the roots and stems.
- Divide: You’re looking to separate sections of the plant, each with its own healthy roots and at least one or two stems. You can often do this with your hands, or if it’s a bit tougher, use a clean knife to make the cut.
- Pot up: Replant each division into its own pot with fresh, well-draining soil. Water them in well.
The “Secret Sauce” (Pro Tips)
Here are a couple of things I’ve learned over the years that make a big difference:
- Humidity is king: That plastic bag or propagator trick? It’s not just for show. Medicago rigidula cuttings need high humidity to prevent them from drying out before they can grow roots. Think of it like a mini-greenhouse.
- Bottom heat rocks: If you have a heating mat that you use for seed starting, it’s fantastic for cuttings too. A little gentle warmth from below encourages root development and speeds things up considerably. Don’t overdo it; just a consistent, mild warmth is perfect.
Aftercare & Troubleshooting
Once your cuttings have rooted (you’ll usually see new growth within a few weeks, and you can gently tug on them to feel resistance), it’s time for a little tender loving care.
- Acclimate slowly: Gradually start removing the plastic bag for longer periods each day to let them get used to drier air.
- Watering: Water when the top inch of soil feels dry. Avoid letting them sit in soggy soil, as that’s a fast track to root rot. You’ll see signs of this by yellowing leaves and a general wilting, even if the soil is moist.
- Light: Once they’ve established a bit, move them to a bright spot with indirect sunlight. Too much direct sun too soon can scorch delicate new growth.
A Little Patience Goes a Long Way
Growing plants from cuttings or divisions is such a rewarding journey. It teaches you patience and observation. Don’t get discouraged if a cutting doesn’t make it – it happens to all of us! Just keep trying, learn from each experience, and enjoy the process of bringing new life into your garden. Happy propagating!
Resource:
https://identify.plantnet.org/k-world-flora/species/Medicago%20rigidula%20(L.)%20All./data