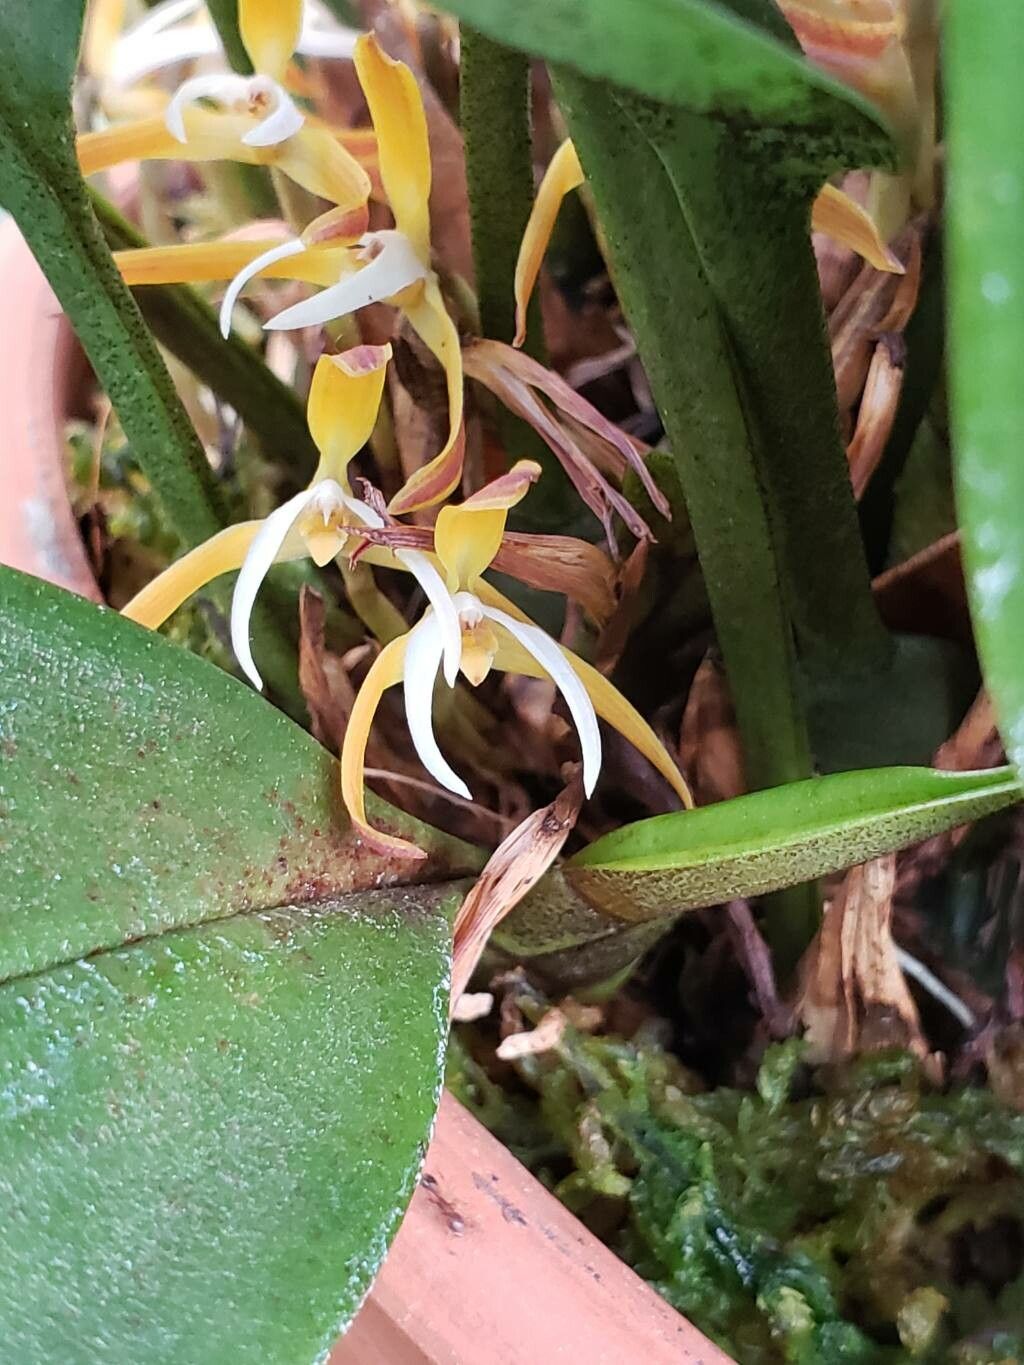
Well hello there, fellow plant enthusiast! It’s so lovely to have you join me today. We’re going to talk about a truly special orchid, Maxillaria hennisiana. If you’ve ever seen one of these beauties in bloom, you know the delight they bring. Their unique, dainty flowers often have a wonderful fragrance, and their compact growth habit makes them perfect for any collection. Propagating them is such a rewarding journey, like watching a little bit of magic unfold right before your eyes. Now, I won’t sugarcoat it entirely – orchids can sometimes feel a little intimidating, but with Maxillaria hennisiana, I find it’s quite manageable, even for those just dipping their toes into orchid propagation.
The Best Time to Start
For Maxillaria hennisiana, the absolute sweet spot for propagation is during its active growth phase. This usually means after it has finished blooming, typically in the spring or early summer. You’ll see new pseudobulbs developing and leaves unfurling. This is when the plant has plenty of energy stored up to put into creating new life. Trying to propagate when it’s dormant or stressed is just setting yourself up for disappointment.
Supplies You’ll Need
Gathering your tools before you begin makes everything run so much smoother. Here’s what I always have on hand:
- Sterile pruning shears or a very sharp knife: Cleanliness is paramount to prevent disease.
- Orchid-specific potting mix: A blend that’s airy and well-draining is key. Most orchid mixes contain bark, perlite, and charcoal.
- Small pots or community trays: New divisions need space to establish.
- Fungicide (optional but recommended): For disinfecting cuts.
- Hormone rooting powder (optional): Can give those new roots a helpful boost.
- Plant mister: For keeping humidity up.
- Clear plastic bags or a small propagation dome: To create a humid environment.
- Watering can with a fine rose: For gentle watering.
Propagation Methods
The most successful and common way to propagate Maxillaria hennisiana is through division. These orchids tend to grow in clumps, and you can gently separate them into smaller sections.
- Assess Your Plant: Gently unpot your Maxillaria hennisiana. If it’s quite root-bound, you might need to gently tease out some of the older roots. Look for natural breaks where new growth (or back bulbs with at least 2-3 pseudobulbs) can be separated.
- Make the Cut: Using your sterilized pruning shears or knife, carefully cut between the divisions. It’s ideal to have at least two to three healthy pseudobulbs with good-looking leaves on each new division. If there are stubborn roots, you might need to gently cut through them.
- Treat the Wounds: If you’re a bit worried about rot (and it’s a good idea to be!), you can dip the cut surfaces into a little fungicide or even just let them air dry for a few hours to callous over.
- Pot Them Up: Prepare your new pots with your orchid potting mix. Place each division into its own pot, ensuring the pseudobulbs are sitting just at the surface of the mix, not buried too deeply. Gently firm the mix around the roots.
The “Secret Sauce” (Pro Tips)
Now, for a couple of little tricks that I’ve picked up over the years.
- Don’t overwater initially. New divisions don’t have established root systems to handle a lot of moisture. Water them gently after potting, and then resist the urge to drench them. Let the potting mix dry out a bit between waterings. This is crucial for preventing rot, which is the most common setback.
- Mimic the tropics with humidity. Once potted, pop each division into a clear plastic bag or cover them with a propagation dome. This creates a wonderfully humid microclimate that encourages new root development. Just make sure there’s a little bit of airflow to prevent stagnation.
Aftercare & Troubleshooting
Once your divisions have roots and are looking peppy, you can start tending to them as you would a more mature plant. Continue to water when the potting mix feels dry to the touch, and provide good bright, indirect light. Keep them in that humid environment for a few weeks until you see significant new growth.
The most common sign of trouble is rot. If you notice pseudobulbs turning mushy and dark, or leaves yellowing and falling off rapidly, it’s likely rot. This often comes from overwatering or poor air circulation. If you catch it early, you might be able to cut away the affected parts (making sure to sterilize your tools!) and repot in fresh, dry mix. If it’s severe, unfortunately, that division may not make it. Don’t despair, though! Every gardener loses a plant now and then.
A Encouraging Closing
So there you have it! Propagating Maxillaria hennisiana is all about patience, observation, and a little bit of mimicking their natural environment. Don’t be afraid to get your hands dirty. Each new plant you grow is a testament to your care and dedication. Enjoy the process, celebrate the small victories, and soon you’ll have even more of these delightful orchids to admire! Happy growing!
Resource:
https://identify.plantnet.org/k-world-flora/species/Maxillaria%20hennisiana%20Schltr./data