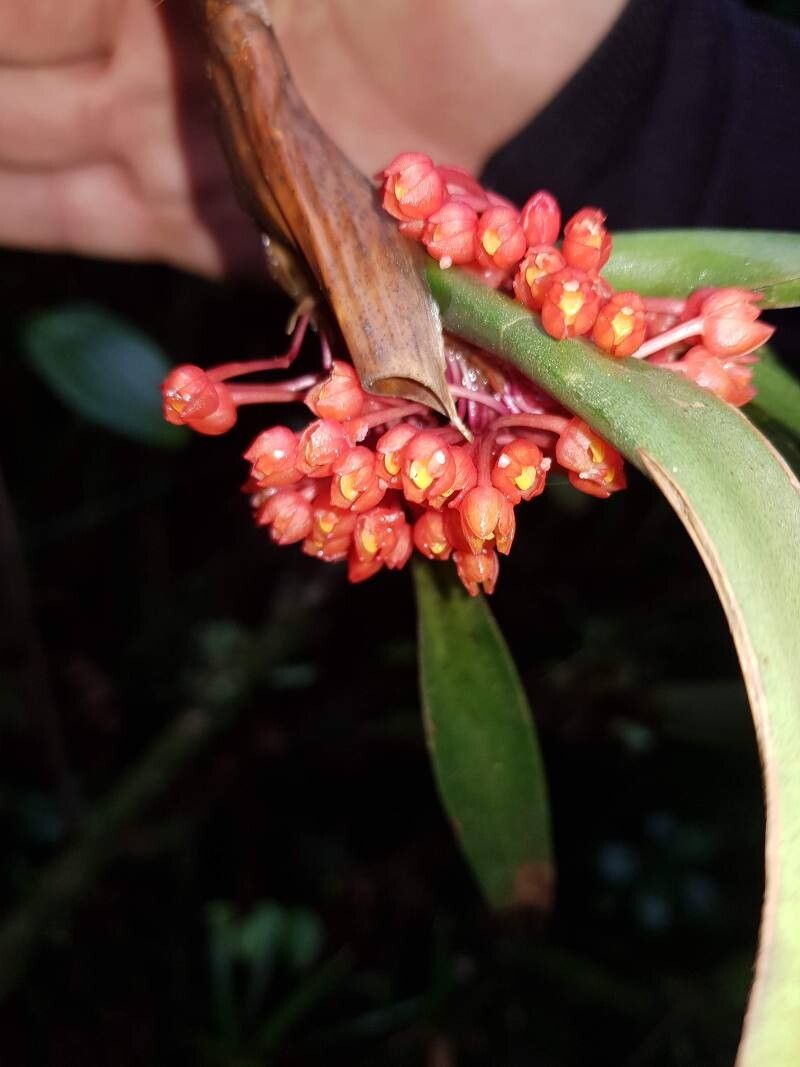
Hello, fellow plant lovers! I’m so excited to chat with you today about one of my absolute favorites: Maxillaria fulgens. If you’re not familiar, imagine fiery orange-red blooms, like little jewels clustered along the stems. They have this incredible fragrance, a bit spicy and sweet, that fills the room. Growing this orchid is a real treat, and when you can propagate it yourself, well, that’s pure gardening joy! Now, is Maxillaria fulgens a walk in the park for a brand new orchid grower? I’d say it’s moderately easy. It’s not as forgiving as some of the airier orchids, but it’s certainly achievable with a little care and attention.
The Best Time to Start
For Maxillaria fulgens, the sweet spot for propagation is after it has finished blooming. This is usually in the late spring or early summer. The plant is actively growing and getting ready for its next spurt of life. Starting then gives the divisions or cuttings plenty of time to establish before the cooler, darker days of fall and winter. You want to catch it when it’s feeling energetic!
Supplies You’ll Need
Here’s what I always have on hand when I’m ready to propagate:
- Sharp, sterile pruning shears or a clean knife: Essential for clean cuts. I always wipe mine down with rubbing alcohol.
- Orchid bark mix: A good quality, well-draining mix is key. I like a blend with larger bark chunks for good aeration.
- Sphagnum moss: Great for retaining a bit of moisture without getting waterlogged.
- Rooting hormone (optional but helpful): Especially if you’re doing stem cuttings, it can give them a boost.
- Small pots or net pots: For your new little orchids.
- Watering can with a fine spray: To gently moisten everything.
- Labels and a marker: Trust me, future you will thank you!
Propagation Methods
The most reliable way to multiply your Maxillaria fulgens is through division. This orchid grows from pseudobulbs, which tend to form in clumps.
Division:
- Gently remove the orchid from its pot. If it’s stuck, run a knife around the edge. Don’t be afraid to loosen up the root ball a bit; it’s often necessary.
- Inspect the pseudobulbs. Look for sections with at least two or three healthy pseudobulbs and some good roots attached to them. These are your potential new plants.
- Carefully untangle the pseudobulbs. You can use your fingers, a chopstick, or blunt tweezers. If it’s really tangled, use your sterile shears to make clean cuts through the rhizome (the creeping stem that connects the pseudobulbs). Avoid cutting through a pseudobulb itself.
- Prepare your new divisions. If there are any dead or papery leaves, gently peel them away.
- Pot them up! Place the division in a small pot with your orchid bark mix. Make sure the pseudobulbs are sitting on top of the mix, not buried deeply. Tuck a bit of sphagnum moss around the base if you like, to help retain a touch of moisture.
You could try stem cuttings, but division is much more successful for this particular orchid. The pseudobulbs provide the energy reserves for the new plant to get going.
The “Secret Sauce” (Pro Tips)
Here are a few things I’ve learned over the years that make a big difference:
- Don’t be afraid of naked roots (briefly!). When dividing, some roots might break. Don’t panic! As long as the pseudobulb and rhizome are healthy, it will recover. Let any broken root ends dry for a few hours before potting up.
- Just barely water them in. After dividing and potting, give the new divisions a very light watering. You don’t want them sitting in soggy conditions right away. The goal is to keep the potting mix just slightly moist, not wet.
- Think about humidity. New divisions are sensitive to drying out. I like to place my freshly potted divisions in a plastic bag with some air holes, or in a terrarium, for the first couple of weeks to create a humid microclimate. This helps them root without stressing.
Aftercare & Troubleshooting
Once your divisions are happily potted, the real waiting game begins.
- Watering: Water sparingly at first. As roots start to grow, you can increase watering frequency, but always let the potting mix dry out somewhat between waterings. You want good air circulation around those roots.
- Light: Bright, indirect light is perfect. Think about where you’d find a shaded spot in a tropical forest. Direct sun will scorch those delicate new shoots.
- Fertilizing: Once you see new growth, you can start feeding with a diluted orchid fertilizer, maybe at half strength, every few waterings.
- Signs of failure: The biggest enemy is rot. If you see pseudobulbs turning mushy and black, or if leaves are yellowing and falling off rapidly, it’s usually a sign of overwatering or poor air circulation. Pull the plant out, check for rot, trim away any mushy parts with your sterile knife, and repot in fresh, dry media. Give it a chance to dry out.
A Little Patience Goes a Long Way
Propagating Maxillaria fulgens is a wonderful way to fill your home with those stunning blooms. It takes a bit of patience, and sometimes a bit of trial and error, but seeing those new roots emerge and knowing you’ve helped a new plant come to life is incredibly rewarding. Enjoy the process, and happy growing!
Resource: