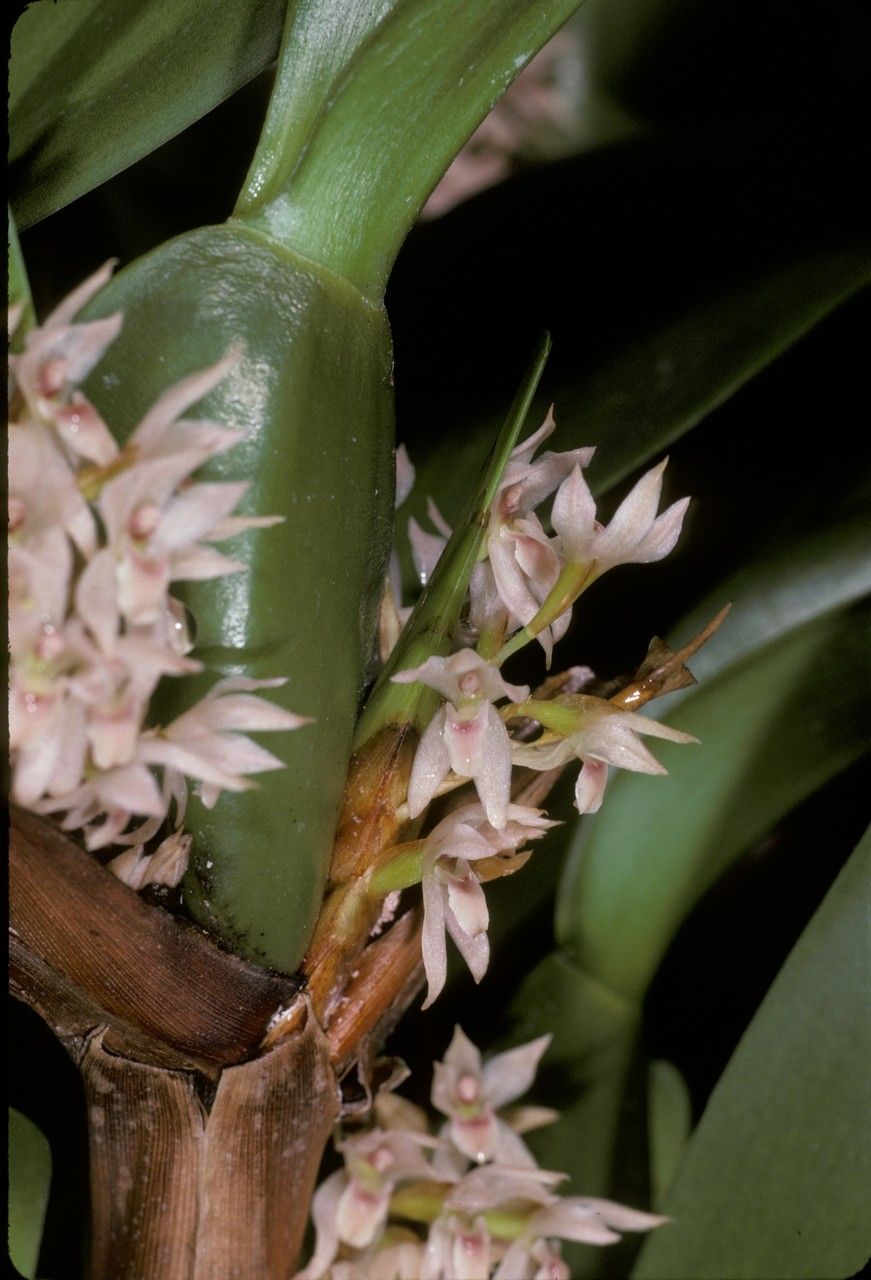
Oh, hello there! Come on in and pull up a chair. I’ve got a pot of coffee brewing, and I’m so excited to chat with you about a truly delightful orchid: Maxillaria densa. You know, the one with those wonderfully fragrant, bright yellow blooms that just seem to radiate sunshine? It’s a real showstopper, and honestly, there’s nothing quite like the satisfaction of creating new life from a plant you already adore.
Don’t let the “orchid” label scare you off. While some orchids can be a bit fussy, Maxillaria densa is surprisingly forgiving. I’d say it’s a fantastic plant for beginners looking to dip their toes into orchid propagation. You’ll be rewarded with those gorgeous flowers and the joy of sharing your successes with friends.
The Best Time to Start
When it comes to encouraging new growth, spring and early summer are your best friends for propagating Maxillaria densa. This is when the plant is really waking up after its rest period and has the most energy to dedicate to its new ventures. Look for new pseudobulbs that are just starting to swell or have reached a decent size – these are perfect candidates. Attempting this when the plant is actively flowering can stress it out, so best to wait until those blooms have faded.
Supplies You’ll Need
Gathering your tools beforehand makes the whole process so much smoother. Here’s what I usually have on hand:
- A sharp, sterile pruning shear or a clean knife. Sterility is key to preventing infections.
- Hormone rooting powder or gel (optional, but can give you a nice boost).
- A potting mix specifically for orchids. I love a mix that includes bark, perlite, and maybe a bit of charcoal for drainage. You want it airy!
- Small pots or seedling trays with good drainage holes.
- A spray bottle for gentle watering.
- Live sphagnum moss (optional, but great for keeping things humid).
- Labels to keep track of what you’ve propagated!
Propagation Methods: Let’s Get Our Hands Dirty!
For Maxillaria densa, the most straightforward and successful method is division. This is how I’ve had the most luck, and it involves separating a mature plant into smaller, independent sections.
- Gently remove the plant from its pot. If it’s been in there a while, you might need to carefully loosen the edges with your knife.
- Inspect the root system. You’re looking for divisions that have at least two or three healthy pseudobulbs and a decent amount of root mass.
- Carefully tease apart the divisions. You can use your fingers or a sterilized knife to help if the roots are tightly bound. The goal is to separate them without causing too much damage. Don’t be afraid to lose a few older roots; focus on preserving the healthy ones.
- Prepare your new pots. Add a layer of your orchid mix to the bottom.
- Plant each division. Position the pseudobulbs so they are just at the surface of the potting medium, or slightly above. You don’t want to bury them too deeply.
- Firm the potting mix around the roots. You want the division to be stable.
- Water lightly. A gentle misting with your spray bottle is usually enough to start. You don’t want to waterlog them since they don’t have established roots yet.
The “Secret Sauce” (Pro Tips)
Here are a couple of things I’ve learned over the years that make a real difference:
- Let the divisions “heal” a bit. After you’ve divided the plant, let the cut surfaces dry out for about 24 hours before potting. This helps prevent rot from setting in.
- Humidity is your friend, but not stagnant water. New divisions need high humidity to encourage root growth. I often place them in a small greenhouse or cover them loosely with a clear plastic bag (making sure there are some air holes). Ensure the leaves never sit in water, though – that’s a fast track to rot.
- Bottom heat can be magical. If you have a seed-starting mat, placing your newly potted divisions on it can significantly speed up root development. Orchids love a little warmth at their base.
Aftercare & Troubleshooting
Once your Maxillaria densa divisions are potted, place them in a bright spot with indirect light. Avoid direct sun, as it can scorch those vulnerable new growths. Keep the potting mix lightly moist, but never soggy. A good rule of thumb is to let the surface just begin to dry out before watering again.
The biggest challenge you’ll face is rot. If you see any mushy, brown leaves or pseudobulbs, it’s usually a sign of too much moisture and not enough air circulation. You might need to remove the affected part with a sterile blade and try to let the remaining healthy section dry out more. Patience is paramount! It can take several weeks, sometimes even a few months, for new roots or growth to appear. Don’t give up too soon!
A Warm Wrap-Up
There you have it! Propagating Maxillaria densa is a journey, and like all good gardening adventures, it requires a bit of patience and a lot of love. Be kind to yourself, learn from any little setbacks, and absolutely celebrate every tiny sign of new life. Before you know it, you’ll have a whole collection of these sunny beauties. Happy growing!
Resource:
https://identify.plantnet.org/k-world-flora/species/Maxillaria%20densa%20Lindl./data