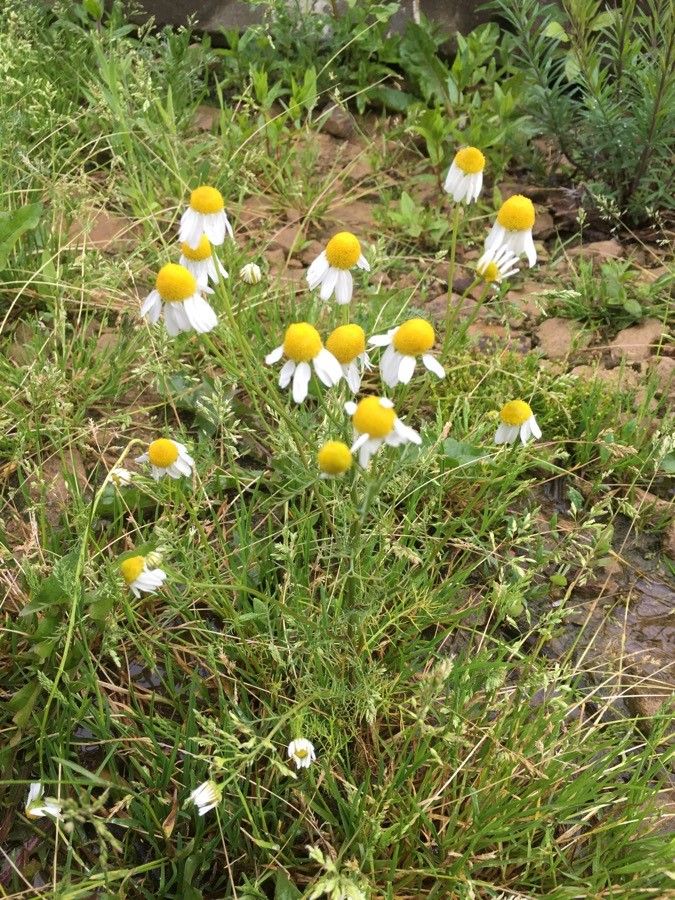
Hello, fellow plant lovers! It’s so nice to connect with you today. I’m thrilled to chat about a little ray of sunshine in the garden: Chamomile. That delicate, daisy-like flower with its apple-scented charm is more than just a pretty face. It’s a healer, a digestive aid, and a wonderfully accessible plant to grow. And the best part? You can easily multiply your chamomile patch right at home.
Don’t be intimidated if you’re new to all this. Chamomile is one of those forgiving plants that really welcomes beginners. Propagating it is a joy, a little bit of magic you can share with your garden. Watching those tiny seeds or cuttings transform into a thriving plant is incredibly satisfying.
The Best Time to Start
When it comes to chamomile, seeds are your best friend, and the ideal time to sow them is early spring, about 4-6 weeks before your last expected frost. You can also sow them directly outdoors once the danger of frost has passed. If you’re working with cuttings or divisions, late spring or early summer, after the initial vigorous growth spurt, is usually the sweet spot. It’s when the plant has plenty of energy to put into forming new roots.
Supplies You’ll Need
Gathering your tools makes the whole process smoother. Here’s what I always have on hand:
- Seed-starting mix or a light, well-draining potting mix: Something fluffy is key.
- Small pots or trays: For starting seeds or cuttings.
- Watering can with a fine spray or a mister: To avoid disturbing delicate seeds and roots.
- Labels and a marker: You’ll thank yourself later!
- Pruning shears or sharp scissors: For taking cuttings (if you go that route).
- A tray or saucer: To catch excess water.
Propagation Methods
Let’s dig into how to grow more chamomile! I find two main methods work beautifully.
1. Starting from Seed: The Classic Approach
This is my go-to for chamomile because it’s so straightforward and rewarding.
- Prepare your pots or trays: Fill them with your seed-starting mix, gently pressing it down.
- Sow the seeds: Chamomile seeds are tiny! Don’t bury them deeply. Sprinkle them thinly across the surface of the soil. You can gently press them into the mix with your fingertips, but that’s about it for depth.
- Water gently: Use your fine spray or mister to moisten the soil thoroughly. You want it damp, not soaking wet.
- Location, location, location: Place your pots or trays in a bright spot, but out of direct, harsh sunlight for the first week or two. A sunny windowsill is perfect.
- Wait and watch: Keep the soil consistently moist. You should see tiny green shoots emerging within 7-14 days.
2. Taking Cuttings (Less common, but possible!)
While seeds are easiest, if you have a particularly lovely chamomile plant, you can try cuttings.
- Choose healthy stems: Look for new, non-flowering growth that’s about 4-6 inches long.
- Make clean cuts: Use your sharpest pruning shears or scissors to snip the stem just below a leaf node (where a leaf meets the stem).
- Remove lower leaves: Pinch off the leaves from the bottom half of the cutting. This prevents them from rotting in the soil or water.
- Dip in rooting hormone (optional but helpful): A little rooting hormone can encourage faster root development, though chamomile is pretty good at rooting on its own.
- Plant or place in water: You can either insert the cuttings into moist seed-starting mix, ensuring the nodes are buried, or place them in a small jar of clean water.
The “Secret Sauce” (Pro Tips)
Here are a couple of things I’ve learned over the years that really seem to make a difference:
- For seed-sown chamomile, don’t be afraid of a little light! Once tiny seedlings emerge, they actually benefit from more light. If you don’t have a super bright window, a grow light for a few hours a day can prevent them from getting leggy and weak.
- If you’re water-propagating cuttings, change the water every couple of days. This keeps it fresh and helps prevent bacterial growth, which is the quickest way to lose a cutting. Also, make sure no leaves are submerged in the water. They’ll just rot and contaminate the water.
Aftercare & Troubleshooting
Once your seedlings have a few sets of true leaves or your cuttings have developed a nice root system (you’ll see them poking out the bottom of the pot or a visible cluster in the water jar), it’s time for their new home.
- Potting up: Gently transplant your seedlings or rooted cuttings into individual pots filled with good, well-draining potting mix. Water them in well.
- Acclimatization: Before planting them out in the garden, get them used to the outdoors. Start by placing them in a sheltered spot for a few hours each day, gradually increasing the time and exposure over a week.
- Watering: Keep the soil consistently moist but not waterlogged, especially when they’re young.
- Rot: The biggest foe is usually too much moisture leading to rot. If you see stems turning mushy or seedlings wilting unnaturally, it’s often a sign of overwatering or poor drainage. Ensure your pots have drainage holes and that your soil mix is airy.
Propagating chamomile is a lovely dance with nature. Be patient, observe your little plants, and don’t be discouraged if a few don’t make it. Every propagation attempt is a learning experience. So go ahead, give it a try, and soon you’ll have even more of this golden goodness to enjoy in your garden and your teacups! Happy growing!
Resource:
https://identify.plantnet.org/k-world-flora/species/Matricaria%20chamomilla%20L./data