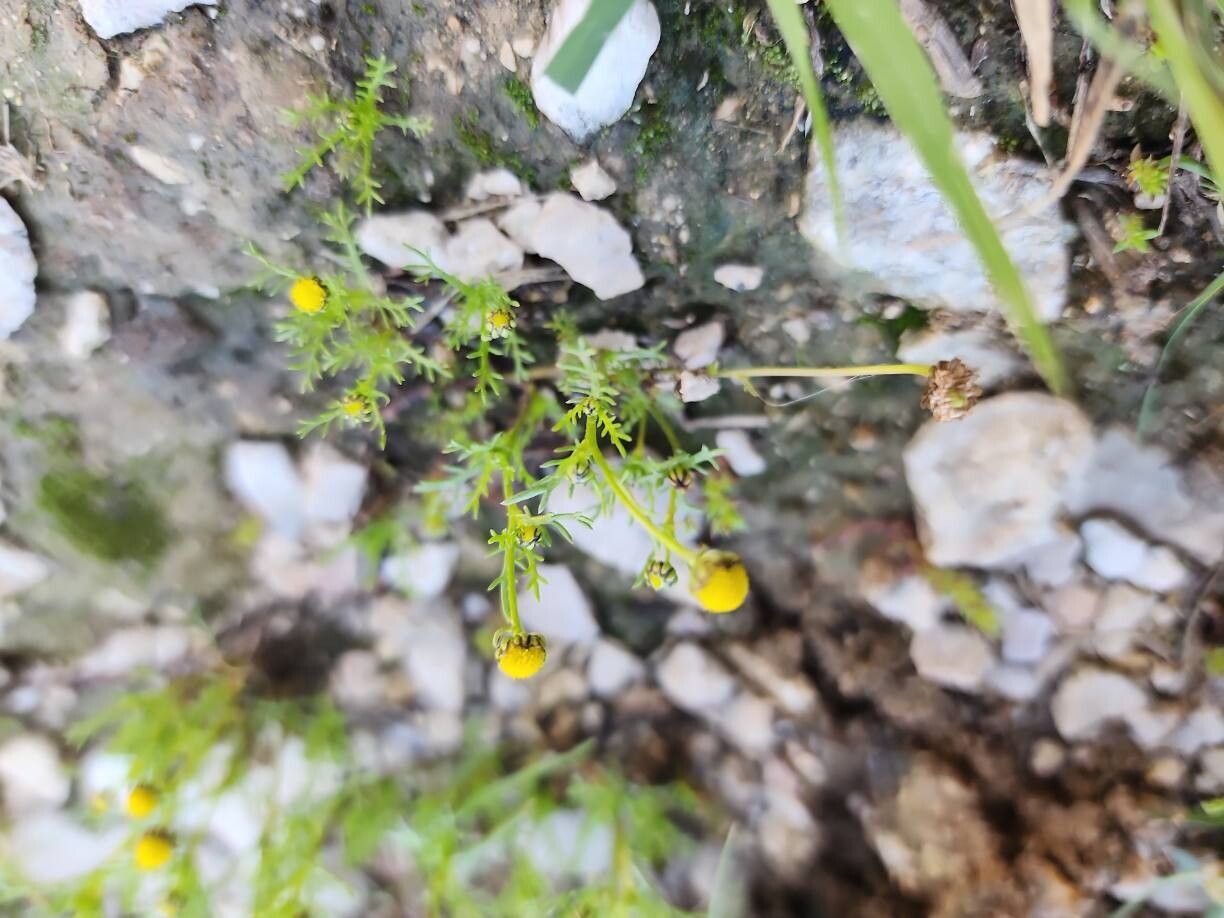
Hello there, fellow garden enthusiasts! It’s so lovely to sit down with you today. We’re going to talk about a little sunshine in plant form – Matricaria aurea, also known as golden chamomile or golden feverfew.
Why You’ll Love Propagating Matricaria Aurea
Honestly, Matricaria aurea is just a delight. Its delicate, golden-yellow daisy-like flowers bring such cheer to any garden border or pot. And the best part? It’s wonderfully fragrant! Propagating it is a truly rewarding experience. You get to watch tiny bits of plant life transform into your own personal patch of sunshine. For beginners, I’d say this one is quite forgiving, which is always a nice bonus when you’re just starting out with propagation.
When to Get Your Hands Dirty
The absolute best time to start propagating Matricaria aurea is in the late spring or early summer. This is when the plant is actively growing and has plenty of energy to put into developing new roots. You’ll want to look for healthy, non-flowering stems.
What You’ll Need to Get Started
Here’s a little rundown of the supplies that will make your propagation journey smoother:
- Sharp pruning shears or scissors: Clean cuts are key.
- Small pots or seedling trays: About 3-4 inches is usually a good size.
- Well-draining potting mix: I like a blend of equal parts peat moss, perlite, and a bit of compost.
- Rooting hormone powder (optional): It gives cuttings a little boost.
- Watering can with a fine rose: For gentle watering.
- Plastic bags or a propagation dome: To create a humid environment.
- Trays or saucers: To catch excess water.
Let’s Get Propagating! Stem Cuttings Are Your Friend
For Matricaria aurea, I find stem cuttings to be the most reliable and easiest method. Here’s how we’ll do it:
- Select Your Cuttings: Head out to your Matricaria aurea plant on a bright morning after the dew has dried. Look for healthy, non-flowering stems that are about 4-6 inches long.
- Make the Cut: Using your clean, sharp pruners, make a clean cut just below a leaf node (where a leaf meets the stem).
- Prepare the Cutting: Gently remove the lower leaves from the stem, leaving only the top few leaves. If the remaining leaves are quite large, you can even snip them in half to reduce water loss.
- Dip in Rooting Hormone (Optional): If you’re using rooting hormone, dip the cut end of the stem into the powder, tapping off any excess.
- Plant Your Cuttings: Fill your small pots or trays with your well-draining potting mix. Gently insert the prepared cuttings into the soil, about an inch deep. Make sure the leaves aren’t touching the soil surface. Firm the soil gently around each cutting.
- Water Gently: Give the soil a light watering with your fine-rose watering can. You want the soil to be moist but not soggy.
- Create Humidity: Place the pots into clear plastic bags or cover them with a propagation dome. This traps moisture and creates the humid microclimate your cuttings need. Prop them open slightly with a stick if they are touching the leaves.
- Find a Cozy Spot: Place the pots in a bright location that receives indirect sunlight. Avoid direct sun, which can scorch the delicate cuttings.
The “Secret Sauce” – My Insider Tips
Over the years, I’ve learned a few tricks that can really make a difference:
- Bottom Heat is Your Friend: If you have a seedling heat mat, place your pots on it. This gentle warmth from below encourages root development like magic.
- Don’t Overwater, But Keep Them Moist: It’s a balancing act. Check the soil daily. It should feel consistently moist, like a wrung-out sponge. If it starts to feel dry, water gently. Never let the soil dry out completely, but equally, avoid waterlogged conditions, which lead to rot.
- Patience, My Dear! I know it’s tempting to peek and prod, but resist the urge. Let those cuttings do their work undisturbed. You’ll start to see new growth long before you can even feel roots.
Aftercare and What to Watch For
Once you start seeing new leaf growth on your cuttings, that’s a fantastic sign! It usually means roots are forming. You can gently tug on a cutting – if you feel resistance, new roots are likely there.
- Acclimatization: Gradually remove the plastic bags orpropagation dome over a few days. This helps your new plants adjust to normal room humidity.
- Watering: Continue to water when the top inch of soil feels dry.
- Potting Up: Once your cuttings have a decent root system and enough new growth to handle, you can carefully transplant them into slightly larger pots.
Now, let’s talk about potential bumps in the road. The biggest culprit for failure is rot. If you see your stems turning mushy or black and falling over, it’s usually a sign of too much moisture and not enough air circulation. Make sure your soil is well-draining and consider increasing ventilation if you’re using a plastic bag.
Go Forth and Grow!
Propagating Matricaria aurea is such a simple joy, and I really encourage you to give it a try. Don’t be discouraged if your first few attempts aren’t perfect – gardening is a journey, and every plant teaches us something new. Enjoy the process, celebrate your successes, and soon you’ll have a garden brimming with golden sunshine! Happy propagating!
Resource:
https://identify.plantnet.org/k-world-flora/species/Matricaria%20aurea%20(Loefl.)%20Sch.Bip./data