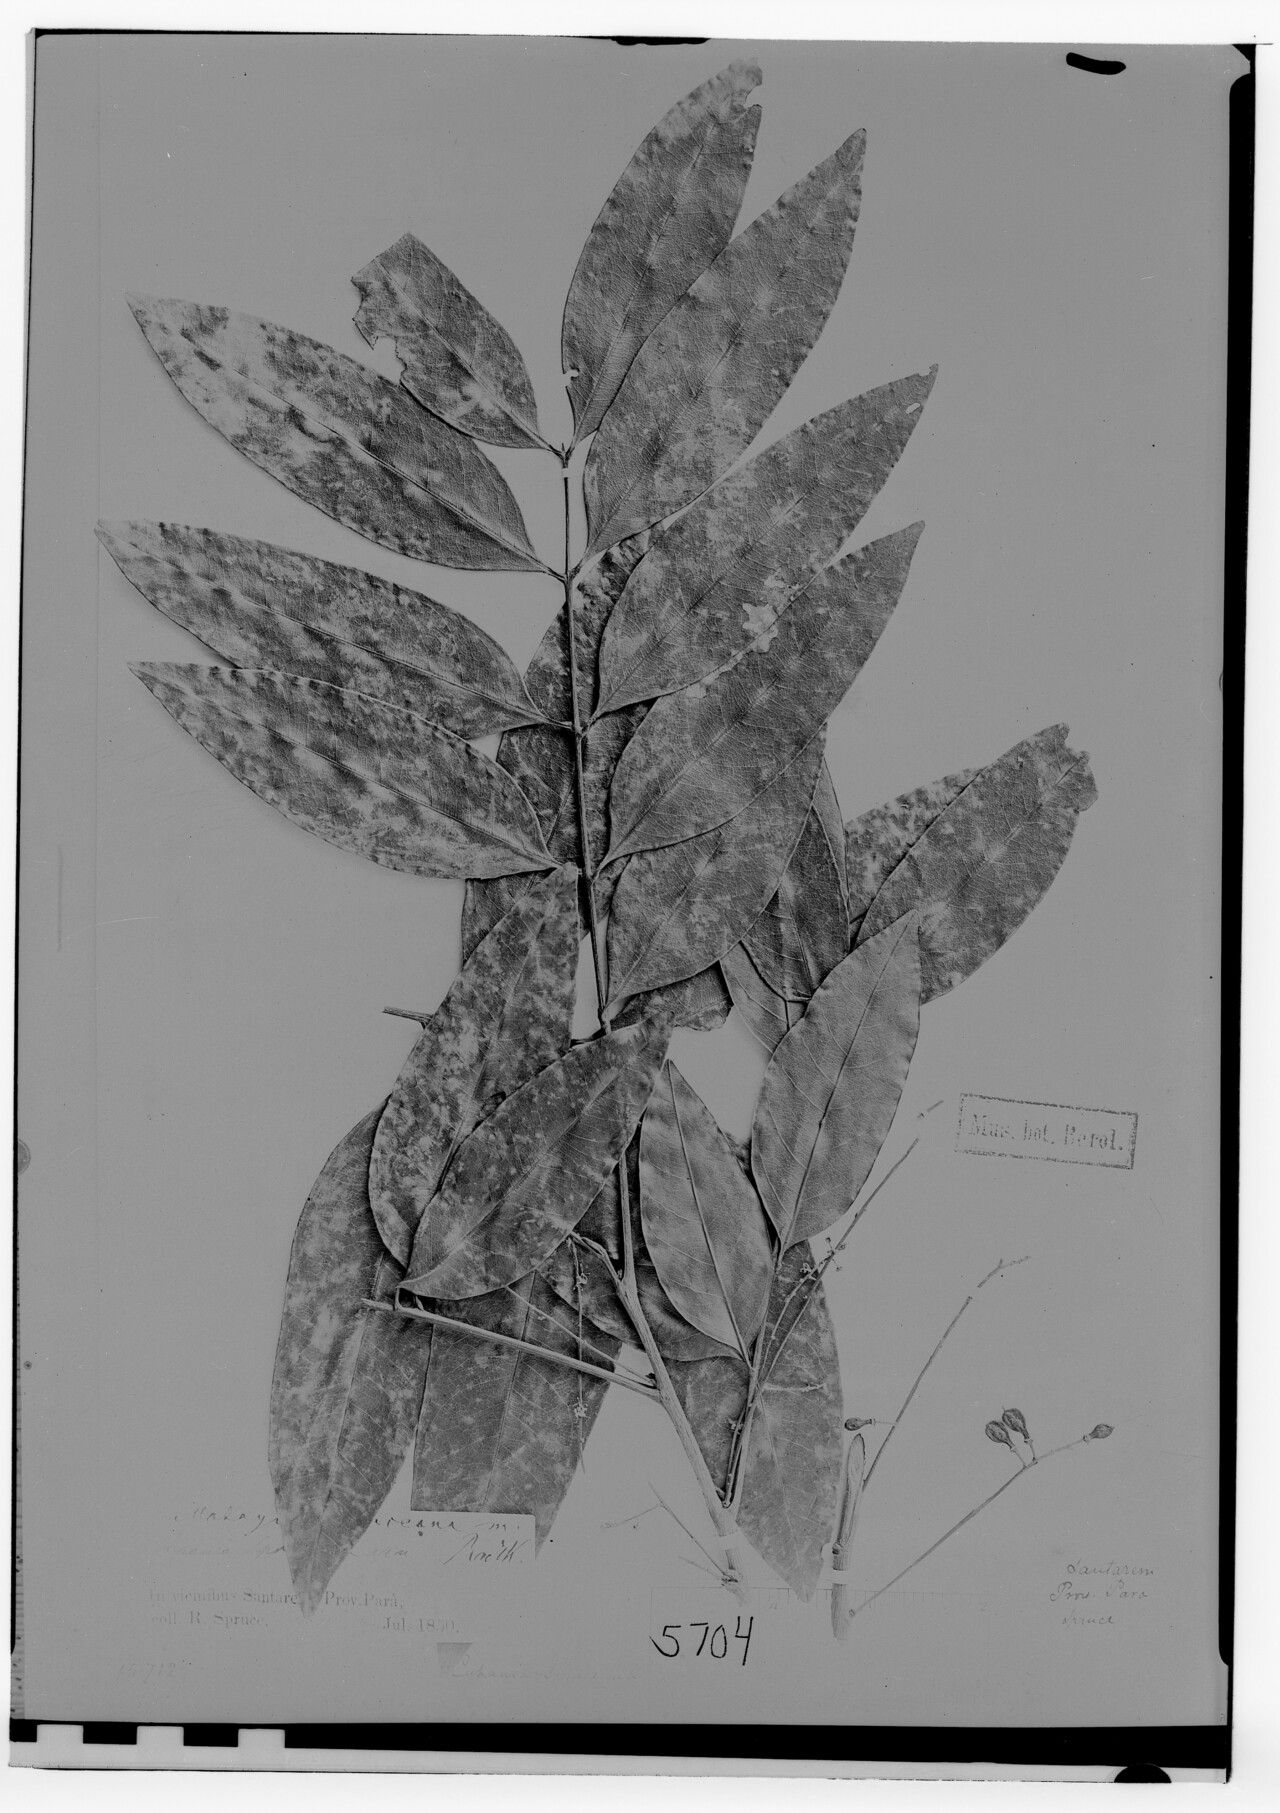
Hello there, fellow plant lovers! It’s so wonderful to be sharing my green-thumb wisdom with you today. We’re diving into the world of Matayba spruceana, a truly delightful tree. Its delicate, airy foliage and graceful presence make it a star in any garden or indoor collection. And the best part? You can bring more of that beauty into your life by propagating it! It’s a truly rewarding experience, like giving life to your own little green babies. While Matayba spruceana can be a bit finicky for absolute beginners, with a little patience and these tips, you’ll be well on your way to success.
The Best Time to Start
For the highest success rate, I always recommend trying to propagate Matayba spruceana during its active growing season. This is typically in the late spring to early summer, when the plant is bursting with energy and has plenty of reserves to put into developing new roots. You’ll want to select stems that are soft and pliable, but not brand new, tender growth. Think of it as a slightly more mature but still developing shoot.
Supplies You’ll Need
Gathering your supplies beforehand makes the whole process flow so much smoother. Here’s what I usually have on hand:
- Sharp, clean pruning shears or a sharp knife: Essential for making clean cuts.
- Rooting hormone powder or gel: This really gives your cuttings a fighting chance.
- A well-draining potting mix: I like a blend of equal parts peat moss (or coco coir), perlite, and a bit of compost. You can also buy specific succulent or cactus mixes, which work well.
- Small pots or trays with drainage holes: For your baby plants to grow in.
- A clear plastic bag or mini greenhouse: To create a humid environment.
- Watering can with a fine rose or a spray bottle: For gentle watering.
- Optional: A heat mat: To provide bottom warmth, which can significantly speed up rooting.
Propagation Methods
While Matayba spruceana isn’t typically propagated by seed (as it can be slow and unpredictable), stem cuttings are your best bet. Here’s how I do it:
Stem Cuttings
- Take Your Cuttings: In the late spring or early summer, select a healthy stem that’s about 4-6 inches long. Make a clean cut just below a leaf node. A leaf node is where a leaf attaches to the stem; this is where roots are most likely to form.
- Prepare the Cuttings: Gently remove the lower leaves from the cutting, leaving just a few at the very top. This prevents them from rotting in the soil.
- Apply Rooting Hormone: Dip the cut end of the stem into your rooting hormone. Tap off any excess. This step is crucial for encouraging root development, especially for plants that can be a little stubborn.
- Plant Your Cuttings: Fill your small pots with your prepared potting mix. Make a small hole in the center with your finger or a pencil and gently insert the bottom inch or so of the cutting into the soil. Firm the soil gently around the stem to ensure good contact.
- Create a Humid Environment: Water the soil lightly. Then, cover the pot with a clear plastic bag, or place it inside a mini greenhouse. This will trap moisture and create a humid microclimate, which is what cuttings crave. You can prop up the bag with a few sticks or wire to keep it from touching the leaves.
Water Propagation (with a caveat!)
Sometimes, for softer stemmed plants, I might suggest water propagation. However, with Matayba spruceana, I find it can be riskier due to the potential for rot. If you do want to try, take your prepared cutting (as described above, minus the rooting powder) and place it in a jar of clean water. Ensure no leaves are submerged in the water. Change the water every few days. Once you see tiny root nubs, you can try potting it up. But honestly, soil propagation usually yields better results for this particular plant.
The “Secret Sauce” (Pro Tips)
Here are a few things I’ve learned over the years that make a real difference:
- Bottom Heat is Your Friend: If you can, place your pots on a propagation mat or a warm windowsill. This gentle warmth from below mimics ideal soil temperatures and can speed up root formation by leaps and bounds. The roots think it’s spring and get to work!
- Don’t Overwater! This is a classic mistake. It’s tempting to keep things super moist, but soggy soil is the enemy of root development and a leading cause of rot. You want the soil to be consistently damp but never waterlogged. Feel the soil with your fingertip; if it’s dry about an inch down, it’s time for a gentle watering.
- Be Patient with the “Callusing Over”: Sometimes, the cut end of the stem might seem to just sit there for a while. It’s not dead! It’s likely forming a protective calluses over the wound before root development truly kicks in. Resist the urge to keep digging it up to check for roots.
Aftercare & Troubleshooting
Once you start to see signs of new growth – little leaves emerging from the top – that’s a good indicator that roots have formed. You can gently tug on the cutting; if there’s resistance, roots are there! Carefully remove the plastic bag for a few hours each day, gradually increasing the time out of humidity over a week or two. This helps the new plant acclimatize to normal room conditions.
The most common sign of failure is rotting. If your cutting turns mushy and black, it’s likely succumbed to too much moisture or a fungal issue. Another sign is wilting that doesn’t recover even when you water. If this happens, sadly, it’s time to try again. But don’t get discouraged!
A Encouraging Closing
Propagating plants is a journey, and every attempt is a learning experience. Embrace the process, be patient with your little Matayba spruceana cuttings, and celebrate every tiny success. Before you know it, you’ll have a whole collection of these beautiful trees, each one a testament to your growing skills and dedication. Happy propagating!
Resource:
https://identify.plantnet.org/k-world-flora/species/Matayba%20spruceana%20(Benth.)%20Radlk./data