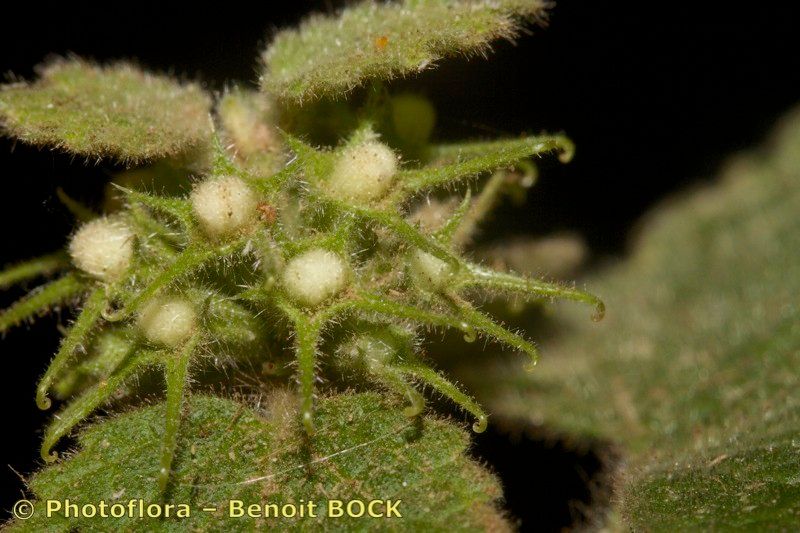
Oh, hello there! Grab yourself a cup of tea, and let’s chat about a plant that has been a quiet star in my garden for years: Marrubium echinatum, or Horehound. It’s got these wonderfully fuzzy, grey-green leaves and a scent that just sings of the Mediterranean. And the best part? It’s surprisingly easy to get more of these beauties to share with friends or fill out your own beds.
Why Propagate Marrubium Echinatum?
Honestly, there’s a special kind of joy in taking something small and nurturing it into a full, thriving plant. With Horehound, it’s not just about making more; it’s about understanding its rhythm. It’s also incredibly rewarding, as it’s generally quite a forgiving plant to propagate, making it a lovely one for those just dipping their toes into the world of plant propagation. You’ll be amazed at how quickly you can fill a sunny spot with these delightful, fragrant shrubs.
The Best Time to Start
For Marrubium echinatum, my go-to time for propagation is late spring to early summer. This is when the plant is actively growing and has plenty of energy to put into forming new roots. You’re looking for stems that are developing but aren’t yet woody. Think of it as the perfect time for the plant to really put on a spurt of growth.
Supplies You’ll Need
You don’t need a whole lot to get started, but having the right tools makes all the difference:
- Sharp Pruning Shears or a Knife: For clean cuts, which are essential.
- Potting Mix: A light, well-draining mix is crucial. I usually use a blend of perlite and peat moss or a good quality seedling mix.
- Small Pots or Seed Trays: Clean containers work best.
- Rooting Hormone (Optional but Recommended): This gives your cuttings an extra boost.
- Hand Trowel or Spoon: For transplanting.
- Watering Can or Spray Bottle: For gentle watering.
Propagation Methods
Horehound is wonderfully adaptable, but I’ve found the most success with stem cuttings.
-
Select Your Cuttings: Head out to your mature Horehound plant. Look for healthy, non-flowering stems about 4-6 inches long. Use your sharp shears to make a clean cut just below a leaf node (where a leaf attaches to the stem). Remove any lower leaves, as these will just rot if they’re below the soil or water line. Leave about two sets of leaves at the top.
-
Prepare for Rooting: You have two main options here:
- Water Propagation: This is my favorite for Horehound because you can see the roots forming! Place the cut ends of your prepared stems into a jar or vase filled with clean water. Make sure no leaves are submerged in the water; if they are, trim them off. Place the jar in a bright spot, but out of direct, scorching sunlight. Change the water every few days to keep it fresh. You should see tiny roots forming in a few weeks.
- Soil Propagation: If you prefer to go straight to soil, dip the cut end of your prepared Horehound stem into a bit of rooting hormone powder, tapping off any excess. Then, gently insert the stem into a small pot filled with your prepared, lightly moistened potting mix. Make a small hole with a finger or pencil first, so you don’t rub off the rooting hormone. Firm the soil gently around the base of the cutting.
-
For Soil Cuttings: Once planted, give them a light watering. To help keep humidity levels up, I often cover the pot loosely with a plastic bag or a humidity dome. You can also place the pots on a heat mat – this gives them a lovely warm base to encourage root growth. Place these in a bright location, out of direct sun, and keep the soil consistently moist but not soggy.
The “Secret Sauce” (Pro Tips)
Here are a couple of things I’ve learned over the years that really help:
- Don’t Overcrowd: When rooting in water, give each cutting a little space. If they’re all crammed together, it can limit air circulation and potentially lead to rot.
- Bottom Heat is Your Friend: For soil propagation, that gentle warmth from a heat mat is a game-changer. It mimics spring soil temperatures and significantly speeds up the rooting process. You’ll see roots form faster and more reliably.
- Patience with the Leaves: If you’re water propagating, you might be tempted to leave lots of leaves on. Resist! Only the top few are needed for energy. The rest are just potential rot hazards in the water.
Aftercare & Troubleshooting
Once your cuttings have developed a good root system (about an inch or so long in water, or if you tug gently on a soil cutting and feel resistance), it’s time for them to go into their own pots. If you’ve been water propagating, carefully plant them into small pots filled with your well-draining potting mix. Water them gently.
Keep them in bright, indirect light and continue to water when the top inch of soil feels dry. Gradually introduce them to more direct sunlight as they grow stronger.
The most common issue you’ll face is rot. If a cutting turns black and mushy, or if the leaves start to yellow and drop off without any visible roots forming, it’s a sign that conditions are too wet or there isn’t enough air circulation. Don’t be discouraged! Sometimes, even with the best care, a cutting just won’t take. That’s part of the process. Remove any rotted material immediately and try again.
Happy Propagating!
So there you have it – a straightforward way to increase your Horehound collection. Don’t be afraid to experiment and try a few cuttings at once. Gardening is all about learning and enjoying the journey. Be patient, observe your little ones closely, and soon you’ll have a whole new patch of lovely, fragrant Horehound to admire. Happy propagating!
Resource:
https://identify.plantnet.org/k-world-flora/species/Marrubium%20echinatum%20Ball/data