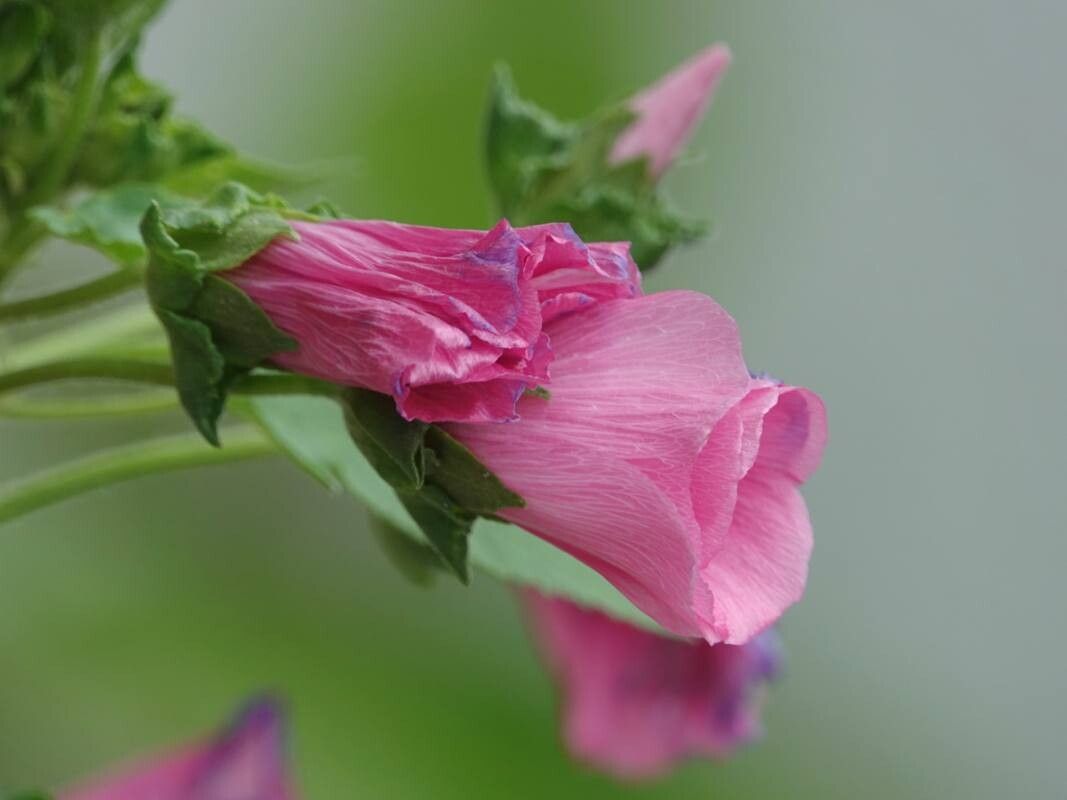
Hello fellow garden enthusiasts! Let’s talk about Malva trimestris, or as it’s commonly known, the annual Mallow. If you’re looking for a plant that blooms with generous, saucer-sized flowers in shades of pink and white, and does so with a cheerful, almost carefree attitude, then this is your gal! I’ve been cultivating these beauties for two decades now, and I’ve always found them incredibly rewarding to grow.
The best part? They are wonderfully easy to propagate. Seriously, if you’re new to the gardening game and want to try your hand at creating new plants, Malva trimestris is a fantastic starting point. You’ll be amazed at how simple it is to fill your garden beds or share these lovely blooms with friends.
The Best Time to Start
For me, the sweet spot for propagating Malva trimestris is typically in late spring or early summer. This is when the plant is actively growing and has plenty of healthy, vigorous stems. You want to select stems that are not yet flowering, as the plant dedicates a lot of energy to bloom production. Look for young, semi-hardwood cuttings – they’re firm but still a little flexible.
Supplies You’ll Need
Gathering your tools beforehand makes the whole process smoother. Here’s what I keep on hand:
- Sharp pruning shears or a clean, sharp knife: For taking clean cuts.
- Rooting hormone powder or gel: This gives your cuttings a little boost.
- A well-draining potting mix: I usually use a blend of peat moss, perlite, and a bit of compost.
- Small pots or trays with drainage holes: Clean ones are a must!
- A spray bottle: For misting.
- Plastic bags or a propagation dome: To create a humid environment.
Propagation Methods
Malva trimestris is quite forgiving, and I’ve had success with a couple of reliable methods.
Stem Cuttings: My Go-To
This is generally my preferred method for Malva trimestris.
- Select your cutting: Find a healthy stem that’s about 4-6 inches long. About halfway up the stem, you’ll feel a slight stiffness – that’s your cue for a semi-hardwood cutting.
- Make the cut: Using your clean shears, make a clean cut just below a leaf node. This is where roots tend to form most readily.
- Prepare the cutting: Gently remove the lower leaves, leaving only the top few. You can then pinch off any flower buds you see.
- Apply rooting hormone: Dip the cut end into your rooting hormone powder or gel. Tap off any excess.
- Potting up: Insert the treated end into your prepared potting mix. Make sure the nodes from where you removed the leaves are buried. Firm the soil gently around the stem.
- Create humidity: Water the soil lightly until it’s moist but not soggy. Cover the pot with a plastic bag or propagation dome to trap humidity. You can prop the bag up with a couple of sticks so it doesn’t touch the leaves.
- Location, Location, Location: Place the pot in a bright spot, but out of direct sunlight.
Water Propagation (Less Common, but it works!)
While I favor soil, you can get Malva trimestris to root in water too.
- Take cuttings: Follow steps 1-3 from the stem cutting method.
- Place in water: Put the prepared cuttings in a clean jar or glass filled with fresh water.
- Change water regularly: Change the water every couple of days to keep it fresh and prevent rot.
- Watch for roots: You should see tiny white roots appear within a couple of weeks.
- Transplanting: Once the roots are about an inch long, you can carefully transplant them into pots of soil as described above. It’s a bit delicate, so handle those new roots with care!
The “Secret Sauce” (Pro Tips)
After years of tinkering, here are a few things I’ve learned that make a real difference:
- Bottom Heat is Your Friend: If you have a seedling heat mat, use it! Malva trimestris cuttings absolutely love a little warmth coming from below. It speeds up root development significantly. Just place your pots on the mat.
- Don’t Drown Your Cuttings: While humidity is crucial, overwatering is the fastest way to lose a cutting to rot. The soil should feel consistently moist, but never waterlogged. If your propagation environment is a bit too moist, you can open the plastic bag for an hour or so each day to allow for some air circulation.
- Patience is a Virtue (and Essential!): Don’t get discouraged if you don’t see roots immediately. It can take anywhere from 3 to 6 weeks for your cuttings to establish a good root system. Keep an eye out for new leaf growth – that’s usually a good sign that roots are forming!
Aftercare & Troubleshooting
Once you see those tiny roots peeking out from the drainage holes, or notice new growth on your cutting, it’s time to start gradually acclimating your new plant.
- Reduce humidity: If you’ve been using a plastic bag or dome, start by opening it for longer periods each day. Eventually, you can remove it altogether.
- Light: Continue to provide bright, indirect light.
- Watering: Water your new plant when the top inch of soil feels dry to the touch.
- Fertilizing: Wait until you see some healthy new growth before introducing a half-strength liquid fertilizer.
The most common issue you might encounter is rot. If your cutting turns mushy, black, or just looks generally unhealthy, it’s likely due to too much moisture and not enough air circulation. Unfortunately, rotten cuttings are usually a lost cause. Another sign of trouble is if your cutting just wilts and never recovers – this could mean it didn’t root or the conditions aren’t quite right.
A Little Encouragement
So there you have it! Propagating Malva trimestris is a truly rewarding experience. You get to witness the miracle of new life, and soon you’ll have an abundance of these cheerful flowers to enjoy. Be patient with yourself and the process. Every gardener has had their share of failures along the way – it’s all part of learning and growing. Now, go ahead and give it a try! You’ve got this.
Resource:
https://identify.plantnet.org/k-world-flora/species/Malva%20trimestris%20(L.)%20Salisb./data