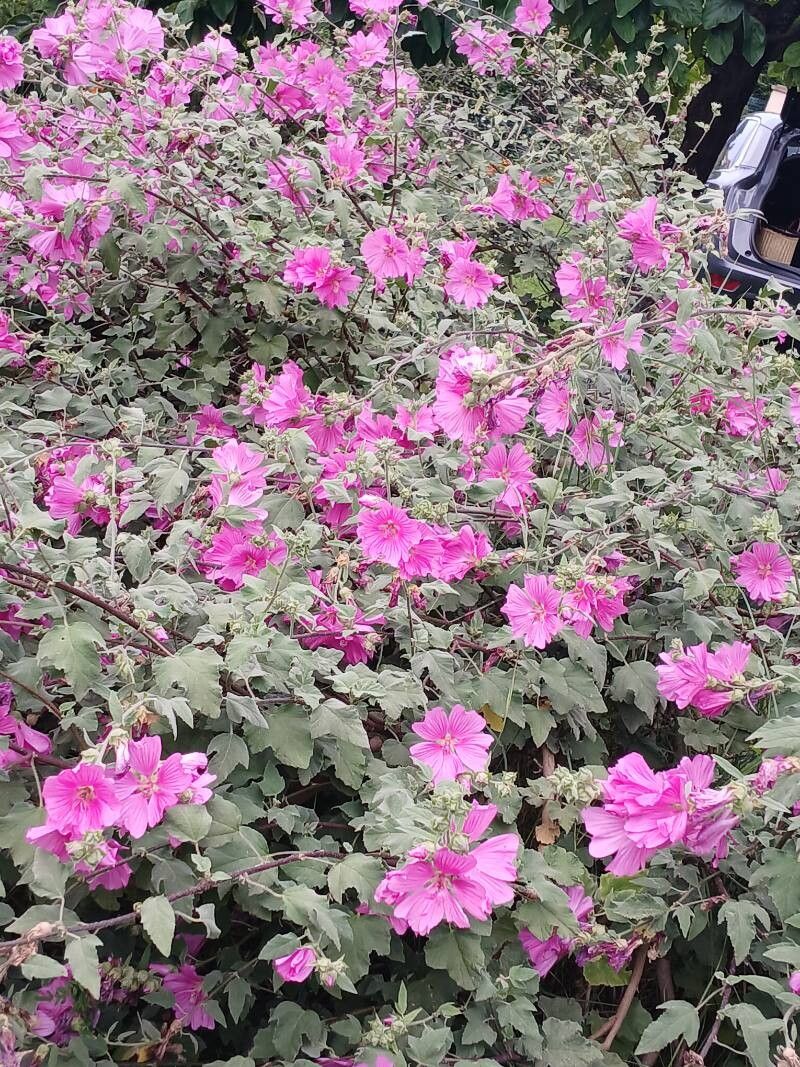
Oh, Malva thuringiaca! Isn’t she a beauty? Also known as Tree Mallow, this plant is such a joy to have in the garden. Those lovely, tall spikes of soft pink or lavender flowers just sing in the summer sun. And honestly, growing more of them is wonderfully rewarding. You get to share them with friends, fill more sunny spots, or just enjoy the satisfaction of making magic happen with your own two hands. For beginners, I’d say this one is moderately easy. Not as foolproof as a succulent cutting, perhaps, but with a little attention, you’ll be quite successful.
The Best Time to Start
When it comes to getting new Malva thuringiaca clones going, timing is everything. I find the sweet spot is late spring or early summer, right after the plant has finished its initial flush of blooms, or when it’s actively growing but before it gets too hot and stressed. You’re looking for nice, healthy shoots that haven’t flowered yet, or are just starting to. This is when the plant has the most energy to put into root development.
Supplies You’ll Need
Gathering your tools before you start makes the whole process so much smoother. Here’s what I usually have on hand:
- Sharp Pruning Shears or a Craft Knife: Clean cuts are key.
- A Light, Well-Draining Potting Mix: I often use a blend of standard potting soil with added perlite or coarse sand. For cuttings, something a bit lighter, like a seed-starting mix, works wonders.
- Small Pots or Seed Trays: Make sure they have drainage holes!
- Rooting Hormone (Optional but Recommended): This really gives your cuttings a boost. Look for one with a fungicide.
- A Spray Bottle: For keeping things humid.
- Plastic Bags or Clear Domes: To create a mini-greenhouse effect.
Propagation Methods
There are a couple of ways to go about this, but I’ll focus on the method I find most reliable: stem cuttings.
- Take Your Cuttings: Head out to your Malva thuringiaca plant. Look for non-flowering, healthy stems that are about 4-6 inches long. Use your clean shears or knife to make a clean cut just below a leaf node (that little bump where a leaf grows from). Remove the lower leaves, leaving just a few at the top.
- Prepare the Cuttings: If you’re using rooting hormone, dip the cut end of each stem into it. You don’t need to dunk the whole thing, just the bottom inch or so.
- Plant Them Up: Fill your small pots or trays with your prepared potting mix. Make a small hole in the center with your finger or a pencil. Gently insert the cut end of the Malva cutting into the hole, making sure the leaf nodes are below the soil line. Firm the soil gently around the stem.
- Water and Cover: Water the soil lightly, just enough to settle it around the cuttings. Then, cover the pots with a plastic bag or a clear dome to create a humid environment. This is super important as it prevents the cuttings from drying out before they can grow roots.
The “Secret Sauce” (Pro Tips)
Here are a few things I’ve learned over the years that make a big difference:
- Don’t Overwater Early On: While humidity is great, soggy soil is a fast track to rot. Aim for consistently moist, but not waterlogged, soil. It’s better to err on the side of slightly dry than too wet in the initial rooting stages.
- Bottom Heat is Your Friend: If you have a way to provide a little warmth from below – like a heat mat designed for seedlings – it can significantly speed up rooting. Many Malva species appreciate that extra cozy feeling.
- Label Everything! It sounds silly, but trust me, when you have several pots going, it’s easy to forget which plant you took cuttings from, or when you started. A simple plant marker with the date and plant name is invaluable.
Aftercare & Troubleshooting
Once your Malva cuttings have started to perk up and you see new growth appearing, that’s a good sign. You’ll know they’ve rooted when you gentle tug on the stem and feel some resistance. You can also look for tiny roots peeking out of the drainage holes.
Once roots are established, you can gradually acclimate them to less humid conditions by opening the plastic bag a bit more each day. Eventually, remove the cover completely. Continue to water them as needed, letting the top inch of soil dry out before watering again.
The most common issue I see is rot. This usually happens if the cuttings are kept too wet or aren’t getting enough airflow. If you notice a cutting turning black and mushy, it’s best to discard it to prevent further issues. Sometimes, a cutting just won’t take; don’t be discouraged! It happens to the best of us.
A Encouraging Closing
So there you have it! Propagating Malva thuringiaca is a rewarding journey. Be patient with your little cuttings, give them the right conditions, and celebrate every tiny success. You’ll be rewarded with more of these cheerful blooms in no time. Happy gardening!
Resource:
https://identify.plantnet.org/k-world-flora/species/Malva%20thuringiaca%20(L.)%20Vis./data