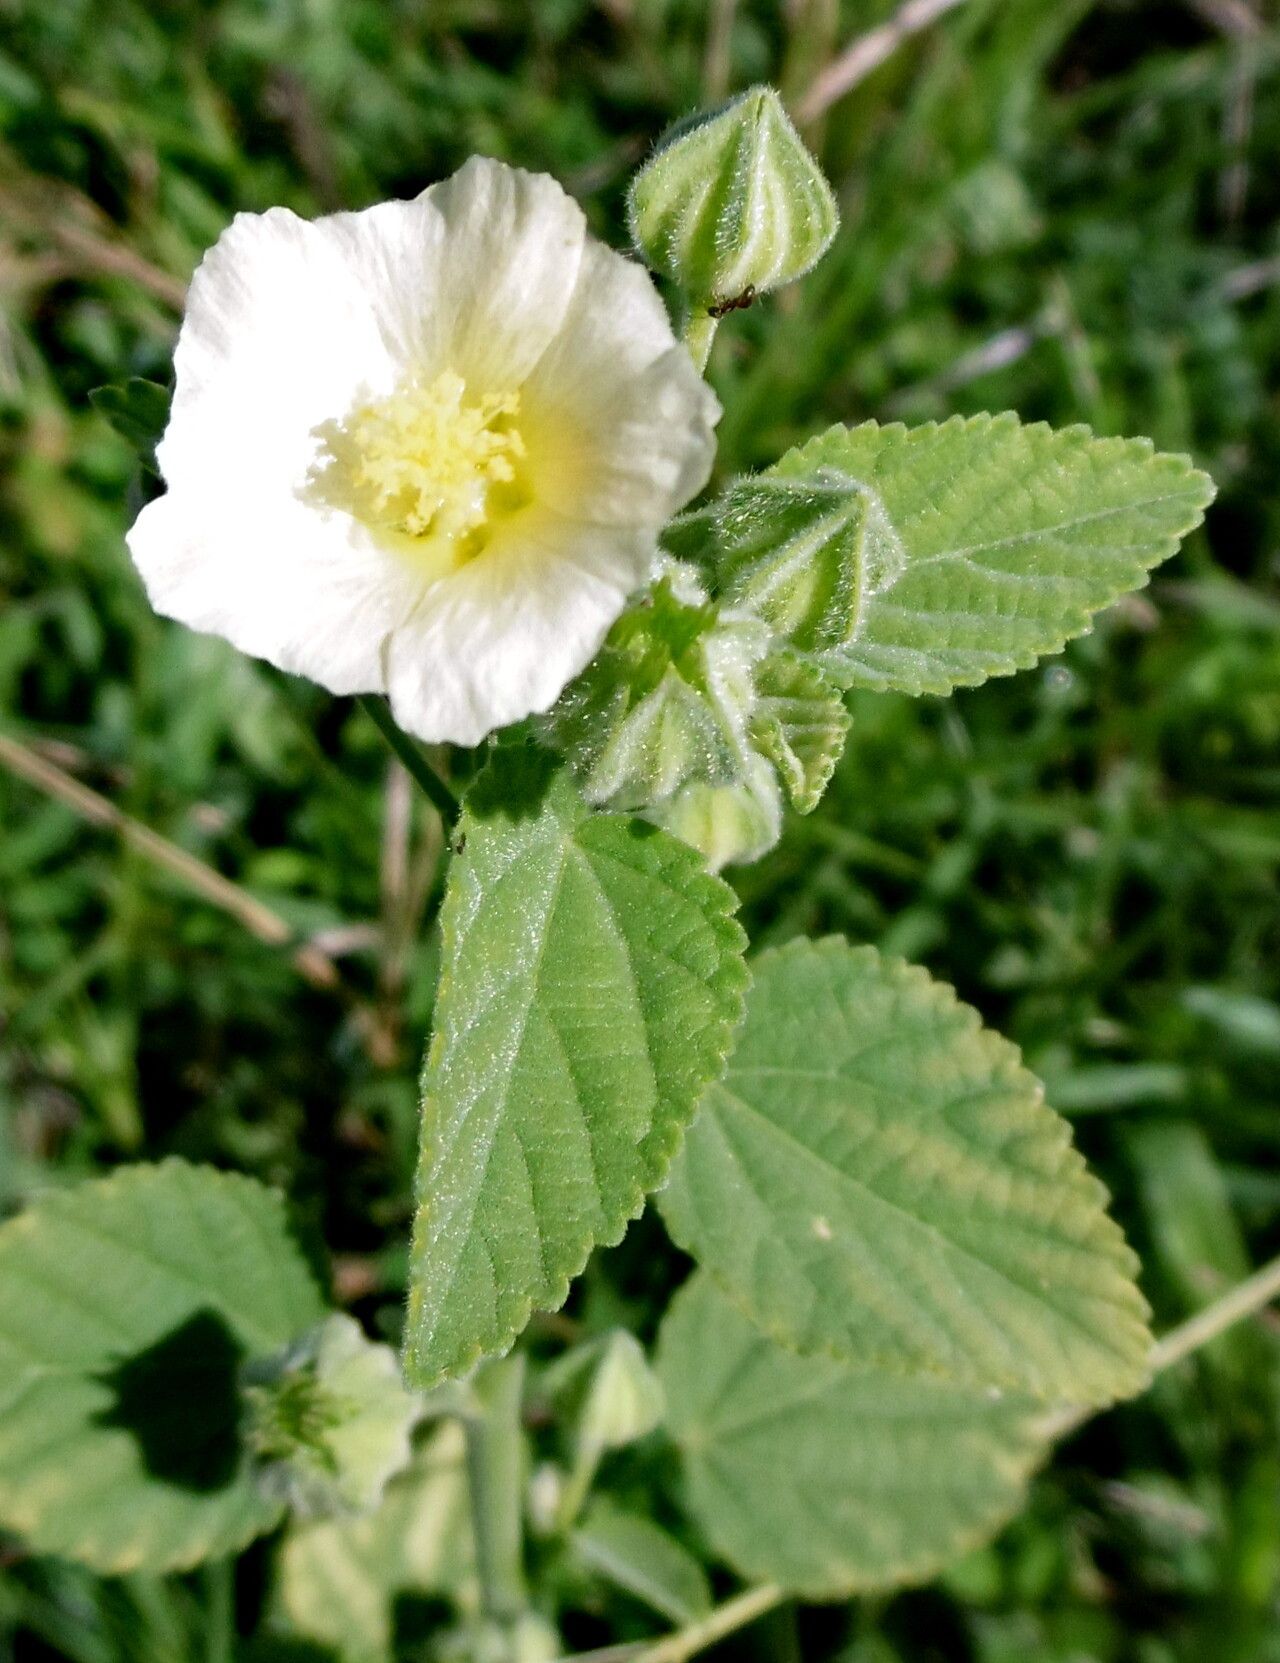
Hello, fellow plant enthusiasts! I’m so delighted to chat with you today about a little gem many of us adore: Malva parviflora, often called small-flowered mallow or French hollyhock. Isn’t it just charming with its delicate, saucer-shaped blooms, often in lovely shades of pink and purple? I’ve spent years coaxing these beauties from tiny seeds and cuttings, and I can tell you, it’s a truly rewarding experience to multiply their magic. If you’re new to the gardening game, don’t fret. Malva parviflora is quite forgiving, making it a wonderful plant to practice your propagation skills on.
The Best Time to Start
My favorite time to begin propagating Malva parviflora is in late spring or early summer. The days are long, the sun is warm, and the plant is usually in vigorous growth. This energy translates beautifully into successful root development. You can also take cuttings in early autumn, but be prepared for slightly slower rooting as the days cool down. For seed starting, early spring, after the last frost has passed, is ideal for direct sowing outdoors.
Supplies You’ll Need
Here’s what I always have on hand when I’m ready to get my hands dirty:
- Well-draining potting mix: Something light and airy is crucial. A mix of peat moss, perlite, and a little compost works wonders. You can buy commercial seed-starting mix too.
- Clean pruning shears or sharp knife: For taking neat cuttings. Sterilize them with rubbing alcohol to prevent disease.
- Small pots or seed trays: Whatever you have available, as long as they have drainage holes.
- Rooting hormone (optional but helpful): Especially for stem cuttings, this can give them a good boost.
- Watering can with a fine rose: For gentle watering.
- Plastic bags or propagation domes: To create a humid environment for cuttings.
- Labels: So you don’t forget what you planted!
Propagation Methods
Let’s explore a couple of my go-to methods for Malva parviflora:
Seed Starting
This is perhaps the most straightforward way to get started.
- Sow seeds directly into your prepared pots or trays filled with the well-draining mix. I like to sow them about ¼ inch deep.
- Water gently to moisten the soil.
- Place the pots in a warm spot. A sunny windowsill is perfect.
- Keep the soil consistently moist but not waterlogged.
- You should see germination within 10-20 days.
- Once the seedlings have a couple of sets of true leaves and are large enough to handle, you can transplant them into their own individual pots or directly into the garden.
Stem Cuttings
This method is fantastic for multiplying your favorite varieties.
- Find a healthy, non-flowering stem on your mature Malva parviflora.
- Using your sterilized shears, take a cutting about 4-6 inches long. Make the cut just below a leaf node (where a leaf attaches to the stem).
- Remove the lower leaves, leaving just a couple of sets at the top. This prevents them from rotting in the soil.
- If you’re using rooting hormone, dip the cut end into it.
- Insert the cutting into a pot filled with your well-draining mix. About half the cutting should be buried.
- Water gently and then cover the pot with a plastic bag or propagation dome to trap humidity. You can also use chopsticks to prop up the bag so it doesn’t touch the leaves.
- Place the pot in bright, indirect light. Avoid direct sun, which can scorch the young cuttings.
- Mist the leaves regularly and check that the soil stays moist.
- With a bit of luck and warmth, you should see roots forming in about 3-6 weeks. You can gently tug on a cutting; if there’s resistance, roots have likely developed.
The “Secret Sauce” (Pro Tips)
Here are a few little tricks I’ve picked up over the years that really make a difference:
- Bottom Heat: For stem cuttings, placing your pots on a heat mat can significantly speed up root development. It mimics the warmth of spring soil and gives those roots a real kickstart.
- Don’t Overwater the Cuttings: This is a big one. While they need moisture, Malva parviflora cuttings are prone to rot if the soil is too wet. Aim for consistently moist, not soggy. You’ll learn to feel the weight of the pot to gauge moisture.
- New Growth is Key: When taking stem cuttings, always aim for softwood or semi-hardwood growth. This is the new, flexible growth from the current season. Old, woody stems are much harder to root.
Aftercare & Troubleshooting
Once you spot those lovely roots developing or your seedlings are established, it’s time for a little extra TLC.
- Gradual Acclimation: If you’ve used a humidity dome or plastic bag for cuttings, gradually introduce them to drier air by opening the cover a little more each day for a week before removing it completely.
- Continue Gentle Watering: Keep the soil moist but not soggy. As the plant grows, it will become more forgiving.
- Watch for Rot: The most common sign of failure, especially with cuttings, is wilting and browning leaves followed by a mushy stem base. This is usually a sign of overwatering or poor drainage. If you see this, discard the affected cutting to prevent it from spreading.
- Transplanting: When your seedlings or rooted cuttings are robust enough to handle, transplant them into slightly larger pots or their final garden location. Ensure the new soil is also well-draining.
A Encouraging Closing
Propagating Malva parviflora is a journey, and like all good journeys, it requires a little patience. Don’t be discouraged if every single cutting doesn’t make it; that’s just part of the learning process. Enjoy watching those tiny seeds sprout and those little cuttings put down roots. There’s a deep satisfaction in nurturing a plant from its very beginnings, and soon you’ll have a garden full of these delightful blooms to share. Happy propagating!
Resource:
https://identify.plantnet.org/k-world-flora/species/Malva%20parviflora%20L./data