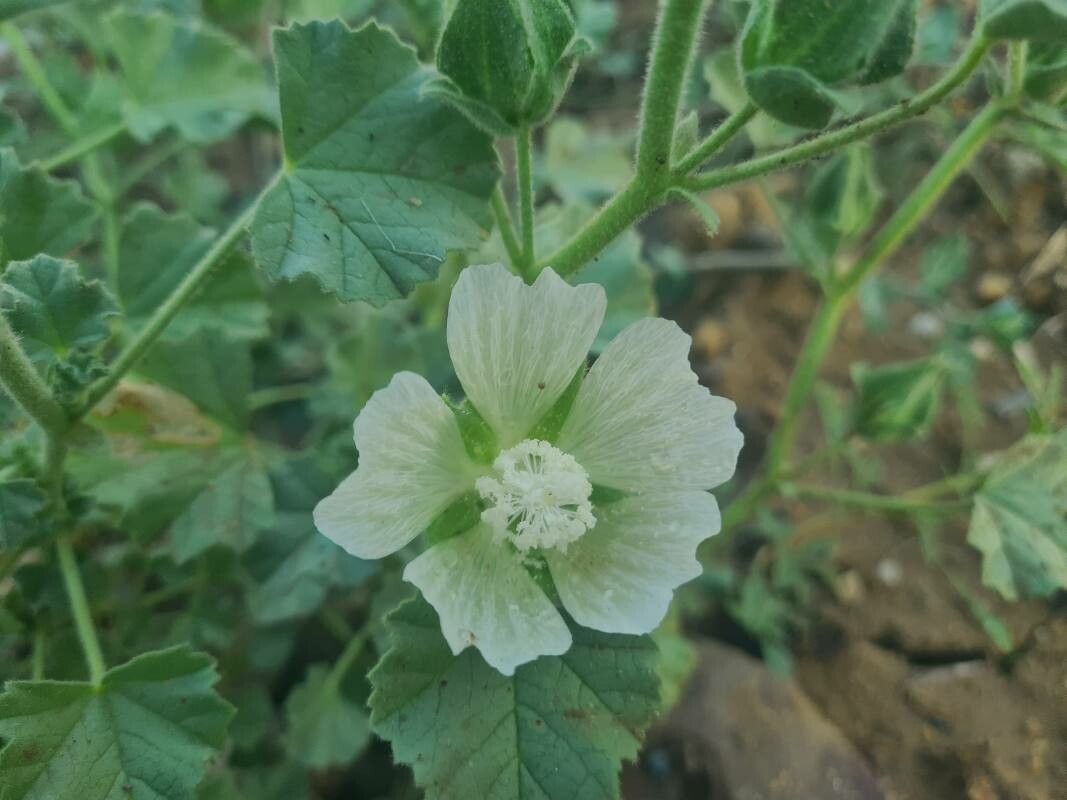
Hello there, fellow garden enthusiasts! I remember the first time I saw Malva agrigentina gracing a friend’s garden. Those lovely, delicate blooms, like little whispers of pink and white against those soft, fuzzy leaves – it was instant love. And the best part? Sharing that beauty is incredibly easy, as this little charmer is quite happy to be multiplied. If you’re new to the wonderful world of growing things from scratch, you’ll be delighted to know that Malva agrigentina is a wonderfully forgiving plant to propagate. It’s a fantastic way to fill your own garden or share with friends who have fallen under its spell.
The Best Time to Start
For the highest success rate with Malva agrigentina, I always lean towards late spring to early summer. This is when the plant is in full swing of its active growth. You’ll be taking cuttings from healthy, vigorous shoots that have emerged after the main flush of flowering in early spring. Waiting until the plant has recovered and is actively pushing out new growth is key. Avoid taking cuttings from old, woody stems.
Supplies You’ll Need
Getting ready to propagate is half the fun! Here’s what I always have on hand:
- Sharp pruning shears or a clean craft knife: For making clean cuts.
- Rooting hormone (optional but helpful): A little powder or gel can give your cuttings a real boost.
- A well-draining potting mix: I like a blend of equal parts perlite and seed-starting mix, or a good quality cacti and succulent mix works wonderfully too.
- Small pots or trays: Clean containers are a must!
- Plastic bags or a propagator lid: To create a humid environment.
- Water spray bottle: For gentle misting.
- Labels: Because trust me, you will forget which cutting is which!
Propagation Methods
The most reliable way I’ve found to multiply Malva agrigentina is through stem cuttings. It’s straightforward and yields great results.
Taking the Cuttings:
- Find a healthy, non-flowering stem on your established plant. Look for stems that are roughly 4-6 inches long and have started to firm up a bit – not brand new, floppy growth, but not old and woody either.
- Using your clean shears or knife, make a clean cut just below a leaf node. This is the point where a leaf emerges from the stem.
- Gently remove the lower leaves, leaving just a couple of leaves at the very top. This helps reduce moisture loss and prevents rotting in the soil.
Getting Them Rooted:
- If you’re using rooting hormone, dip the cut end of the stem into the powder or gel. Tap off any excess.
- Fill your small pots with your prepared potting mix. Moisten the mix thoroughly with your spray bottle. It should be damp, not soggy.
- Make a small hole in the soil with a pencil or your finger.
- Carefully insert the cut end of the stem into the hole, ensuring the node where you removed the leaves is below the soil surface.
- Gently firm the soil around the cutting to ensure good contact.
- Water lightly again to settle the soil.
- Now, for the humidity! Cover the pot with a clear plastic bag (I tie it loosely with a twist tie) or place it inside a propagator with a lid. This creates a mini-greenhouse effect.
The “Secret Sauce” (Pro Tips)
Having done this for a while, I’ve picked up a few tricks that make all the difference:
- Don’t overwater them! This is the most common mistake. Your cuttings need consistent moisture, but they absolutely cannot sit in soggy soil, or rot will set in. Think damp, not dripping. I often check by gently poking my finger into the soil – if it feels dry to about an inch down, it’s time for a light misting.
- Bottom heat is your friend. If you have a heat mat or can place your propagator in a warm spot (like on top of a warm, but not hot, appliance), this significantly speeds up root development. The warmth encourages the plant to send out those vital roots.
- Choose your cuttings wisely. Sometimes you’ll find cuttings that look perfect but just don’t take. I’ve learned that starting with slightly more mature, but still vibrant, stems often yields the best results. They just seem to have a bit more oomph to get going.
Aftercare & Troubleshooting
Once you see new leaf growth appearing, that’s your signal that roots have formed! You’ve done it!
- Gradually acclimatize your new plants. Once roots are established, start to slowly open the plastic bag or propagator lid for a few hours each day over a week. This allows the new, tender leaves to get used to the drier air.
- Water gently once they are no longer covered. Let the top inch of soil dry out between waterings.
- Move them to a brighter spot, but avoid direct, scorching sun initially. A bright windowsill is perfect.
- When to transplant? Wait until the roots are well-developed and starting to fill the pot. You’ll often see them peeking out of the drainage holes.
Now, about those common issues. The biggest culprit is rot. If your cuttings look limp, discolored, or smell sour, it’s usually a sign of too much moisture. Unfortunately, often the best thing to do is discard them to prevent it from spreading. If you see white mold on the soil surface, it’s also usually a sign of too much humidity and not enough air circulation. Try to improve airflow by opening the cover more often, or gently scraping off the mold. Don’t get discouraged if some don’t make it; that’s part of the learning process!
So there you have it! Propagating Malva agrigentina is a truly rewarding experience. It’s a tangible way to connect with your garden and share its beauty. Be patient with your little cuttings, give them the right conditions, and before you know it, you’ll have a whole new batch of these delightful plants to admire and share. Happy propagating!
Resource: