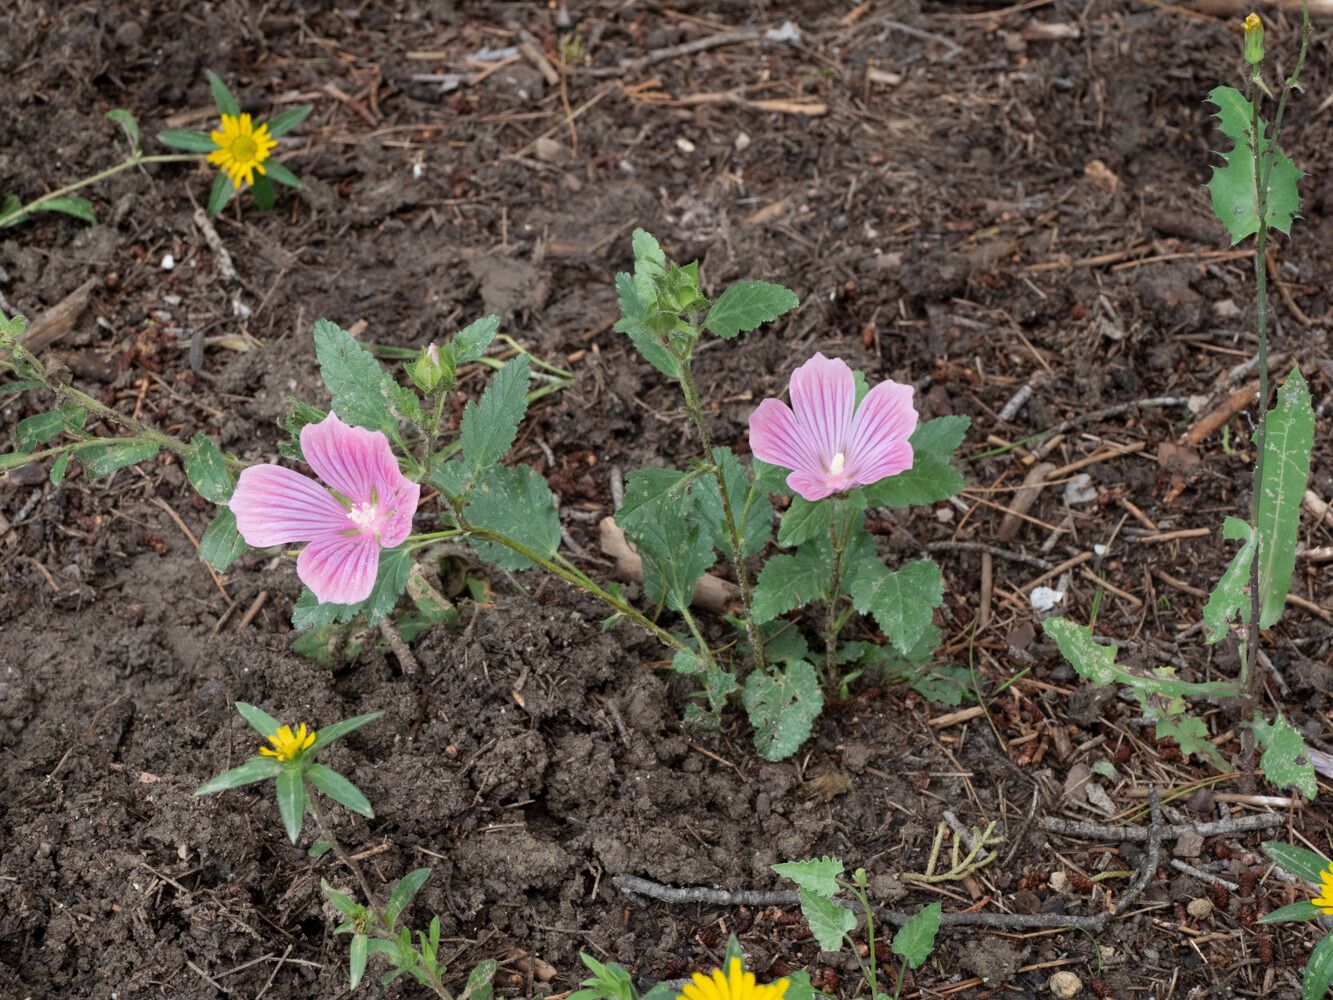
Hello there, fellow green thumbs! It’s so wonderful to have you pop by my little corner of the garden world. Today, we’re going to talk about a plant that I’ve grown to absolutely adore for its cheerful, vibrant blooms and graceful habit: Malope malacoides, often called the Spanish Mallow.
Why Grow and Propagate Malope Malacoides?
Malope malacoides is just a delight to have in the garden. It’s bursting with beautiful, open-faced flowers in shades of pink and magenta, and it blooms for a surprisingly long time, often from early summer right into fall. It has a lovely, slightly informal growth habit that adds a touch of romance to borders and containers. And the best part? Propagating it is quite rewarding, and thankfully, it’s relatively easy, making it a fantastic plant for beginners to try their hand at! Getting more of these beauties without having to buy new plants each year is a gardener’s dream, don’t you think?
The Best Time to Start Your Malope Malope Malacoides Journey
For the highest chance of success, I always recommend propagating Malope malacoides from seed. The ideal time to sow these seeds indoors is about 6-8 weeks before your last expected frost date. This gives them a good head start so they’re nice and strong when it’s time to plant them outside after the danger of frost has passed. You can also sow seeds directly into the garden bed in early spring, once the soil has warmed up a bit.
The Tools You’ll Need
Gathering your supplies is half the fun, isn’t it? Here’s what I usually have on hand:
- Seed starting mix: A light, well-draining mix is key. I often use a combination of peat moss, perlite, and a bit of compost.
- Seed trays or small pots: Clean containers are a must to prevent disease.
- Watering can with a fine rose: We want to be gentle with those tiny seeds!
- Dibber or pencil: For making small holes for the seeds.
- Optional: Clear plastic dome or cling film: To create a mini-greenhouse effect.
My Favorite Way to Propagate: From Seed
Propagating Malope malacoides is best done from seed, as cuttings can be a bit trickier and less reliable for this particular plant.
- Prepare your containers: Fill your seed trays or pots with your seed starting mix, leaving about a half-inch of space at the top. Gently firm the soil down.
- Moisten the soil: Water the mix thoroughly until it’s evenly damp but not waterlogged. Let any excess drain away.
- Sow your seeds: Place your Malope malacoides seeds about 1/4 inch deep in the soil. If you’re using seed trays, I find it best to sow 2-3 seeds per cell. If using larger pots, space them a few inches apart.
- Cover and label: Gently cover the seeds with a thin layer of your seed starting mix. Label your trays with the plant name and date – it’s easy to forget!
- Create a humid environment: Cover your trays with a clear plastic dome or a piece of cling film stretched tautly over the top. This helps to retain moisture and warmth.
- Find a warm spot: Place your seeded trays in a warm location. A sunny windowsill is often perfect, but if your home is a bit cooler, you might consider a heat mat.
- Be patient: Keep the soil consistently moist but not soggy. You should start to see germination in about 7-14 days. Remove the plastic cover as soon as you see the first seedlings emerge.
The “Secret Sauce” for Seed Starting Success
Here are a couple of tricks I’ve learned over the years that really make a difference with Malope malacoides seedlings:
- Don’t overwater! It’s tempting to drench new seedlings, but soggy soil is a fast track to damping-off disease. Water from the bottom if you can, or use your fine-rose watering can very gently on the soil surface.
- Give them some light right away. As soon as those little green heads poke through, they need good light. If your windowsill isn’t bright enough, seedling grow lights can be a game-changer. About 12-16 hours of light a day is ideal.
Aftercare and What to Watch For
Once your Malope malacoides seedlings have developed a couple of sets of true leaves (these are the ones that look like the adult leaves, not the initial baby ones), it’s time to think about transplanting.
- Potting up: If you started them in small cells, gently transfer each seedling into a slightly larger pot (about 3-4 inches) with good quality potting soil. Handle them by their leaves, not their delicate stems.
- Hardening off: Before planting them out in the garden, you’ll need to harden them off. This means gradually acclimatizing them to outdoor conditions. Start by placing them in a sheltered spot outdoors for a few hours each day, gradually increasing the time and exposure over a week or two.
- Planting out: Once the danger of frost has passed and your plants are hardened off, you can plant them in their final garden spot. They appreciate well-drained soil and a sunny location.
What if things go wrong? The most common issue you might face is damping-off, where seedlings suddenly wilt and die at the soil line. This is almost always due to overwatering and poor air circulation. If you see any signs of wilting or mushy stems, ease up on the watering and try to improve air flow around your seedlings.
So there you have it! Growing your own Malope malacoides from seed is a wonderfully accessible way to fill your garden with their charming blooms. Be patient, enjoy the process of watching them grow, and before you know it, you’ll have a whole patch of these beauties to admire all summer long. Happy gardening!
Resource:
https://identify.plantnet.org/k-world-flora/species/Malope%20malacoides%20L./data