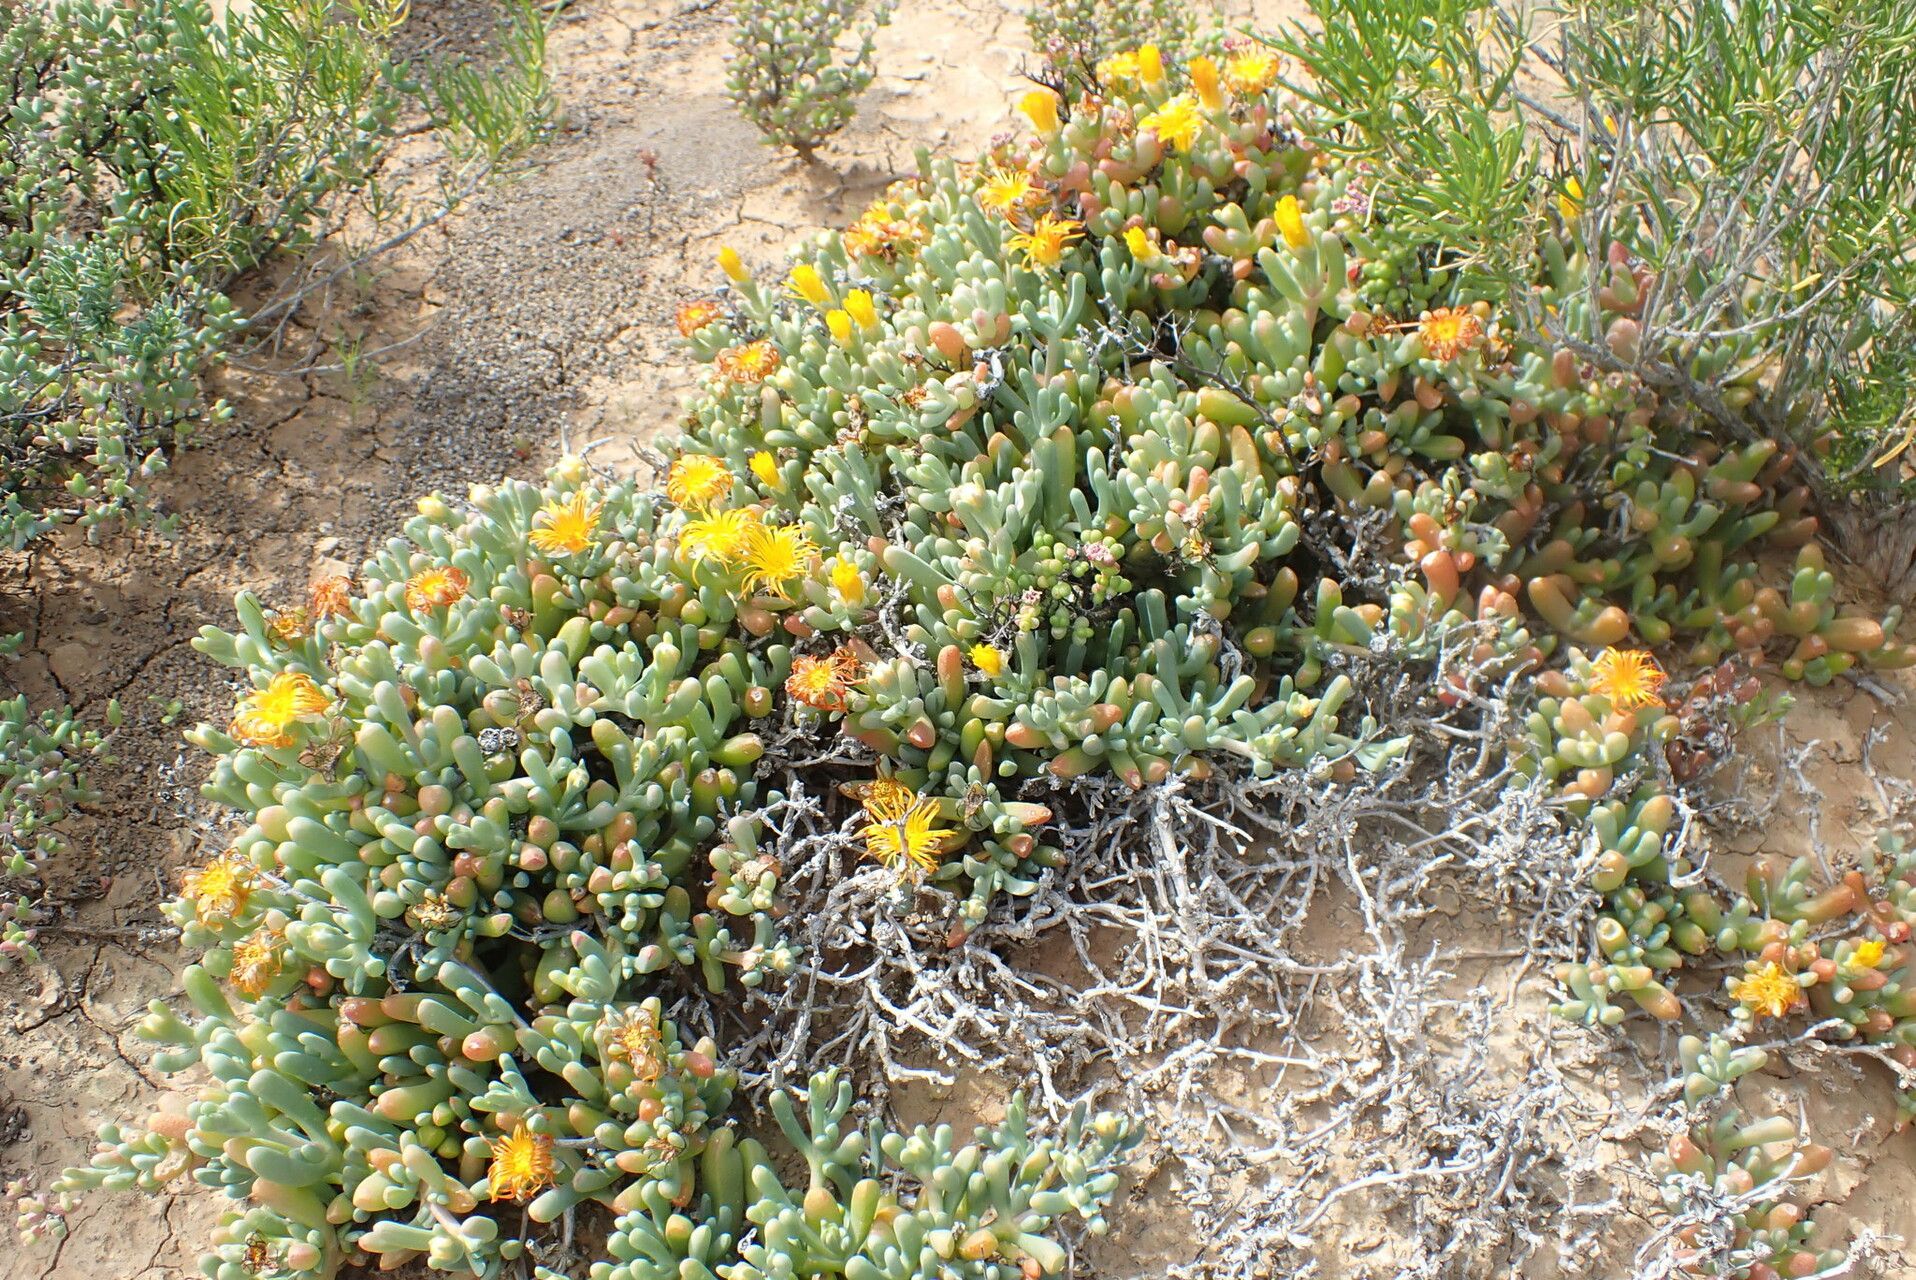
Hello fellow plant lovers! Today, we’re diving into the wonderfully cheerful world of Malephora crassa, or as I affectionately call them, “Ice Plant Happy Faces.” These succulents are such a delight with their vibrant, daisy-like flowers that bloom in a riot of colors. They really bring a smile to my face, and honestly, propagating them is just as rewarding as seeing those blooms. If you’re new to plant babies, you’ll be happy to hear that Malephora crassa is generally quite forgiving, making it a fantastic choice for beginners.
The Best Time to Start
For the absolute highest success rate, I always recommend propagating Malephora crassa during their active growing season. This is typically in late spring or early summer. The plant is full of energy and ready to bounce back, which gives your new cuttings the best possible start. You can also have success in early autumn, but the warmth and longer daylight hours of spring and summer really give them that extra boost.
Supplies You’ll Need
Don’t worry, you probably have most of this already! Here’s what will make your propagation journey smooth sailing:
- Sharp, clean pruning shears or a knife: To make clean cuts. Sterilize them with rubbing alcohol before you start.
- Well-draining potting mix: A succulent or cactus mix is ideal. I often add a bit of perlite to my own to ensure extra aeration.
- Small pots or trays: Terracotta pots are great because they breathe.
- Rooting hormone (optional but recommended): This isn’t strictly necessary for Malephora crassa, but it can give your cuttings a helpful nudge.
- Watering can or spray bottle: For gentle watering.
- Labels (optional): So you don’t forget what you planted where!
- Gloves: If you have sensitive skin, as some succulents can be a bit sticky.
Propagation Methods
Malephora crassa is wonderfully versatile. Here are a couple of my go-to methods:
Stem Cuttings
This is my favorite and most reliable method for these cheerful succulents.
- Select a healthy stem: Look for a non-flowering, mature stem that’s at least 3-4 inches long. Avoid any that look weak or have signs of damage.
- Make a clean cut: Using your sterilized shears or knife, make a clean cut just above a leaf node (where a leaf attaches to the stem).
- Prepare the cutting: Gently remove the lower leaves from the bottom inch or so of the stem. This exposes the nodes where roots will form and prevents leaves from rotting if they’re buried.
- Let it callous: This is a crucial step! Place your cuttings on a dry paper towel in a bright spot, out of direct sun, for 2-5 days. You’ll see the cut end dry and form a callus. This prevents rot when you plant them.
- Plant your cuttings: Once callused, gently insert the cut end into your pre-moistened, well-draining potting mix. You can dip the callused end in rooting hormone first if you’re using it. Make sure at least one leaf node is below the soil surface.
- Water sparingly: Give the soil a light watering. You want it to be moist, not soggy. Water again only when the soil feels dry to the touch.
Water Propagation
This method is also quite successful and fun to watch!
- Prepare your cutting: Follow steps 1-3 from the stem cutting method above.
- Place in water: Insert the bare, callused end of the cutting into a jar or glass of clean water. Make sure no leaves are submerged in the water. If necessary, you can suspend the cutting using toothpicks.
- Change water regularly: Change the water every 2-3 days to keep it fresh and prevent bacterial growth.
- Wait for roots: You’ll start to see small white roots emerge from the nodes. This usually takes a few weeks.
- Potting up: Once the roots are about an inch long, carefully transfer the cutting to your well-draining potting mix, following step 5 and 6 from the stem cutting method.
The “Secret Sauce” (Pro Tips)
Here are a couple of things I’ve learned over the years that really help:
- Don’t overcrowd your cuttings: Give them a little breathing room in their pots or trays. This promotes better air circulation, which is key for preventing fungal issues and encouraging healthy root development.
- Consider bottom heat: For even faster results, especially if your home is a bit cool, placing your potted cuttings on a seedling heat mat can make a world of difference. It gently warms the soil, encouraging root growth. Just ensure the mat doesn’t make the soil too hot and dry out your cuttings too quickly!
Aftercare & Troubleshooting
Once you see signs of growth – usually new leaves or a tug on the cutting when you gently pull – your plant has likely rooted!
- Gradual Acclimation: If you propagated in water, give your newly potted cuttings a couple of weeks in bright, indirect light before moving them to a sunnier spot. For cuttings planted directly into soil, continue with bright, indirect light.
- Watering: Continue to water only when the soil is dry. Overwatering is the quickest way to kill a new succulent cutting. You’ll notice the leaves might start to look plump and firm when properly hydrated.
- Signs of Trouble: The most common issue is rot, which looks like mushy, black stems or leaves. This is almost always due to too much moisture and poor air circulation. If you catch it early, you might be able to salvage a healthy part of the stem. Yellowing or wilting leaves that aren’t mushy can sometimes indicate thirst, but also check for overwatering if the soil is consistently wet.
A Little Patience Goes a Long Way
Propagating plants is a journey, and each one is a little adventure. Don’t get discouraged if not every single cutting makes it. Celebrate the successes, learn from the bumps in the road, and most importantly, enjoy the process of nurturing new life. Soon you’ll have a whole collection of these happy little Malephora crassa to share or simply to brighten your own space! Happy growing!
Resource: