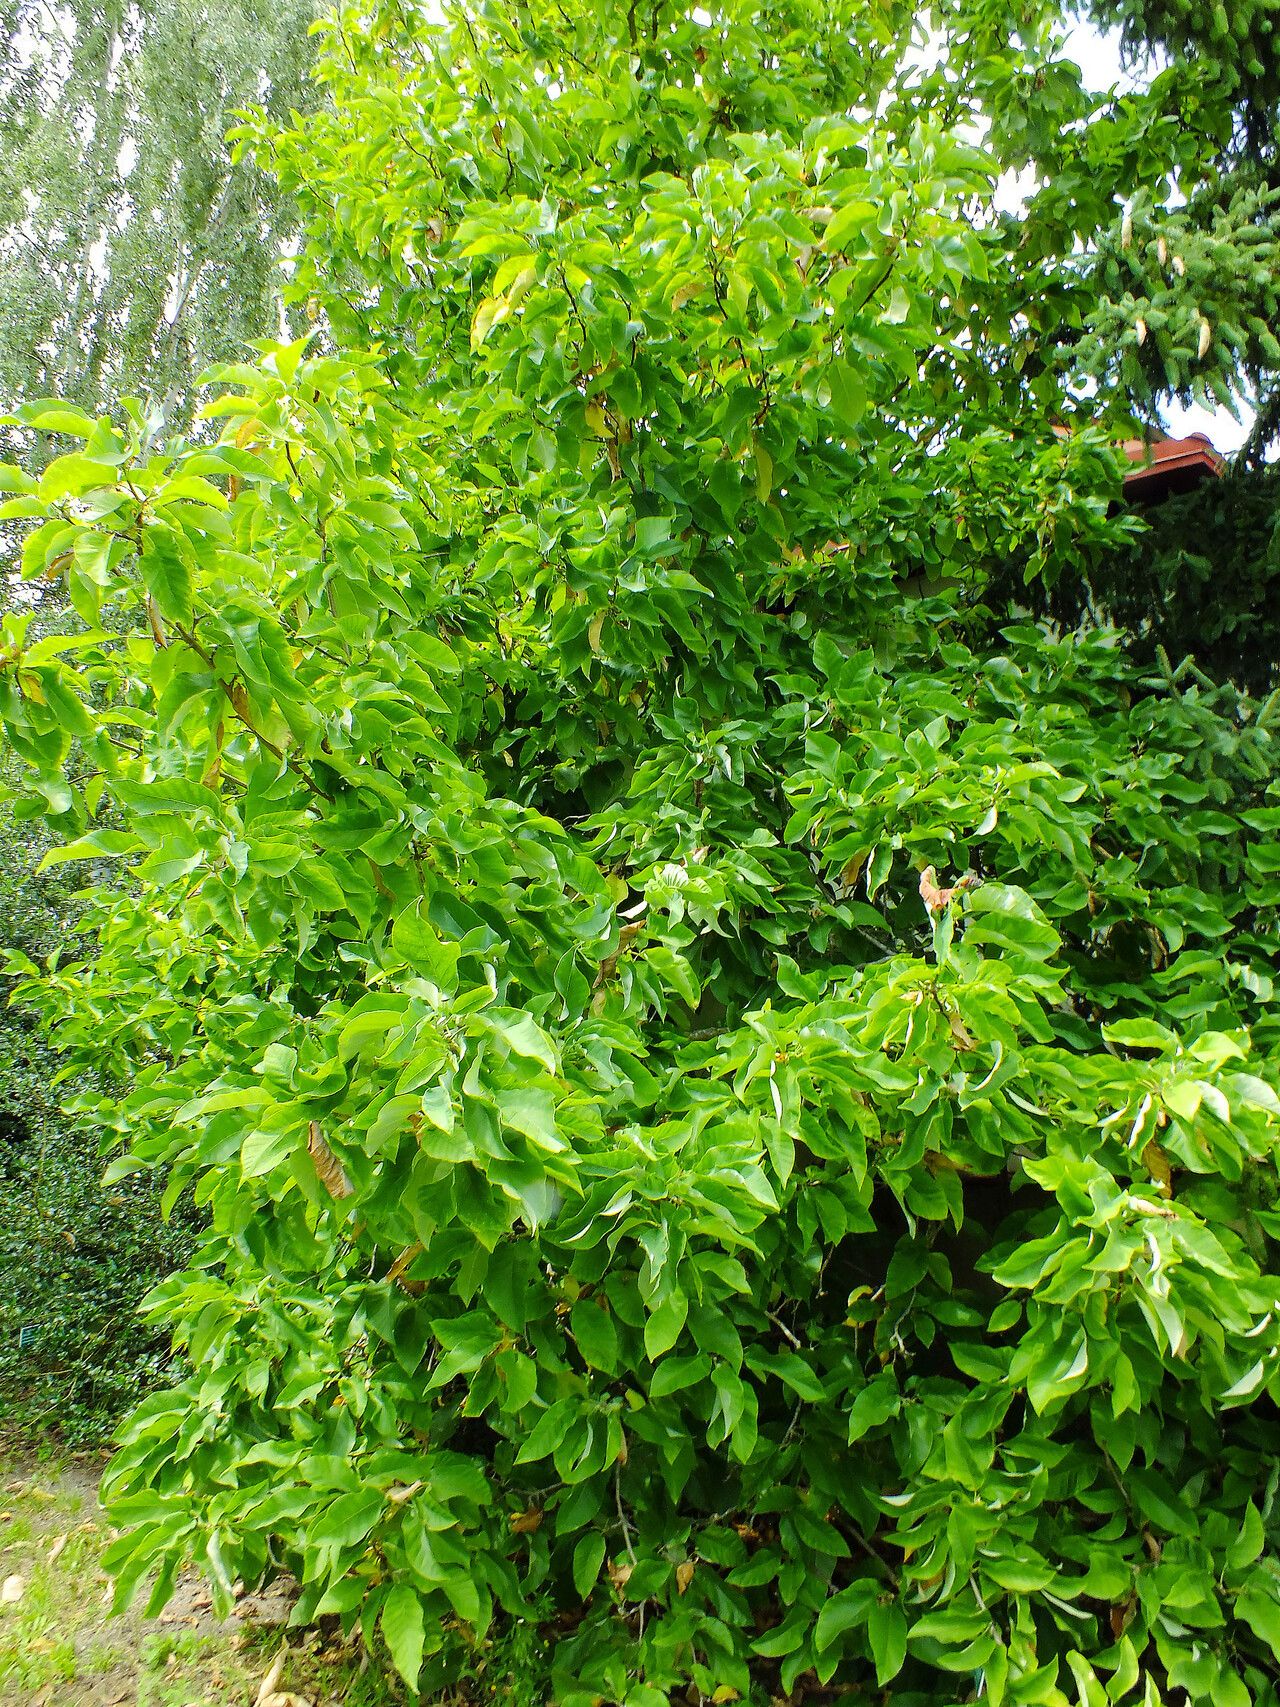
Hello there! It’s so lovely to connect with fellow plant lovers. Today, we’re diving into the world of Magnolia acuminata, often called the cucumber tree. Now, I know when you think of magnolias, you might picture those show-stopping Southern Magnolias with their enormous bloom. Magnolia acuminata is a bit more subtle, but oh-so-rewarding. Its creamy yellow-green flowers are quite charming, appearing a little later in the season than many of its cousins, and its unique cucumber-shaped fruit adds a quirky touch to the garden. Propagating this beauty from your own existing tree is a fantastic way to share its gentle presence or simply expand your collection without a hefty price tag. For beginners, I’d say it’s moderately challenging – not impossible by any means, but it requires a bit of patience and attention to detail.
The Best Time to Start
For Magnolia acuminata, I find the sweet spot for propagation is late spring to early summer. This is when the plant is actively growing and has plenty of energy to put into root development. You’re looking for new, somewhat flexible growth, often referred to as semi-hardwood cuttings. Avoid anything that’s too soft and green or too woody and stiff. Think of it like a pencil – firm, but still with a bit of give.
Supplies You’ll Need
Here’s what you’ll want to have on hand before you get started:
- Sharp Pruning Shears or a Knife: Make sure they’re clean to prevent disease.
- Rooting Hormone: A powder or gel will do. Look for one with a fungicide if you can.
- A Well-Draining Potting Mix: I like a blend of peat moss, perlite, and a little bit of vermiculite. About 50% peat, 50% perlite works wonders for Magnolias.
- Small Pots or Trays: Clean ones are a must! Small starter pots (4-6 inches) are perfect.
- Plastic Bags or a Propagation Dome: To create a humid environment.
- A Spray Bottle: For misting.
- Small Labels and a Pen: To keep track of what you’ve planted.
- (Optional) Heat Mat: This can make a big difference, especially if your propagation area is a bit cooler.
Propagation Methods
Let’s get our hands dirty!
Stem Cuttings (The Most Reliable Method)
-
Take Your Cuttings: On a nice mild morning, select a healthy branch with that perfect semi-hardwood growth. Cut stems that are about 6-8 inches long, making a clean cut just below a leaf node (where a leaf attaches to the stem). Remove any leaves from the bottom half of the cutting. You can leave a couple of leaves at the top to help with photosynthesis, but make sure to cut them in half horizontally to reduce water loss.
-
Prepare the Cutting: Dip the cut end of the stem into your rooting hormone, ensuring it’s coated well. Tap off any excess.
-
Plant Your Cuttings: Fill your clean pots with your prepared potting mix. Make a hole with your finger or a pencil, and gently insert the cutting. Firm the soil around it so the cutting stands upright.
-
Water and Cover: Water the potting mix thoroughly but gently. You want it moist, not soaking. Now, here’s the crucial part for humidity: place the potted cuttings inside a clear plastic bag or a propagation dome. Seal it up, or use skewers to tent the bag so it doesn’t touch the leaves.
-
Placement: Put your pots in a bright spot, but out of direct sunlight. A windowsill in a room with consistent light is usually ideal.
Division (For Established Plants)
If you have a more mature Magnolia acuminata with multiple stems arising from the base, division is a great option.
-
Dig Around the Root Ball: In early spring or fall, when the plant is dormant, carefully dig around the perimeter of the plant, gently lifting as much of the root ball as possible.
-
Separate the Divisions: Look for natural separation points where you can see individual sections with roots and stems. You might need a sharp spade or a sturdy knife to help separate them cleanly. Try to ensure each division has a good amount of roots.
-
Replant Immediately: Plant the divisions in their new spots or in pots with fresh, well-draining soil. Water them in well and keep them consistently moist for the first few weeks.
The “Secret Sauce” (Pro Tips)
This is where a little experience really shines through!
-
Bottom Heat is Your Friend: Magnolias are a bit stubborn when it comes to rooting. Placing your pots on a gentle heat mat (around 70-75°F or 21-24°C) will dramatically speed up root development. It encourages roots to form from the bottom of the cutting.
-
Don’t Let the Leaves Drip: If you’re using a plastic bag, make sure the leaves don’t touch the plastic. Condensation dripping onto the leaves can encourage fungal diseases. That’s why I recommend tenting the bag or using propagation domes.
-
Air Circulation is Key: While humidity is vital, a little bit of fresh air exchange is also important. Once a day, briefly open the bag or dome for a few minutes to allow some air to circulate. This helps prevent mold and mildew.
Aftercare & Troubleshooting
Once your cuttings have started to root (this can take anywhere from 4 weeks to several months!), you’ll notice new leaf growth. You can gently tug on a cutting – if there’s resistance, roots are forming!
-
Gradual Acclimation: Once you see good root development and new growth, slowly start to acclimate your new plants to normal humidity. Gradually open the plastic bag or dome over a week or so.
-
Watering: Keep the soil consistently moist but not soggy. Water when the top inch of soil feels dry.
-
Troubleshooting: The most common culprits for failure are drying out, overwatering (leading to rot), or fungal diseases. If you see leaves turning yellow and falling off, or if the stem feels mushy and dark at the base, it’s likely due to too much moisture. If a cutting looks completely limp and shriveled, it may have dried out. Don’t be discouraged if you lose a few! It’s part of the learning process.
A Little Patience, A Lot of Reward
Propagating Magnolia acuminata is a journey, not a race. There will be times you’ll wonder if anything is happening, but trust the process. Watching those tiny roots emerge and seeing your new plant unfurl its first true leaves is an incredibly rewarding feeling. So grab your tools, find a good cutting, and enjoy the magic of growing your own magnolias. Happy gardening!
Resource:
https://identify.plantnet.org/k-world-flora/species/Magnolia%20acuminata%20(L.)%20L./data