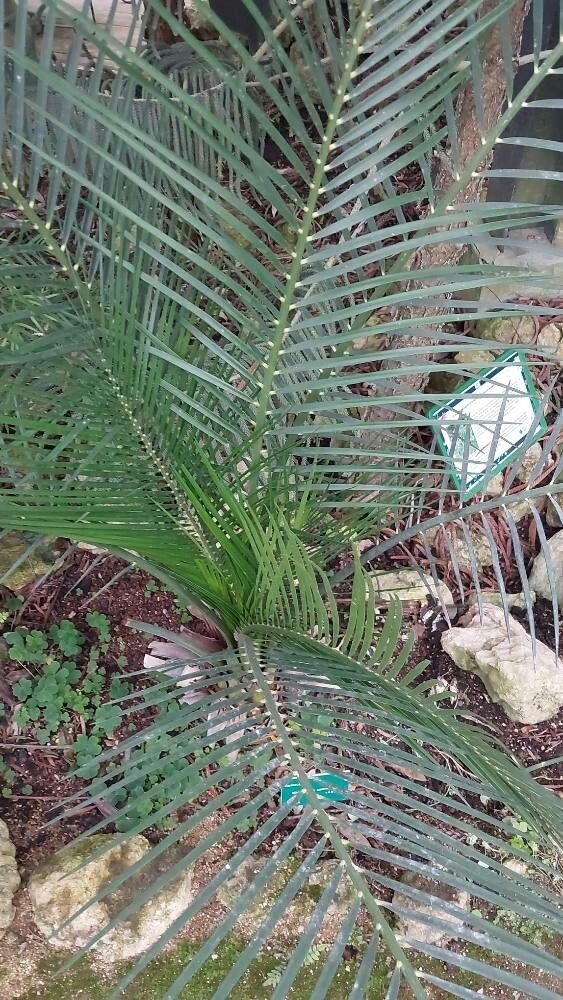
Oh, Macrozamia communis! What a magnificent cycad. If you’re drawn to their ancient, palm-like appearance and the sheer drama they bring to a garden, you’re not alone. Their fronds unfurl with such a regal air, and honestly, growing one from scratch is a deeply satisfying journey. Now, about propagation… let’s be upfront: Macrozamia communis isn’t exactly a beginner’s “stick it in the ground and watch it grow” kind of plant. It requires a bit more patience and the right touch. But don’t let that deter you! With a little know-how, you’ll be well on your way to multiplying these beauties.
The Best Time to Start
For Macrozamia communis, spring and early summer are your golden windows. This is when the plant is at its most active growth phase, meaning it’s more receptive to new beginnings. Waiting for this peak growth period drastically increases your chances of success. Think of it as giving your fledgling plant the best possible start on its life.
Supplies You’ll Need
Here’s a quick rundown of what you’ll want to have on hand:
- Well-draining potting mix: A gritty blend is key. I often use a mix of coarse sand, perlite, and a good quality potting soil. You can also find specialized cactus and succulent mixes.
- Sharp, sterile pruning shears or a clean knife: For making clean cuts.
- Rooting hormone (optional but recommended): Helps encourage root development. Look for one formulated for woody plants.
- Small pots or propagation trays: Something with drainage holes is essential.
- Gloves: Some cycad sap can be a bit irritating.
- Watering can with a fine rose: For gentle watering.
- A warm, bright spot: Away from direct, harsh sunlight initially.
- A heat mat (optional but very helpful): For encouraging root growth.
Propagation Methods: Pups are Your Pals!
While you can technically propagate Macrozamia from seed, and it involves its own set of challenges, the most practical and rewarding method for home gardeners is by separating the offsets, or “pups,” that grow from the base of a mature plant.
Here’s how you do it:
- Identify Healthy Pups: Look for smaller offshoots or pups that have emerged from the main trunk of your Macrozamia. Ideally, these pups should have a few developed leaves and a discernible trunk.
- Gently Excavate: Carefully clear away some of the soil from around the base of the pup you want to harvest. You’re looking for where it attaches to the mother plant.
- Make the Cut: Using your sharp, sterile pruning shears or knife, make a clean cut to separate the pup from the parent plant. Try to get as much of the pup’s base as you can, ensuring there’s a small piece of the original trunk attached.
- Allow to Callus: This is a CRUCIAL step for Macrozamia. Do NOT plant the pup immediately. Instead, let the cut end dry and callus over for at least a week, or even two, in a dry, airy location. This prevents rot, which is the most common enemy of freshly separated offsets.
- Apply Rooting Hormone (Optional): Once the cut has callused nicely, you can dip the cut end into rooting hormone. Tap off any excess.
- Planting: Fill a small pot with your well-draining mix. Make a small hole in the center and firmly plant the callused end of the pup. Ensure the base of the pup is supported.
- Initial Watering: Water very sparingly. You want the soil to be barely moist, not soggy. Overwatering at this stage is a death sentence.
The “Secret Sauce” (Pro Tips)
Alright, let’s dive into a couple of things I’ve learned over the years that make a real difference:
- Patience is Paramount – Truly: Macrozamia are slow growers. When I say slow, I mean slow. Don’t expect to see new growth in a week or two. It can take several months, even up to a year, for a new pup to establish visible roots and start producing new leaves. Resist the urge to constantly dig it up to check for roots!
- Bottom Heat is Your Friend: If you can, place your pots on a gentle heat mat. Cycads are subtropical plants, and a bit of warmth at the root level can significantly encourage root formation. Just keep it to a low, consistent temperature.
- Don’t Mist, Mistake: I see people misting cycad cuttings constantly, and it’s often a mistake. The leaves don’t need constant humidity like some other tropicals. Focus on keeping the soil very lightly moist, not wet, and focus on bottom heat.
Aftercare & Troubleshooting
Once your Macrozamia pup has been in its pot for a good while, you might start seeing signs of life – a new frond unfurling! When this happens, you can gradually transition it to more regular watering, but always letting the soil dry out somewhat between waterings.
The biggest pitfall to watch out for is rot. If the pup becomes soft, mushy, or develops black spots, it’s usually a sign of too much moisture. Unfortunately, if rot sets in deeply, it can be very difficult to save. This is why that initial callusing period and careful watering are so vital. If you see a pup start to look sickly, check the soil moisture immediately.
A Encouraging Closing
Propagating Macrozamia communis is a labor of love. It’s a testament to your green thumb, your patience, and your desire to nurture something truly special. Don’t get discouraged if your first attempt isn’t a runaway success. Every gardener has their learning curve. Trust the process, give your pups the right conditions, and enjoy the incredible reward of watching a new ancient beauty emerge from your care. You’ve got this!
Resource:
https://identify.plantnet.org/k-world-flora/species/Macrozamia%20communis%20L.A.S.Johnson/data