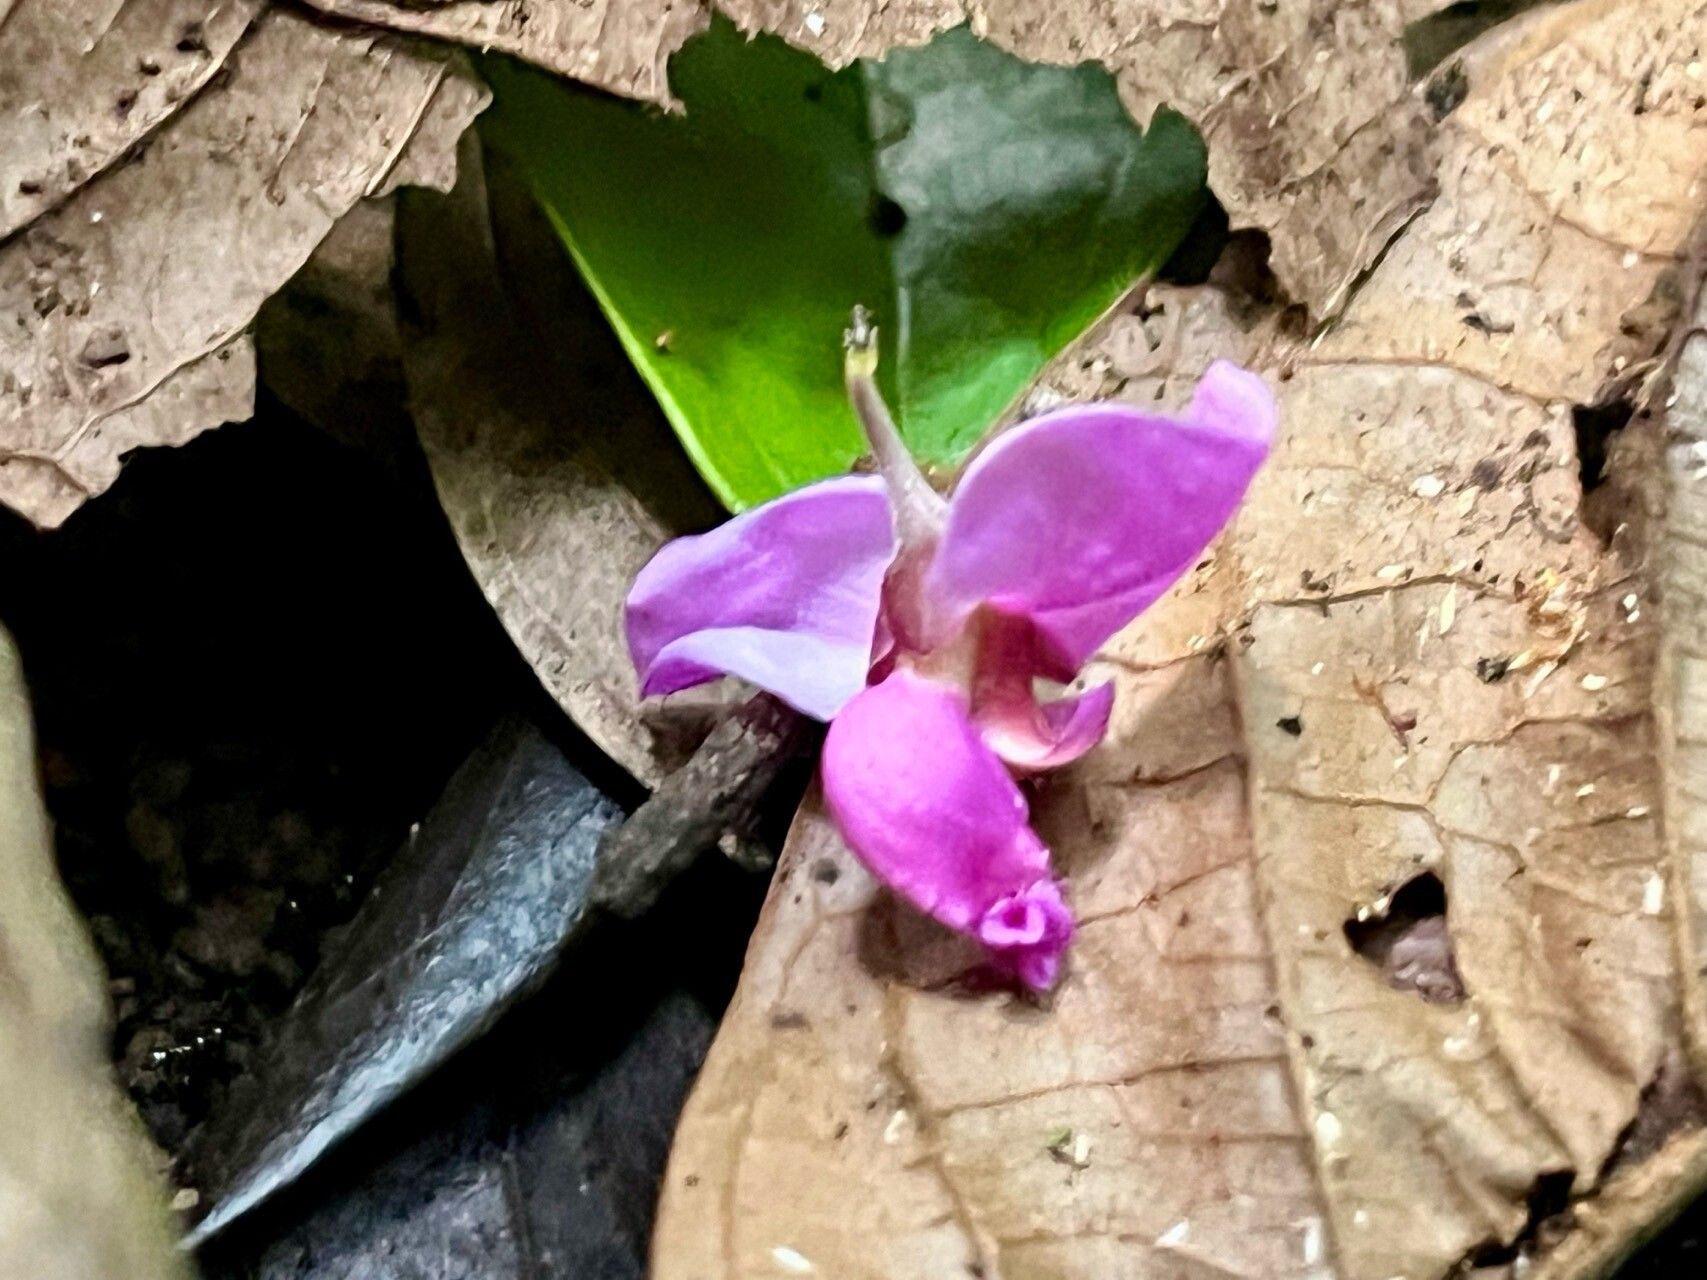
Oh, Macropsychanthus scaber! You know, the one with those gorgeous, fuzzy leaves and the sweet, almost lavender-like scent when you brush against it? It’s truly a gem, and there’s something so satisfying about taking a little piece of a plant you love and watching it turn into a whole new one. It’s like a little gardening magic trick, and honestly, for Macropsychanthus, it’s not too tough to get the hang of. Even if you’re just dipping your toes into propagation, you’ll likely find this plant quite forgiving.
The Best Time to Start
My favorite time to take cuttings is late spring to early summer. That’s when the plant is really in its active growing phase. You’ll see new growth popping everywhere, and those young, semi-hardened stems root the best. Avoid taking cuttings from very old, woody stems or during the plant’s dormancy in winter.
Supplies You’ll Need
Here’s what I always have on hand when I’m ready for a propagation session:
- Sharp pruning shears or a clean knife: For making clean cuts.
- Rooting hormone powder or gel: This isn’t strictly essential for Macropsychanthus, but it definitely gives your cuttings a helpful boost.
- A good potting mix: I like a blend of peat moss or coco coir, perlite, and a bit of compost. It needs to be well-draining!
- Small pots or seedling trays: Clean ones are a must to prevent disease.
- A spray bottle: For keeping things consistently moist.
- Clear plastic bags or a propagation dome: To create a humid environment.
- Labels: Because trust me, you will forget what’s what!
Propagation Methods
Macropsychanthus scaber is a champion for stem cuttings. It’s quick, effective, and you can get quite a few new plants from a mature specimen.
- Select Your Parent Plant: Look for a healthy, vigorous Macropsychanthus. You’ll want to choose stems that are growing, not old and woody.
- Take the Cuttings: Using your clean shears, carefully cut sections of stem that are about 4-6 inches long. Make your cut just below a leaf node (the little bump where a leaf grows from the stem). You can even take cuttings from where new shoots are emerging.
- Prepare the Cuttings: Gently remove the lower leaves from your cuttings, leaving just a couple of leaves at the top. This is important because those lower leaves will rot if they’re buried in the soil. If you’re using rooting hormone, dip the cut end into it, tapping off any excess.
- Planting the Cuttings: Fill your small pots with your well-draining potting mix. Make a small hole in the center of the soil with your finger or a pencil, and then insert the cut end of your Macropsychanthus cutting. Gently firm the soil around the stem to ensure good contact.
- Water and Cover: Water the soil thoroughly but gently until water drains from the bottom. Then, place the pot into a larger plastic bag or cover it with a propagation dome. This creates a mini-greenhouse effect.
The “Secret Sauce” (Pro Tips)
Here are a few things I’ve learned over the years that make a big difference:
- Don’t let the remaining leaves touch the water in a water propagation setup. While Macropsychanthus can root in water, I find they often get mushy. If you do try water, make sure the leaves are completely out of the water. But honestly, soil is usually best for this one.
- Consider bottom heat. A seed starting mat placed underneath your pots can really speed up root development. This is especially helpful if your house is on the cooler side. The warmth encourages cell activity at the cut end.
- Cleanliness is king. Make sure anything that touches your cuttings – your hands, your tools, your pots – is clean. This dramatically reduces the risk of fungal infections and rot.
Aftercare & Troubleshooting
Once your cuttings are planted, the goal is to keep them consistently moist but not waterlogged.
- Humidity is key: Keep the plastic bag or dome on, and open it daily for a few minutes to allow for fresh air exchange. You don’t want stagnant, overly damp air, as this can lead to mold. Mist the leaves lightly with your spray bottle if they start to look a bit droopy, but avoid spraying the soil directly too much.
- Patience is a virtue: Roots can take anywhere from 2 to 6 weeks to develop. You can gently tug on a cutting to feel for resistance, or look for new leaf growth.
- Troubleshooting: The most common issue you’ll see is rot. If the stem turns black and mushy at the soil line, it’s likely gone. This is usually a sign of too much moisture, poor drainage, or a lack of air circulation. If you see any signs of rot, try to remove the affected cutting immediately and improve your watering and ventilation practices. Yellowing leaves can sometimes indicate overwatering, or sometimes just shock. Don’t panic, observe!
A Encouraging Closing
Don’t be discouraged if your first few attempts aren’t perfect. Gardening is a journey, and propagation is a skill that improves with practice. Enjoy the process of nurturing these little plant babies, and soon you’ll have a whole collection of your beloved Macropsychanthus scaber to share, gift, or just admire! Happy propagating!
Resource: