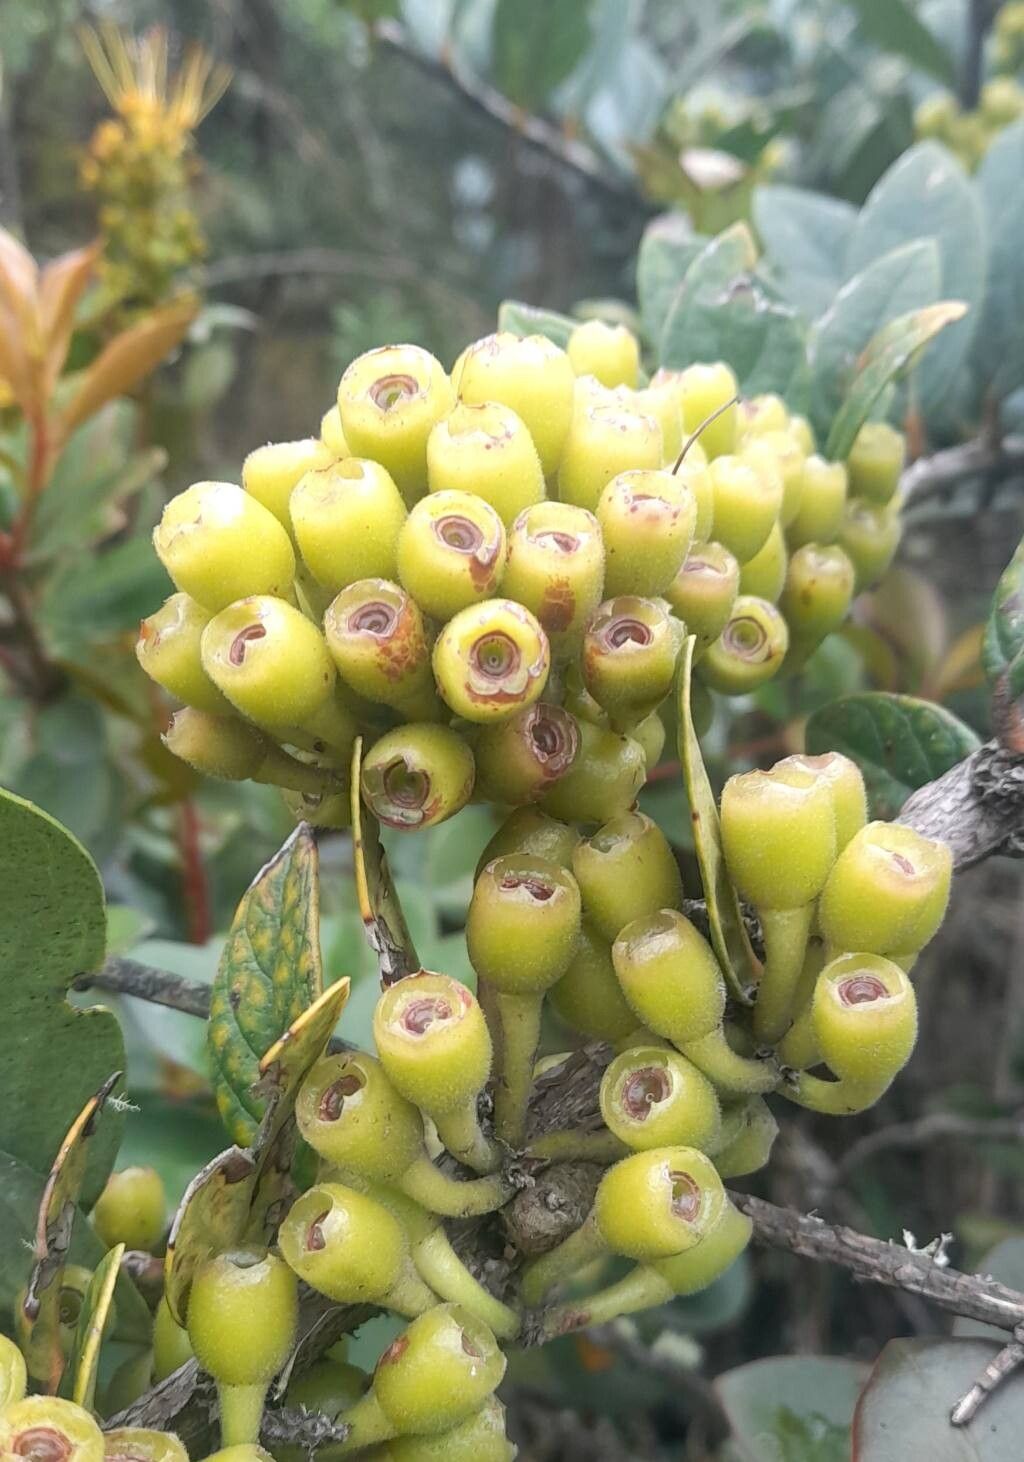
Ah, Macleania rupestris! If you’ve ever seen one of these beauties gracing a garden, you know it. With its glossy leaves and often striking flowers, it’s a plant that truly brings a touch of the exotic. And the best part? Bringing one of your own into the world from a little cutting is incredibly rewarding. Now, I’ll be honest, Macleania rupestris isn’t the absolute easiest plant to propagate for a complete beginner, but with a little care and attention, it’s definitely achievable, and trust me, the thrill of success is worth it!
The Best Time to Start
When it comes to getting the highest success rate with your cuttings, I find late spring to early summer to be your sweet spot. This is when the plant is actively growing after a period of rest, and the young, semi-hardwood shoots have enough energy to root. You want to take cuttings from stems that are flexible but not floppy – think of a sturdy pencil.
Supplies You’ll Need
Here’s a little kit to get you going:
- Sharp pruning shears or a clean knife: For making clean cuts.
- Rooting hormone (optional but recommended): A powdered or liquid hormone can give your cuttings an extra boost.
- Well-draining potting mix: I like a blend of equal parts peat moss or coco coir and perlite. This keeps things airy and prevents waterlogging.
- Small pots or trays: Clean pots are crucial to avoid diseases.
- Plastic bags or a propagator: To create a humid environment.
- Water: For misting and eventually watering.
- Labels: Always label your cuttings!
Propagation Methods
Let’s get our hands dirty! The most reliable way to propagate Macleania rupestris is through stem cuttings.
- Take Your Cuttings: Select healthy stems from your mature plant. Using your sharp shears or knife, cut sections that are about 4-6 inches long. Make your cut just below a leaf node (where a leaf attaches to the stem).
- Prepare the Cuttings: Gently remove the leaves from the bottom two-thirds of the stem. Leave just a couple of leaves at the very top. This reduces water loss and directs the plant’s energy towards root development.
- Apply Rooting Hormone (If Using): Dip the cut end of each stem into your rooting hormone, tapping off any excess.
- Planting: Fill your clean pots or trays with your well-draining potting mix. Make a small hole with your finger or a pencil, and then insert the cutting, ensuring the nodes are buried in the soil. Gently firm the soil around the base.
- Create Humidity: Water the soil lightly. Then, cover the pots or trays with a plastic bag or place them in a propagator. This creates a mini-greenhouse, keeping the humidity high, which is vital for cuttings to root.
The “Secret Sauce” (Pro Tips)
Now for a couple of little tricks I’ve learned over the years:
- Don’t let the leaves touch the water: If you happen to choose water propagation (though I find cuttings in soil are more successful for Macleania), make sure the leaves of the cutting are never submerged. Any leaf in the water will just rot and potentially introduce disease to your cutting.
- Bottom heat is your friend: If you have a seedling heat mat, placing your pots on it can significantly speed up root formation. It mimics the warmth of the earth, encouraging those tiny roots to emerge much faster.
Aftercare & Troubleshooting
Once your cuttings are planted, keep them in a bright spot out of direct sunlight. Mist them lightly every day or two, and check the soil moisture – it should be consistently (but not soggily) moist.
You’ll know your cuttings are rooting when you see new leaf growth or feel a slight resistance when you gently tug on the cutting. This can take anywhere from 4 to 8 weeks, or sometimes even longer. Be patient!
The most common issue you’ll encounter is rot, which usually happens if the soil is too wet or the humidity is too low. If you see a cutting turning black and mushy, it’s sadly a goner. Don’t be discouraged; just try again with fresh cuttings and make sure your soil is airy enough.
A Little Patience Goes a Long Way
Propagating plants is a journey, and with Macleania rupestris, it’s one that requires a bit of understanding and a good dose of patience. Don’t get discouraged if your first few attempts don’t pan out. Keep observing your plants, keep trying, and enjoy the process of coaxing new life from your favorite specimens. Happy gardening!
Resource:
https://identify.plantnet.org/k-world-flora/species/Macleania%20rupestris%20(Kunth)%20A.C.Sm./data