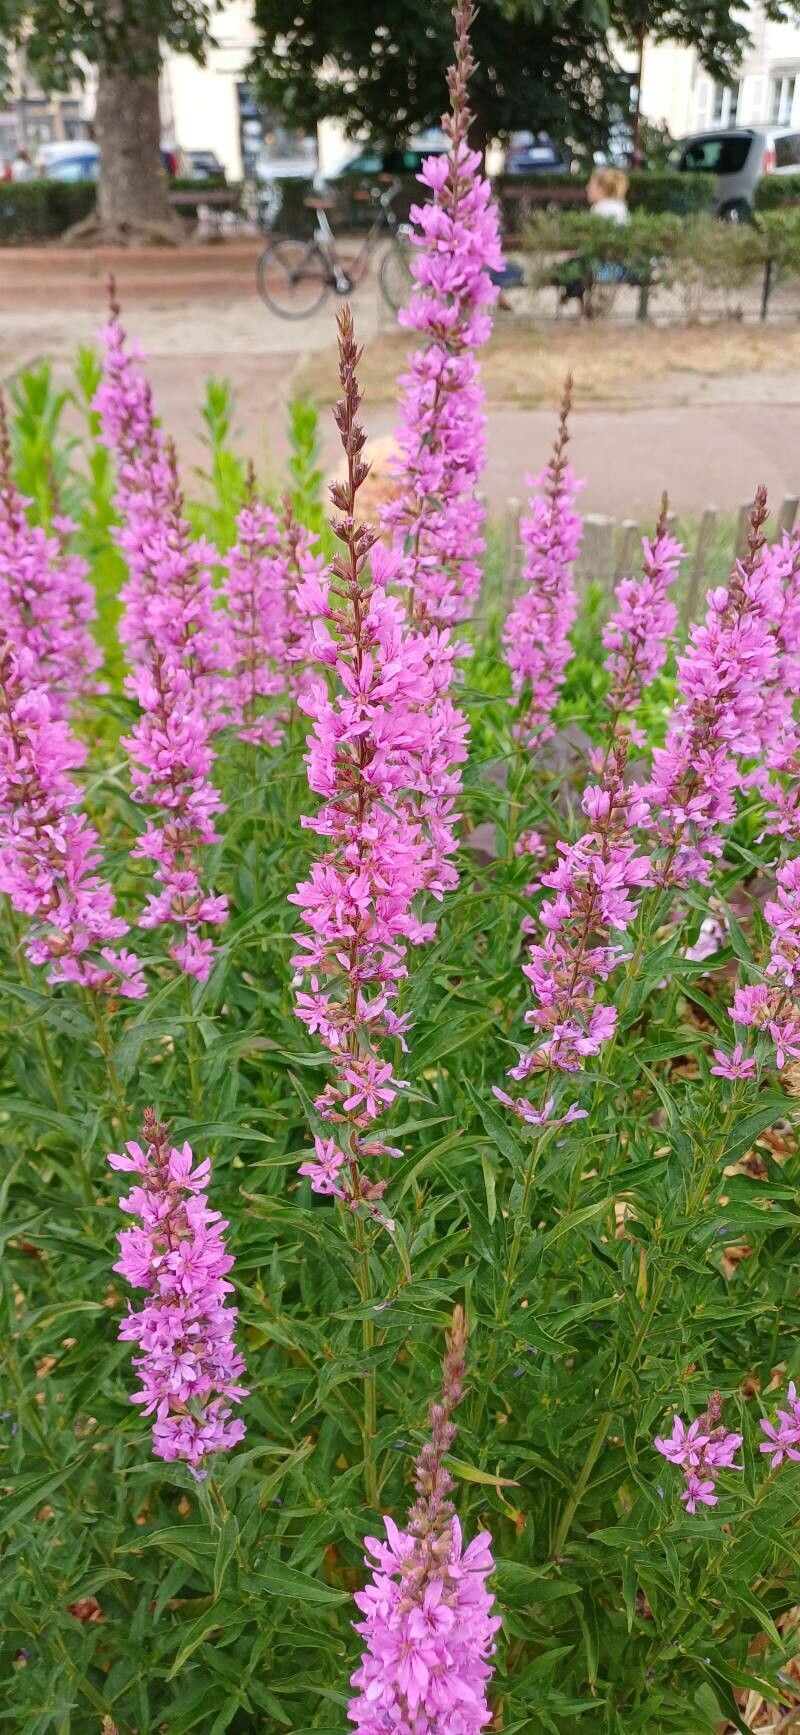
Hello fellow garden enthusiasts! It’s been a while, and I’m so excited to chat with you today about one of my absolute garden joys: Lythrum flexuosum. This lovely plant, with its delicate purplish-pink flower spikes, brings such a vibrant splash of color to the summer garden. It’s often tucked away in perennial borders, quietly doing its beautiful thing. Propagating it feels like sharing a little bit of that magic, and I can tell you, it’s a truly rewarding experience. For those of you just dipping your toes into the world of plant propagation, I have great news: Lythrum flexuosum is generally quite an easy plant to propagate, making it a wonderful choice for beginners.
The Best Time to Start
When it comes to getting the most bang for your propagation buck, I’ve found that late spring to early summer is the sweet spot for Lythrum flexuosum. This is when the plant is actively growing and has plenty of vibrant new shoots to work with. You want to select stems that are pliable and green, not woody and old. Think of them as young, energetic branches full of life – these are the ones most eager to root.
Supplies You’ll Need
Gathering your supplies before you begin is always a good idea. It makes the whole process smoother!
- Sharp Pruning Shears or a Clean Knife: For making clean cuts.
- Rooting Hormone (Optional but Recommended): Powder or gel works well.
- Small Pots or Seed Starting Trays: With drainage holes, of course!
- Well-Draining Potting Mix: A good generic potting mix with added perlite or coarse sand is perfect. I often use a mix of half potting soil and half perlite.
- Plastic Bags or a Propagator: To create a humid environment.
- Watering Can or Spray Bottle: For gentle watering.
- Labels and a Pen: To keep track of your precious new plants!
Propagation Methods
Lythrum flexuosum is a plant that plays nicely with a couple of different propagation techniques. Here are my go-to methods:
Stem Cuttings
This is my favorite way to multiply Lythrum flexuosum. It’s efficient and reliably produces healthy new plants.
- Selection: Gently bend a flexible, non-flowering stem from your established plant. Look for a piece that’s about 4-6 inches long.
- The Cut: Using your clean shears or knife, make a clean cut just below a leaf node (where a leaf attaches to the stem). This is where the magic happens for rooting.
- Preparation: Gently remove the lower leaves from the cutting, leaving just a couple at the very top. If your cutting has any flower buds, pinch those off too; we want the plant to focus its energy on growing roots, not flowers.
- Rooting Hormone (If Using): Dip the cut end of the stem into a small amount of rooting hormone, tapping off any excess.
- Planting: Make a small hole in your prepared potting mix using a pencil or your finger. Insert the cutting, ensuring the leaf nodes are buried. Gently firm the soil around the base of the cutting.
- Watering: Water the pot thoroughly but gently. You want the soil to be moist, not soggy.
- Create Humidity: Cover the pot with a clear plastic bag or place it in a propagator. This helps maintain a humid environment, which is crucial for cuttings. You can prop the bag up with small stakes so it doesn’t touch the leaves.
- Placement: Place the pot in a bright spot, but out of direct sunlight. A windowsill that gets morning sun is often ideal.
Division
This is a fantastic method for established Lythrum plants that have grown quite large. It’s also a great way to rejuvenate an older clump.
- Timing: The best time to divide Lythrum is typically in early spring, as soon as new growth starts to emerge, or in early autumn after flowering has finished.
- Excavation: Gently dig around the base of the plant and lift the entire root ball out of the ground. Be careful not to damage the roots excessively.
- The Split: You can often do this with your hands, gently pulling the root ball apart. For tougher clumps, you might need to use a clean spade or even two forks placed back-to-back and twist to separate sections.
- Inspection: Look for sections that have healthy roots and at least one or two shoots. Remove any dead or damaged material.
- Replanting: Immediately replant the divisions into their new homes. They like similar conditions to the parent plant, so ensure good drainage and a sunny spot. Water them in well.
The “Secret Sauce” (Pro Tips)
Here are a couple of little tricks I’ve picked up over the years that can really boost your success:
- Bottom Heat is Your Friend: If you’re using stem cuttings, especially indoors, placing your pots on a propagation mat or a warm windowsill can significantly speed up root development. Lythrum roots love a little warmth from below.
- Don’t Over-Water the Cuttings: This might sound counterintuitive, but soggy soil is the enemy of cuttings. It can lead to rot before roots even have a chance to form. Aim for consistently moist, but never waterlogged, conditions. A good watering and then letting the top of the soil dry slightly before watering again is key.
- Air Circulation Matters: While you want humidity for cuttings, don’t forget to give them a little “breather” every day or two. Briefly lift the plastic bag or open the propagator for a few minutes to allow for fresh air exchange. This further helps prevent fungal issues.
Aftercare & Troubleshooting
Once you see those little roots starting to peek out from the bottom of the pot (you can often see them through drainage holes, or gently tug on the cutting – if it resists, it has roots!), it’s time to adjust your care.
- Gradual Acclimation: Begin by gradually removing the humidity dome for longer periods each day. You want to slowly introduce your new plants to the ambient humidity of your home or garden.
- Gentle Light: Continue to keep them in bright, indirect light. As they grow stronger, you can slowly introduce them to more direct sun, but always do this gradually to avoid shocking them.
- Watering: Keep the soil consistently moist, but again, avoid waterlogging. Water when the top inch of soil feels dry to the touch.
- Transplanting: Once the new plants have a good root system and are showing strong top growth, you can transplant them into larger pots or directly into your garden bed.
Troubleshooting: The most common issue you might encounter is rot. This usually happens from overwatering or poor air circulation. If you notice a cutting turning black or mushy at the base, unfortunately, it’s probably a lost cause. Remove it immediately to prevent the rot from spreading. Another sign of distress can be wilting, which can again point to either too much or too little water, or not enough humidity. Observe your plants closely and adjust your care accordingly.
A Little Nurturing Goes a Long Way
So there you have it! Propagating Lythrum flexuosum is a truly delightful way to expand your garden or share the beauty with friends. Be patient with the process; sometimes it takes a little longer than you expect for roots to form. But trust me, when you see those tiny roots appear and watch your new plants unfurl their leaves, it’s a moment of pure gardening joy. Happy propagating, and enjoy the journey!
Resource:
https://identify.plantnet.org/k-world-flora/species/Lythrum%20flexuosum%20Lag./data