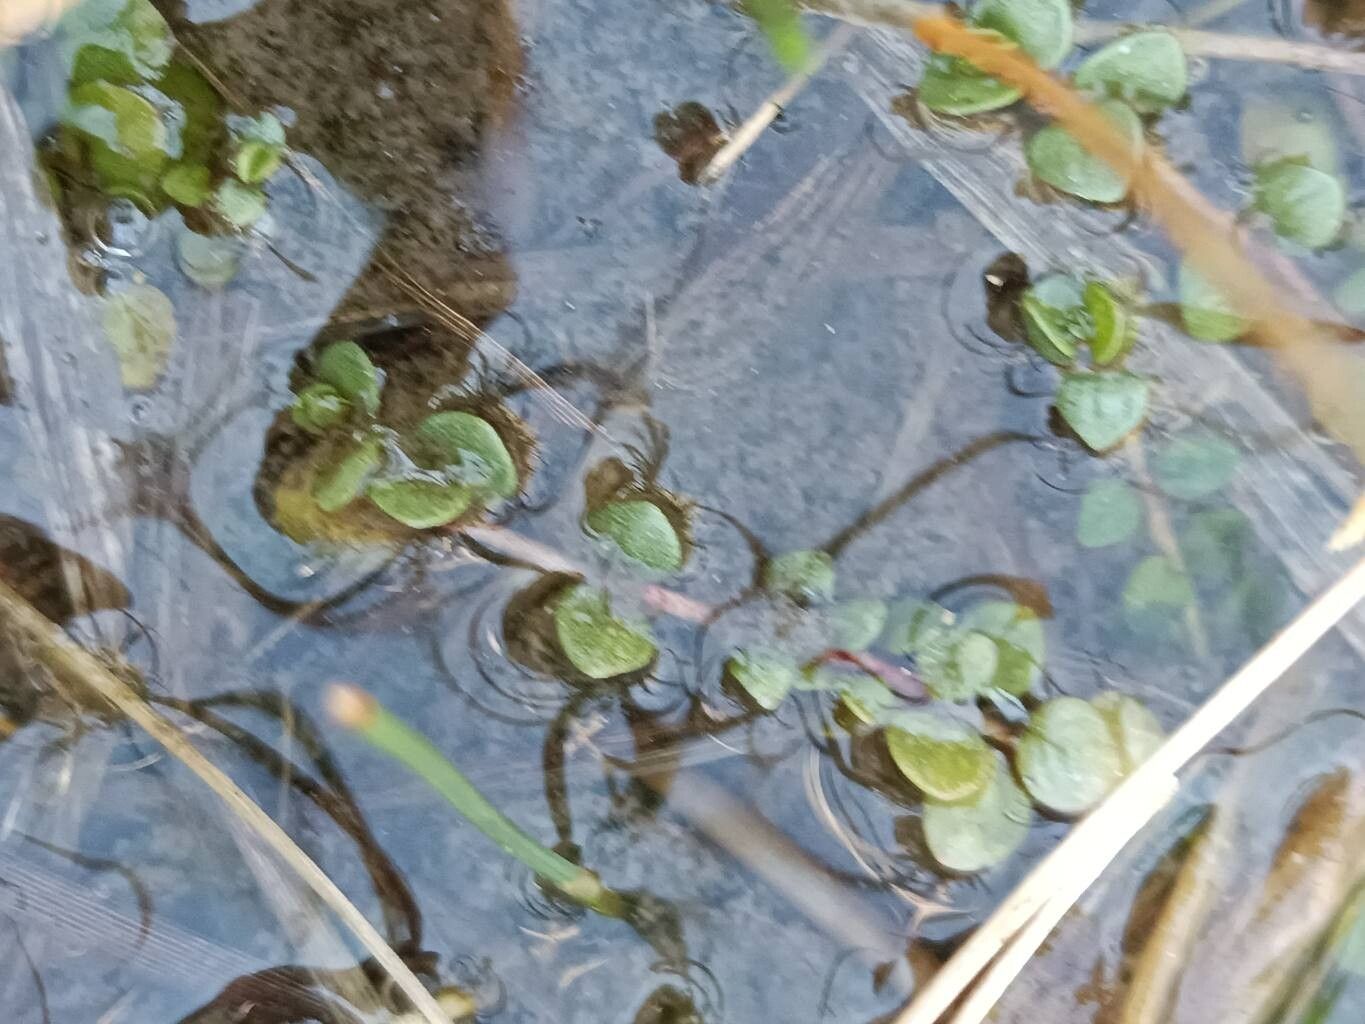
Oh, Lysimachia minima! If you’re drawn to those delicate, low-growing carpets of green, often studded with charming little yellow flowers, you’ve got excellent taste. It’s one of those understated beauties that brings so much life to the foreground of a garden or spills gracefully from a pot. And the best part? It’s wonderfully generous. Propagating it is a truly rewarding endeavor, and I’m excited to share how I do it. Honestly, it’s quite amenable, making it a fantastic choice even if you’re just starting your propagation journey.
The Best Time to Start
For Lysimachia minima, the spring and early summer are your prime windows. I like to do most of my propagating once the plant has really hit its stride after the last frost. Think of it as working with vibrant, energetic growth. This is when the stems are firm but still pliable, and the plant has plenty of vigor to put into developing new roots. Aim for a time when the weather is consistently warm but not scorching hot.
Supplies You’ll Need
Gathering your tools beforehand makes the whole process so much smoother. You’ll want:
- Sharp pruning shears or a clean knife: For making nice, clean cuts.
- Small pots or seed trays: Terracotta or plastic work equally well.
- A well-draining potting mix: I usually use a blend of equal parts peat moss or coco coir and perlite. For Lysimachia minima, a bit extra perlite for aeration is always a good idea.
- Rooting hormone (optional but recommended): A powdered or gel form.
- A watering can with a fine rose: For gentle watering.
- A clear plastic bag or a propagator lid: To create a humid environment.
- Labels: So you don’t forget what you planted where!
Propagation Methods
Lysimachia minima is a master of reproducing itself, and a couple of methods stand out for their simplicity and success.
Stem Cuttings
This is my go-to for Lysimachia minima. It’s like taking a little piece of the mother plant’s potential and giving it a chance to become something new.
- Select your cuttings: Look for healthy, non-flowering stems. You want shoots that are about 3-4 inches long. Gently pinch or snip them off just below a leaf node (where a leaf emerges from the stem).
- Prepare the cuttings: Carefully remove the lower leaves from your cuttings. You want to leave just a couple of leaves at the tip to reduce water loss. If the leaves are large, I sometimes snip them in half.
- Apply rooting hormone (optional): Dip the cut end of each cutting into your rooting hormone. Give it a gentle tap to remove any excess.
- Plant your cuttings: Fill your small pots or trays with your prepared, moist potting mix. Make a small hole in the soil with your finger or a pencil. Insert the cut end of your cutting into the hole, ensuring it’s firm. Gently firm the soil around the base.
- Water gently: Water the cuttings thoroughly but gently. The soil should be moist, not waterlogged.
- Create a humid environment: This is crucial! Cover the pots or trays with a clear plastic bag or a propagator lid. This traps humidity, which helps the cuttings stay hydrated while they root. Ensure the leaves aren’t touching the plastic.
Division
If you have a more established clump of Lysimachia minima, you can simply divide it. This is a quick and effective way to get multiple plants.
- Gently unearth the plant: Carefully lift the entire clump from its pot or garden bed.
- Separate the roots: Look for natural breaks in the root system. You can often gently pull sections apart with your hands. For tougher divisions, use a clean knife or trowel to cut through the root ball.
- Prepare for replanting: Ensure each division has a good portion of roots and some healthy shoots.
- Replant immediately: Pot up each division into its own pot or replant them directly into the garden. Water well.
The “Secret Sauce” (Pro Tips)
Here are a few things I’ve learned over the years that really boost success rates:
- Bottom heat can be your friend: If you’re propagating in cooler conditions, placing your pots on a heated propagator mat can significantly speed up root development. It mimics that lovely warmth of spring.
- Don’t drown your cuttings: While humidity is key, sitting water is the enemy of new cuttings. Ensure your pots have drainage holes, and if water starts to pool on the surface after watering, tip the pot slightly to let it drain away.
- Patience with the plastic: Resist the urge to remove the plastic covering too soon. I usually keep mine on for at least 3-4 weeks, or until I see definite new growth appearing from the cuttings.
Aftercare & Troubleshooting
Once your cuttings have developed a good root system – you’ll often see them emerging from the drainage holes or feel gentle resistance when you tug them lightly – it’s time for a bit more individual attention.
Gradually acclimate your new plants to normal humidity by lifting the plastic for increasing periods each day over a week. Then, remove it completely. Continue to keep the soil consistently moist but not soggy. As they grow stronger, you can transition them to slightly larger pots or their final garden location.
The most common issue you might encounter is rot. This usually happens if the cuttings are too wet or not getting enough air circulation. If you see stems turning mushy and black, sadly, that cutting is lost. Don’t get discouraged! Just remove the affected cutting and check the moisture levels and airflow for the others. Sometimes, if a cutting looks a bit sad and wilted, it might just need a bit more time and a misting.
A Encouraging Closing
So there you have it! Propagating Lysimachia minima is a delightful way to expand your garden or share the joy with friends. Remember to be patient; nature has its own timeline. Enjoy the process of nurturing these tiny beginnings into vibrant new plants. Happy propagating!
Resource: