Oh, hello there! Come on in, grab a mug. I was just thinking about how much I love seeing new gardeners dive into propagating their own plants. It’s such a deeply satisfying feeling, isn’t it? To take a piece of something you admire and coax it into a whole new life? Today, we’re going to talk about a particularly charming plant: Lycium cestroides.
Why Grow Lycium cestroides?
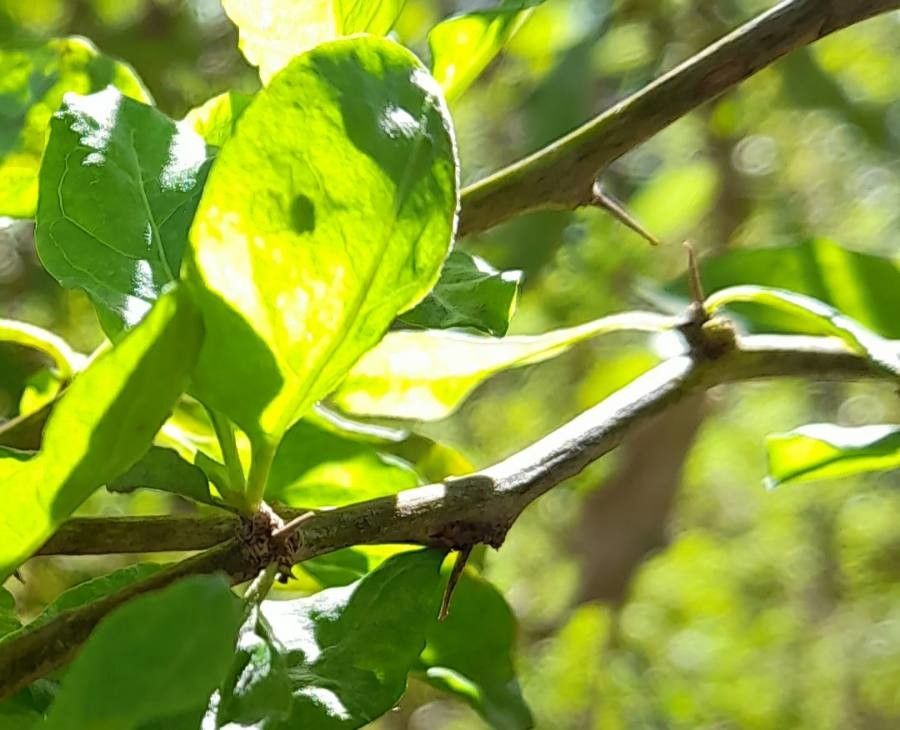
Lycium cestroides, often called the “Desert Thorn,” is a real gem. It’s tough, drought-tolerant, and its delicate white flowers followed by vibrant berries are just lovely. The berries themselves are quite edible – think along the lines of goji berries from one of its close relatives. Plus, it’s a wildlife magnet, attracting pollinators and birds with its blooms and fruit. You might think a plant that thrives in arid conditions would be tricky to get going, but I’ve found Lycium cestroides to be surprisingly cooperative when it comes to propagation. It’s a great choice for those just dipping their toes into the world of cuttings and divisions.
The Best Time to Start
For Lycium cestroides, the sweet spot for propagation is generally late spring to early summer. You want to catch the plant in its active growth phase, when it’s full of energy and hormones that promote new root development. Avoid taking cuttings from wood that’s too old and woody, or from brand-new, floppy growth. Look for stems that are semi-hardened – they’ll snap cleanly when bent, rather than just bending over.
Supplies You’ll Need
Gathering your supplies beforehand makes the whole process much smoother. Here’s what I usually have on hand:
- Sharp Pruning Shears or a Clean Knife: For making clean cuts.
- Rooting Hormone (Optional but Recommended): Powders or gels specifically for cuttings.
- A Light, Well-Draining Potting Mix: I like a blend of peat moss, perlite, and a bit of compost. You can also buy specialized succulent or cactus mixes.
- Small Pots or Trays: With drainage holes! This is crucial.
- Watering Can or Spray Bottle: For gentle watering.
- Plastic Bags or a Clear Dome: To create a humid environment for your cuttings.
- Enthusiasm!
Propagation Methods
Lycium cestroides is wonderfully adaptable, and I’ve had great success with a couple of methods.
Stem Cuttings
This is my go-to for Lycium cestroides.
- Take Your Cuttings: Using your sharp shears, take cuttings about 4-6 inches long from healthy, semi-hardened stems. Make the cut just below a leaf node (where a leaf grows from the stem).
- Prepare the Cuttings: Gently remove the lower leaves from the cutting, leaving only a few at the top. This helps prevent rot in the soil. If you’re using rooting hormone, dip the cut end into it, following the product’s instructions.
- Plant the Cuttings: Fill your small pots with your well-draining potting mix. Make a small hole with your finger or a pencil, and gently insert the cut end of the cutting. Firm the soil around it.
- Water Gently: Water the soil thoroughly but gently. You don’t want to wash the cuttings out.
- Create Humidity: Cover the pots with a plastic bag or place them under a clear dome. Make sure the leaves aren’t touching the plastic. This creates a mini-greenhouse effect.
- Find a Spot: Place the pots in a bright location out of direct sunlight.
Water Propagation (Less Common for this plant, but worth a try!)
While stem cuttings in soil are my preference, you can sometimes get Lycium cestroides to root in water.
- Prepare Cuttings: Same as step 1 and 2 above.
- Place in Water: Put the cuttings in a clean jar or vase filled with fresh water. Make sure that no leaves are submerged – they will rot.
- Change the Water: Change the water every few days to keep it fresh and oxygenated.
- Monitor for Roots: Keep in a bright spot, out of direct sun. You should see little white roots begin to emerge within a few weeks. Once the roots are about an inch long, you can carefully transplant them into soil.
The “Secret Sauce” (Pro Tips)
Here are a few things I’ve learned over the years that can really make a difference:
- Bottom Heat is Your Friend: If you can, place your pots on a heat mat. This is especially helpful in cooler climates or during transitional seasons. It encourages root growth from below, mimicking warm soil.
- Don’t Overwater, Ever: This is probably the single biggest killer of new cuttings. Lycium cestroides is naturally drought-tolerant, so its new roots need moist soil, not soggy soil. Let the surface of the soil dry out slightly between waterings.
- Patience is Key: Sometimes, cuttings seem to do nothing for weeks. Don’t give up! I’ve had stubborn ones take their sweet time, only to surprise me with vigorous growth later on.
Aftercare & Troubleshooting
Once you start to see new growth on your cuttings – small leaves or tiny shoots – that’s a great sign! It means roots are forming. You can gently tug on a cutting to feel for resistance; if it holds firm, it’s likely rooted.
- Acclimatize: Gradually remove the plastic bag or dome over a week or two. This helps your new plant adjust to the drier air.
- Watering: Continue to water when the top inch of soil feels dry.
- Transplanting: Once your new plants are robust enough to handle, transplant them into slightly larger pots.
The most common problem you’ll encounter is rot. This is usually a sign of too much moisture and not enough air circulation. If you see leaves turning yellow and mushy, or the stem at the soil line looks dark and soft, it’s likely rot. You might be able to salvage a healthy section if you act fast, but often, it’s time to start again. Also, wilting can indicate they haven’t rooted yet and are just drying out.
Keep Growing!
There you have it! Propagating Lycium cestroides is a rewarding journey. Don’t be discouraged if your first few attempts aren’t perfect. Gardens, and plant propagation, are all about learning and observing. Enjoy the process, celebrate those tiny new leaves, and soon you’ll have a whole patch of your own Desert Thorns to admire. Happy propagating!
Resource:
https://identify.plantnet.org/k-world-flora/species/Lycium%20cestroides%20Schltdl./data