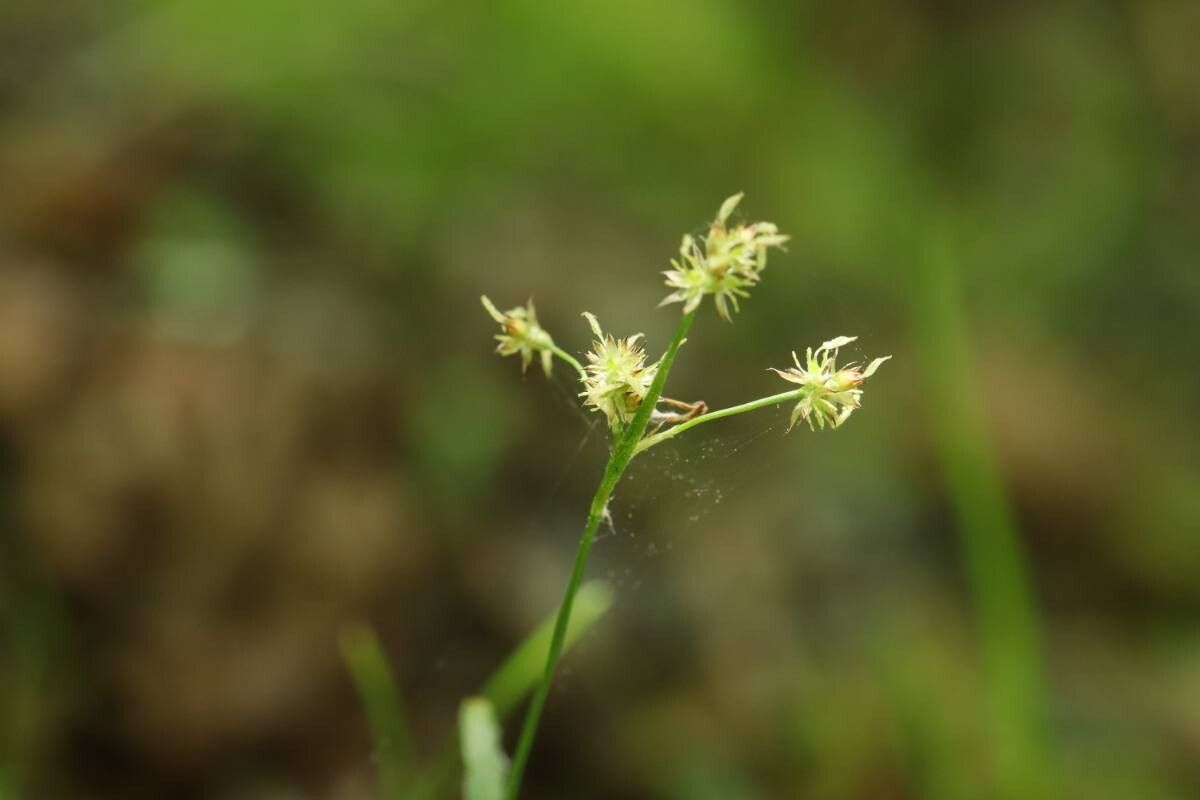
Hey there, fellow plant lovers! Today, we’re diving into the delightful world of Luzula pallescens, also known as the pale wood rush. This charming grass-like perennial is a real gem in the garden, with its soft, arching foliage and delicate, almost ethereal blooms that appear in late spring. It brings a lovely texture and movement to borders and containers, and honestly, watching it grow and colonize a space is just so satisfying. The best part? Propagating it is surprisingly accessible, even for those of you just dipping your toes into the world of plant multiplication.
The Best Time to Start
For Luzula pallescens, the sweet spot for propagation is early spring, just as the plant starts showing signs of new growth. Think of it as giving your cuttings or divisions a head start with the warming soil and lengthening days. You can also have success with late summer, after the main flowering flush has passed, but spring really is king for the most vigorous results.
Supplies You’ll Need
Gathering your tools ahead of time makes the whole process smoother. Here’s what I usually have on hand:
- Sharp, clean pruning shears or a sharp knife: For making clean cuts.
- Small pots or seedling trays: Whatever you have that’s clean and offers drainage.
- Well-draining potting mix: A good quality mix for general container plants is fine, or you can make your own with equal parts peat or coir, perlite, and compost.
- Labels and a marker: Because trust me, you’ll forget what you planted where!
- Watering can or spray bottle: For gentle watering.
- (Optional) Rooting hormone: While not strictly necessary for Luzula pallescens, it can give an extra boost.
Propagation Methods
The easiest and most rewarding way to propagate Luzula pallescens is through division. This plant naturally forms clumps, and dividing them is like giving your plant a fresh start while also creating new treasures.
Division (The Easiest Path):
- Dig it up: Gently dig up the entire clump of your Luzula pallescens in early spring. I like to use a garden fork for this, as it’s less likely to damage young shoots than a spade.
- Clean it up: Gently shake off as much of the old soil as you can. This makes it easier to see the individual root structures.
- Divide the clump: You can usually pull the clump apart with your hands. If it’s a bit stubborn, use your pruning shears or knife to slice through the root ball, ensuring each section has plenty of healthy roots and some new shoots. Aim for divisions that are roughly golf-ball sized or a bit larger.
- Pot them up: Plant each division into its own pot filled with your well-draining potting mix. Make sure the crown of the plant (where the shoots emerge from the roots) is at soil level.
- Water gently: Water thoroughly once to settle the soil.
Stem Cuttings (A Little More Finesse):
While division is my go-to, you can try taking cuttings.
- Take cuttings: In early spring, select vigorous, leafy stems that are about 3-4 inches long. Make a clean cut just below a leaf node.
- Prepare the cuttings: Remove the lower leaves from the cutting. If you’re using rooting hormone, dip the cut end into it now.
- Plant the cuttings: Insert the cut end into small pots filled with a seed-starting mix or a very light, sandy potting mix.
- Create humidity: Tent a plastic bag loosely over the pot and cuttings to help retain moisture.
- Provide warmth and light: Place the pots in a bright location but out of direct, scorching sun. Bottom heat from a heat mat can significantly speed up rooting.
The “Secret Sauce” (Pro Tips)
Here are a few little tricks I’ve picked up over the years that can really make a difference:
- Don’t be afraid to get your hands dirty: When dividing, sometimes the roots are tangled. Gently teasing them apart rather than hacking through them will lead to healthier new plants. If a few roots break, it’s not the end of the world.
- Keep it humid (for cuttings): For stem cuttings, the biggest challenge is preventing them from drying out. The simple plastic bag trick is a lifesaver, but make sure it doesn’t directly touch the leaves. This is where those delicate leaves can rot if they’re constantly wet.
- Patience is key: Luzula pallescens aren’t the fastest rooters. For divisions, you’ll see new growth appear pretty quickly. For cuttings, it might take several weeks for roots to really establish. Don’t give up if you don’t see immediate results!
Aftercare & Troubleshooting
Once your divisions are potted or your cuttings have shown signs of rooting (you might see new growth or feel a slight tug when you gently pull on a cutting), it’s time for a bit of tender loving care.
- Watering: Keep the soil consistently moist but not waterlogged. This is crucial to prevent rot, especially for young plants. As they establish and grow, you can gradually acclimate them to drier conditions, though they still appreciate consistent moisture.
- Light: Gradually introduce your new plants to more light. Start them in bright, indirect light and slowly move them to their intended spot.
- Troubleshooting: The most common issue you might encounter is rot. This usually happens with cuttings that are kept too wet or in poor air circulation. If you see mushy, brown stems or leaves, unfortunately, that cutting is likely lost. For divisions, well-rotted roots indicate overwatering or poor drainage. If you see this, gently remove the rotted parts and repot in fresh, dry mix.
A Encouraging Closing
Propagating plants is such a rewarding journey, and Luzula pallescens is a wonderful plant to start with. Be patient with yourself and your new plant babies. Every attempt is a learning experience, and soon you’ll have a whole collection of this lovely pale wood rush to enjoy throughout your garden. Happy planting!
Resource:
https://identify.plantnet.org/k-world-flora/species/Luzula%20pallescens%20Sw./data