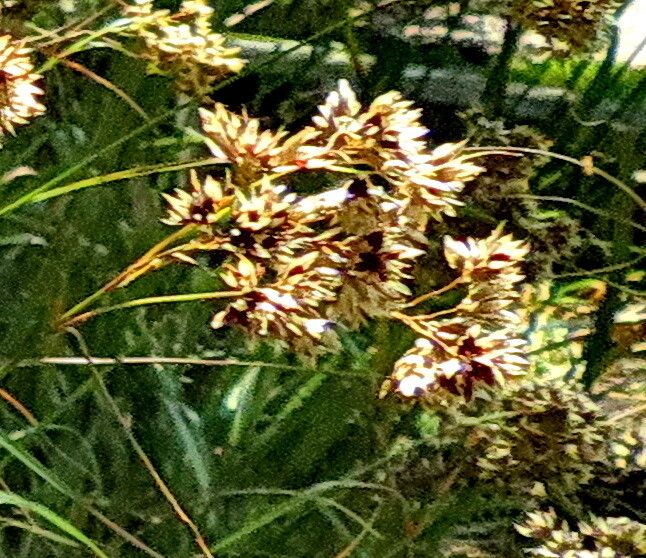
Well hello there, fellow plant enthusiasts! Grab a cuppa, and let’s chat about one of my personal garden favorites: Luzula luzuloides, or the White Wood Rush. If you’ve ever seen this graceful grass-like beauty gracing a shady corner with its elegant, arching foliage, you’ll understand why it’s so captivating. Its delicate texture and subtle charm bring such a peaceful vibe to any garden. And the best part? Propagating it is surprisingly achievable, even for those just dipping their toes into the wonderful world of plant sharing.
The Best Time to Start
For Luzula luzuloides, I find the sweet spot for propagation is early spring. As the ground begins to warm up and your plants are shaking off winter’s nap, they’re bursting with new energy. This is the perfect time to encourage them to branch out and create more of these lovely specimens. You can also have success in late summer or early fall, but spring generally gives you a bit more wiggle room before the intensity of summer heat sets in.
Supplies You’ll Need
Don’t worry, you won’t need a fancy greenhouse for this! Here’s what I usually gather:
- Sharp Pruning Shears or a Clean Knife: Essential for making clean cuts.
- Potting Mix: A good quality, well-draining mix is key. I often use a blend of equal parts potting soil and perlite or coarse sand.
- Small Pots or Seed Trays: Whatever you have on hand that can hold your divisions or cuttings. Make sure they have drainage holes!
- Watering Can or Spray Bottle: For keeping things consistently moist.
- Rooting Hormone (Optional but Recommended): While Luzula can root without it, a little rooting hormone can give you an extra boost.
- Labels and a Marker: To keep track of what you’ve propagated and when.
Propagation Methods
Now, let’s get our hands dirty! For Luzula luzuloides, division is by far the most common and successful method.
Division
This is like giving your plant a haircut and a little spa treatment all rolled into one!
- Gently Excavate: Carefully dig up the entire clump of your mature Luzula. You can do this with a trowel or spade. Try to disturb the roots as little as possible.
- Shake Off Excess Soil: Gently shake off some of the loose soil to get a better look at the root ball and how the plant is structured.
- Identify Natural Breaks: Look for areas where the plant naturally divides. You might see a few smaller crowns already separated.
- Separate the Clumps: Using your hands or, if it’s a bit stubborn, your clean pruning shears or knife, carefully pull or cut apart the larger clump into smaller sections. Each section should have a healthy portion of roots and some leafy shoots. Aim for divisions that are a manageable size.
- Replant Immediately: Once you have your divisions, it’s time to get them into new homes. Plant each division into its own pot filled with your well-draining potting mix. Make sure the leafy tops are exposed and the roots are spread out. Water them in thoroughly.
The “Secret Sauce” (Pro Tips)
Here are a few little tricks I’ve picked up over the years that can make a big difference:
- Don’t Overwater After Division: While you want to keep the soil consistently moist, constantly soggy conditions can lead to root rot. Let the surface of the soil dry out slightly between waterings. Think “thorough drink, then a little rest.”
- Provide a Little Shade: Newly divided plants are a bit stressed. For the first couple of weeks, keep them in a location that gets bright, indirect light, rather than full, harsh sun. This will help them establish without getting scorched.
- Consider a Gentle Mist: If you’re in a particularly dry climate, a light misting of the foliage once a day can help reduce water loss from the leaves while the roots are still getting established.
Aftercare & Troubleshooting
Once your Luzula divisions are planted, give them some consistent care.
- Watering: Keep the soil evenly moist but not waterlogged. Check the soil moisture by sticking your finger about an inch down. If it feels dry, it’s time to water.
- Light: Continue to provide that bright, indirect light for a few weeks. As they show signs of new growth, you can gradually introduce them to more of their preferred garden conditions.
- Fertilizer: Hold off on fertilizing until you see good new growth. When you do, use a balanced liquid fertilizer diluted to half strength.
What if things go wrong? The most common culprit with divisions is rot. If you notice your division looking yellow, mushy, or developing dark spots, it’s likely due to overwatering. If this happens, carefully remove the affected part, ensure the soil is draining well, and adjust your watering. Sometimes, things just don’t take, and that’s part of gardening too!
A Encouraging Closing
So there you have it! Propagating Luzula luzuloides is a beautiful way to multiply your garden’s charm and share its understated elegance. Be patient with your new little plants. Gardening is a journey, and every step, even the ones that don’t quite go as planned, teaches us something. Enjoy the process of nurturing these new beginnings, and soon you’ll have even more of this delightful grass-like gem to admire! Happy gardening!
Resource: