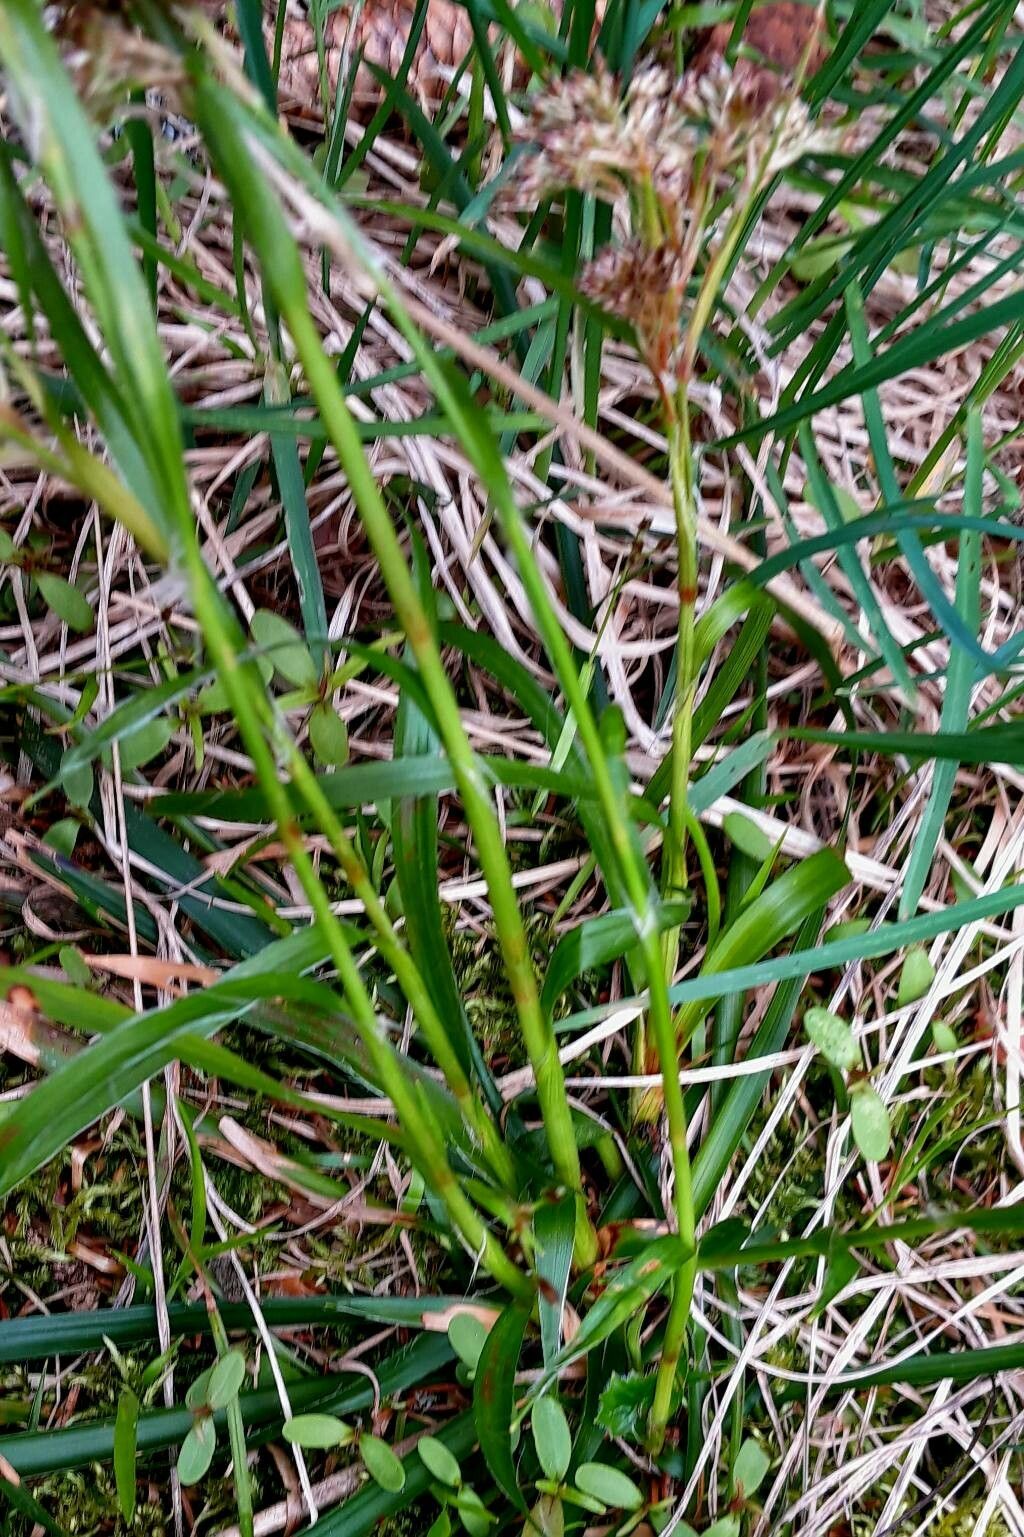
Hey there, fellow garden enthusiasts! I’ve been digging in the dirt for a good couple of decades now, and I’ve learned a thing or two about coaxing new life from our favorite plants. Today, I want to talk about a little gem that’s really captured my heart: Luzula alpino-pilosa, or as some affectionately call it, the Alpine Wood-rush.
Why You’ll Love Propagating This Grass-like Beauty
This isn’t your average lawn grass. Luzula alpino-pilosa has this wonderful, tufted habit and a subtle elegance that looks fantastic in rock gardens, along borders, or even in containers. It’s a low-maintenance charmer, and the reward of seeing these little clumps multiply is just immense. For beginners, I’d say it’s moderately easy. It’s not quite as foolproof as, say, a spider plant, but with a little attention, you’ll be successful.
The Best Time to Start Growing
For the highest success rate with Luzula alpino-pilosa, my go-to time is late spring to early summer. This is when the plant is actively growing and has plenty of energy to put into developing new roots. You can also try early autumn, but be prepared for slightly slower root development.
Your Propagation Toolkit
Gathering the right tools makes all the difference. Here’s what you’ll want to have on hand:
- Sharp pruning shears or a clean knife: For making precise cuts.
- Well-draining potting mix: I usually use a blend of peat moss, perlite, and a bit of compost. You want something that dries out reasonably quickly.
- Small pots or seed trays: Clean ones, please!
- Watering can with a fine rose: To water gently.
- Optional: Rooting hormone powder: While not strictly necessary for Luzula alpino-pilosa, it can give an extra boost.
- Optional: A clear plastic bag or dome: To maintain humidity.
Bringing Forth New Life: Propagation Methods
Luzula alpino-pilosa is best propagated through division. It’s the most straightforward and reliable method for this particular plant, as it allows you to work with established root systems.
Method: Division
- Gently excavate: First, carefully dig up your established Luzula alpino-pilosa clump. A trowel or shovel works well here.
- Shake off excess soil: Gently shake away as much of the old soil as you can. This will make it easier to see the root structure.
- Identify natural breaks: Look for natural divisions in the plant. You’ll see where clumps have naturally started to separate, often with their own sets of roots.
- Divide the clump: This is the crucial step. You can gently pull the divisions apart with your hands, or if they’re quite dense, use a clean, sharp knife or spade to cut through the root ball. Aim for sections that have a good amount of roots and a few leafy shoots. Don’t be afraid to be firm, but also be careful not to damage the roots too much.
- Pot up your new divisions: Replant each division into its own pot filled with your well-draining potting mix. Make sure the crown of the plant (where the leaves emerge from the roots) is at soil level.
- Water thoroughly: Water each new pot well to settle the soil around the roots.
My “Secret Sauce” (Insider Tips)
After years of fiddling with these plants, I’ve picked up a couple of tricks that seem to make a difference for me.
- Don’t overwater right away: After dividing and potting, I give them a good soak but then let the surface dry out slightly between waterings. Overly soggy soil can lead to rot, especially for new divisions that haven’t fully established yet.
- Give them some ambient warmth: While they don’t need intense heat, placing your newly potted divisions in a spot that receives consistent, moderate temperatures really helps encourage root activity. A greenhouse is ideal, but a bright, warm spot on a patio or even indoors in a conservatory will work wonders. Avoid direct, scorching sun initially.
Aftercare and What to Watch For
Once your divisions are potted, treat them like young plants. Keep them consistently moist, but not waterlogged. They’ll appreciate a bit of shade for the first week or two as they settle in.
You’ll know your Luzula is happy when you see new leafy growth emerging. This is a great sign that roots are forming!
Now, what if things go wrong? The most common issue you might encounter is rot. If you notice brown, mushy stems or leaves, or if the plant just seems to be collapsing, it’s likely due to too much moisture. If this happens, try to gently unpot the plant, trim off any rotted parts with clean shears, and replant in fresh, drier potting mix. Sometimes, a bit of ventilation can help; I’ll often lift plastic covers off if I’m using them.
Keep Digging, Keep Growing!
Propagating Luzula alpino-pilosa is such a satisfying way to expand your garden or share these lovely plants with friends. Be patient with your new divisions; they take their time to establish. Just enjoy the process of nurturing them, and soon you’ll have a whole patch of these charming grasses to admire. Happy gardening!
Resource:
https://identify.plantnet.org/k-world-flora/species/Luzula%20alpinopilosa%20(Chaix)%20Breistr./data