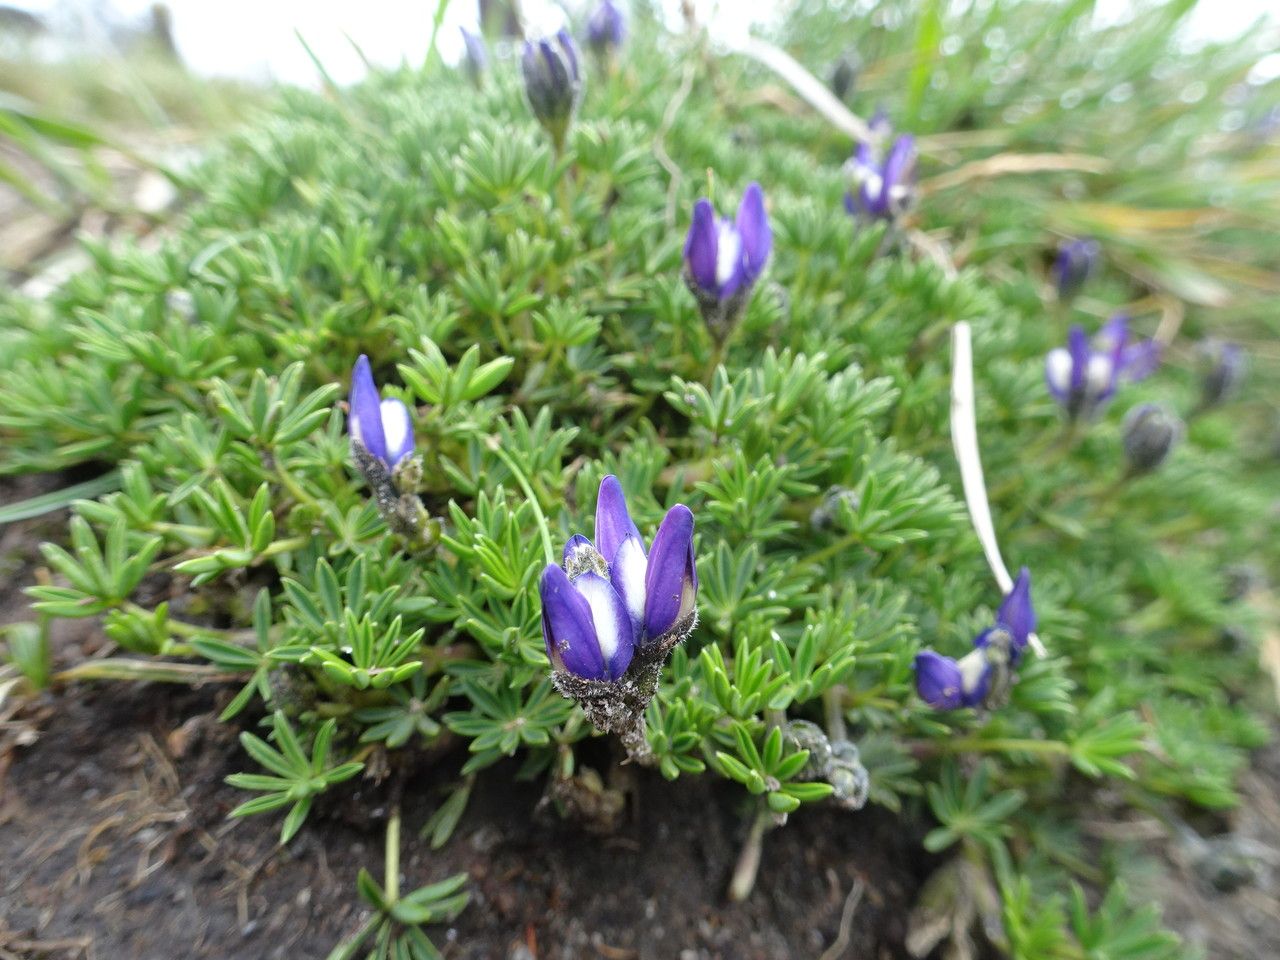
Oh, hello there! Pull up a chair. I’m so glad you’re interested in Lupinus microphyllus, or as I like to call them, little sky-jewels. These darling native lupines, with their delicate spires of purple and blue, bring such a charming wildness to any garden. Growing them from scratch? It’s one of those deeply satisfying gardening experiences, like watching a tiny seed unfurl into something truly special. And honestly, Lupinus microphyllus? It’s not the most challenging plant to propagate, but a little know-how goes a long way, especially for beginners. Let’s get our hands dirty, shall we?
The Best Time to Start
For us folks in many parts of the country, the sweet spot for propagating Lupinus microphyllus is typically late spring to early summer. This is when the plant is really hitting its stride after the initial burst of growth. You’re looking for stems that have just finished flowering, or are developing rather than actively producing new leaves at their tips. The plant has energy to spare at this stage, which is exactly what our cuttings need.
Supplies You’ll Need
Before we dive in, let’s make sure we have our toolkit ready. You don’t need a lot of fancy gadgets, just a few essentials:
- Sharp Pruning Shears or a Craft Knife: Clean cuts are key for healthy propagation.
- Rooting Hormone (Optional but Recommended): This really gives your cuttings a boost. I like willow bark extract or a commercial rooting powder.
- Small Pots or Seed Trays: Clean ones are a must! About 3-4 inches deep work well.
- Light, Well-Draining Potting Mix: A good general-purpose potting soil mixed with perlite or sharp sand is perfect. Avoid anything too heavy.
- Watering Can with a Fine Rose: Gentle watering is crucial, especially for young cuttings.
- Plastic Bags or a Propagator Lid: To create a humid environment.
- Labels: So you don’t forget what you’ve planted where!
Propagation Methods
Lupinus microphyllus is a bit of a trooper, and we can coax new life from it using a couple of straightforward methods.
Stem Cuttings
This is my go-to for Lupinus microphyllus.
- Take Cuttings: In late spring or early summer, select a healthy, non-flowering stem. Using your clean shears, make a sharp cut just below a leaf node (where a leaf attaches to the stem). You want cuttings that are about 4-6 inches long.
- Prepare the Cutting: Gently remove the lower leaves from the cutting, leaving just a few at the top. This prevents them from rotting in the soil.
- Apply Rooting Hormone: If you’re using rooting hormone, dip the cut end of the stem into the powder or liquid. Tap off any excess.
- Pot Them Up: Fill your small pots with your prepared potting mix. Poke a hole in the center with your finger or a pencil, and insert the cutting, ensuring the nodes are covered by soil.
- Water Gently: Water the soil thoroughly but gently, so as not to disturb the cuttings.
- Create Humidity: Place the pots in a tray and cover them with a plastic bag or a propagator lid. Make sure the plastic doesn’t touch the leaves. You want that cozy, humid microclimate. Place them in a bright spot, but out of direct sunlight.
Division (For Mature Plants)
If you have an established, happy Lupinus microphyllus plant, you might be able to divide it.
- Dig It Up: In early spring as new growth appears, carefully dig up the entire plant. Gently shake off excess soil to expose the root ball.
- Identify Divisions: Look for natural divisions in the root system. You want each section to have healthy roots and at least one or two stems.
- Separate Cautiously: Using your hands or a clean spade, gently pull or cut the root ball apart. Try to minimize damage to the roots as much as possible.
- Replant Immediately: Plant the divisions into their new spots in the garden or into pots, just as you would a new plant. Water them in well.
The “Secret Sauce”
Now, for those little nuggets of wisdom that can really make a difference:
- Bottom Heat is Your Friend: For stem cuttings, if you have a heat mat designed for propagation, using it can dramatically speed up root formation. Think of it as a warm hug for your little plant babies.
- Don’t Drown Them: While they need humidity, overwatering is the fastest way to kill a cutting. Make sure the pots drain well, and only water when the top inch of soil feels dry.
- Watch for “Wilting” That Isn’t: Sometimes, cuttings might droop a bit even in humidity. This can be a stress response. Don’t panic immediately; check the soil moisture and the air quality inside your propagator. Often, they’ll perk up.
Aftercare & Troubleshooting
Once those precious roots start to form (you might see them peeking out of the drainage holes, or the cutting will feel firmer when gently tugged), it’s time for a bit more TLC.
- Acclimatize Them: Gradually remove the plastic cover over a week or so to help your new plants adjust to normal humidity.
- Pot Up: If they are in small pots, once they have a good root system, transplant them into slightly larger pots.
- Watering and Feeding: Continue to water regularly, keeping the soil consistently moist but not waterlogged. Once they are actively growing, you can start with a diluted liquid fertilizer every few weeks.
- Common Woes: The biggest culprit is rot. If you see that slimy, mushy stem base, it’s usually a sign of too much moisture and poor air circulation. Unfortunately, a rotted cutting is rarely salvageable. Damping off can also occur in seedlings or cuttings when a fungal disease attacks at the soil line; this is why clean pots and well-draining soil are so important.
A Encouraging Closing
Propagating plants is a journey, and especially with beauties like Lupinus microphyllus, it’s worth every bit of patience. Don’t be discouraged if not every cutting takes. Gardening is about learning and trying, and you’re doing it! Enjoy the quiet anticipation as you watch for those first signs of new life. Happy growing!
Resource:
https://identify.plantnet.org/k-world-flora/species/Lupinus%20microphyllus%20Desr./data