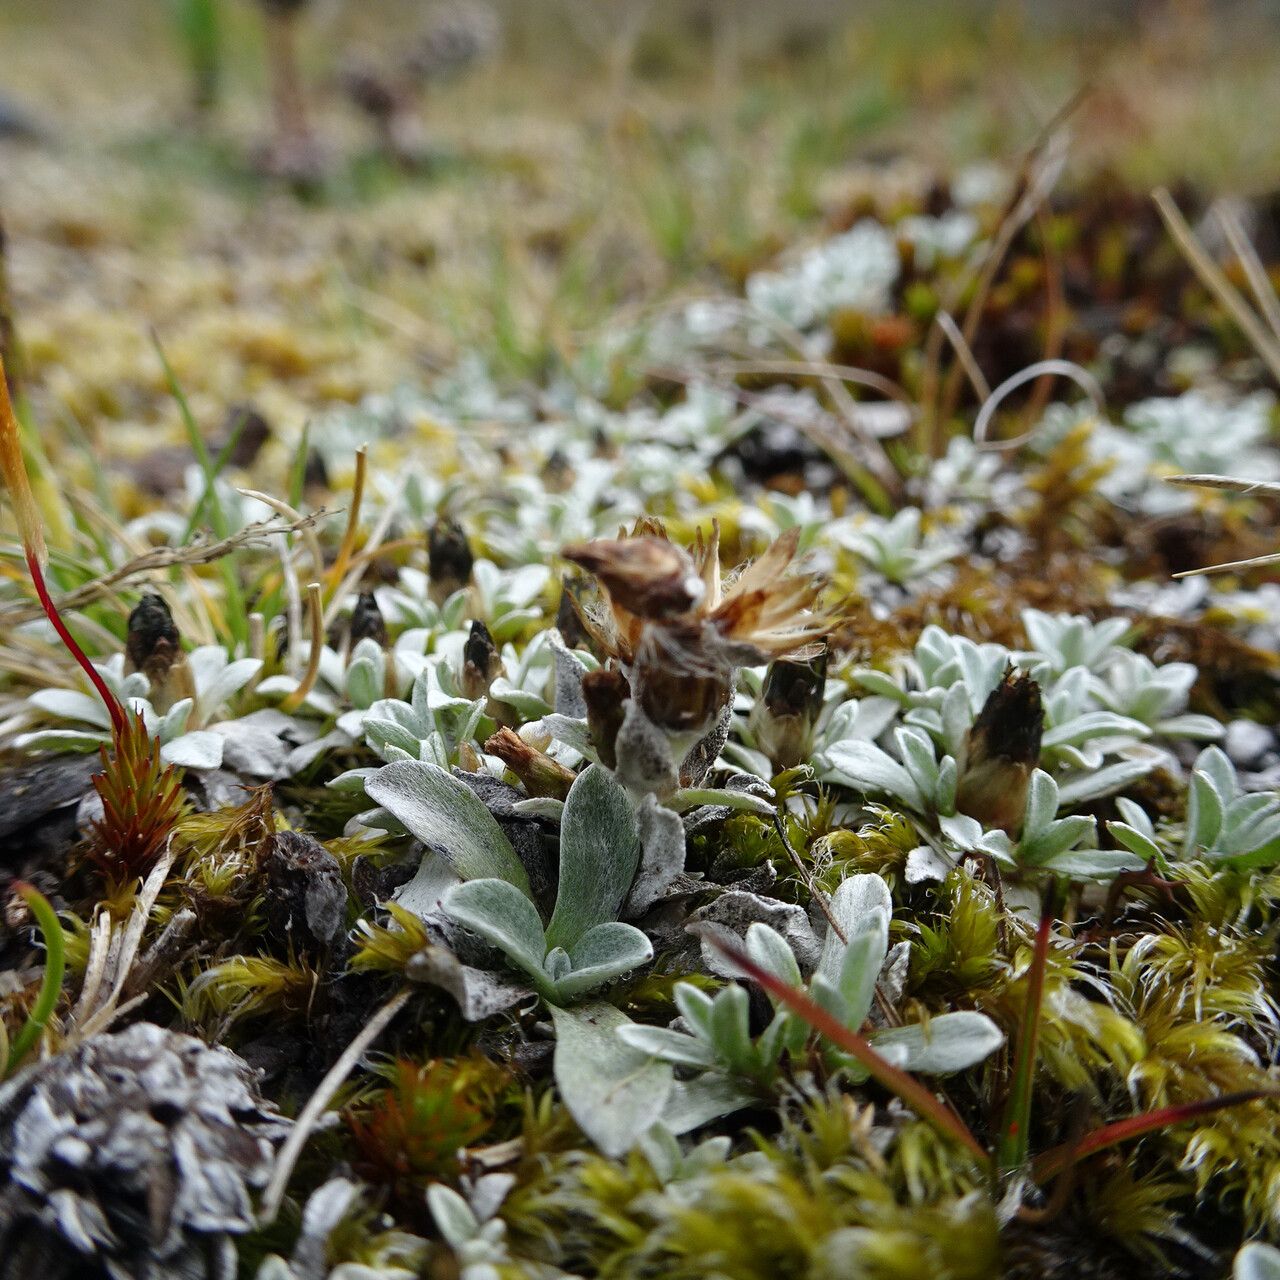
Hello there, fellow plant enthusiasts! Today, we’re diving into the delightful world of Lucilia kunthiana. If you haven’t met this beauty yet, imagine delicate, airy blooms that dance in the breeze, often carrying a subtle, sweet fragrance. It’s a plant that brings a touch of ethereal charm to any garden or indoor space. And the best part? Propagating it is an incredibly rewarding journey, allowing you to share its magic or simply expand your own collection. While Lucilia kunthiana isn’t the most beginner-proof plant out there, with a little care and attention, you’ll find success is well within reach. Think of it as a gentle learning curve, a chance to hone your propagation skills.
The Best Time to Start
For the highest success rate with Lucilia kunthiana, I always recommend starting in late spring or early summer. This is when the plant is in its active growth phase. New shoots are vigorous and full of energy, making them the ideal candidates for cuttings. Waiting until the plant has finished its initial flush of spring growth ensures you’re taking from healthy, established material.
Supplies You’ll Need
Getting your workspace ready is half the battle! Here’s what I usually have on hand for propagating Lucilia kunthiana:
- Sharp Pruning Shears or a Craft Knife: For clean cuts that heal quickly.
- Rooting Hormone (Optional but Recommended): A good quality rooting powder or gel can give your cuttings a significant boost.
- Well-Draining Potting Mix: I prefer a blend of equal parts peat moss or coco coir and perlite or coarse sand. This provides aeration and prevents waterlogging.
- Small Pots or Seedling Trays: Clean, small containers are perfect for individual cuttings.
- Clear Plastic Bags or Domes: To create a humid environment for your cuttings.
- Watering Can with a Fine Rose or a Spray Bottle: For gentle watering.
- Labels and a Marker: To keep track of what you’ve propagated and when!
Propagation Methods
Lucilia kunthiana is best propagated from stem cuttings. It’s tried and true, and usually yields the most consistent results.
Stem Cuttings:
- Select Your Cuttings: Look for healthy, non-flowering stems. You want pieces that are about 4-6 inches long. Make sure each cutting has at least two sets of leaves.
- Take the Cuttings: Using your sharp shears or knife, make a clean cut just below a leaf node. This is where roots are most likely to form.
- Prepare the Cuttings: Gently remove the leaves from the bottom half of the cutting. This prevents them from rotting when buried in the soil.
- Apply Rooting Hormone (Optional): Dip the cut end of the stem into your rooting hormone, tapping off any excess.
- Plant the Cuttings: Fill your small pots with the well-draining mix. Make a small hole in the center with your finger or a pencil. Insert the cutting into the hole, ensuring the lowest leaf nodes are below the soil surface. Gently firm the soil around the stem.
- Water Gently: Water the soil thoroughly but gently until it’s moist.
- Create Humidity: Cover the pot with a clear plastic bag, propped up slightly with a stake so it doesn’t touch the leaves. Alternatively, use a clear plastic dome. Place the pots in a bright, indirect light location.
The “Secret Sauce” (Pro Tips)
Over the years, I’ve learned a few tricks that really make a difference with trickier propagations like this one.
- Cleanliness is Key: Always start with sterilized tools and clean pots. This drastically reduces the risk of fungal diseases that can kill your delicate cuttings before they even have a chance to root. A quick dip in rubbing alcohol for your shears is a good habit.
- Bottom Heat Works Wonders: If you have it, placing your pots on a gentle heat mat can significantly speed up root development. The warmth encourages cell division and root formation. Just make sure the soil isn’t drying out too quickly on a heat mat.
- Patience with the Leaves: When you’re creating humidity with a plastic bag, make absolutely sure that no leaves are touching the surface of the soil or the inside of the plastic bag. This is a prime spot for mold and rot to take hold, and it’s a common reason why cuttings fail.
Aftercare & Troubleshooting
Once your cuttings have taken root, gently tugging on a stem will reveal resistance – that’s your sign! You’ll likely see new leaf growth as well.
- Gradual Acclimation: Once roots are established (usually after 3-6 weeks), gradually remove the plastic covering over a few days. This helps the new plant adjust to lower humidity.
- Light and Watering: Continue to provide bright, indirect light. Water when the top inch of soil feels dry to the touch.
- Repotting: When the new plant has developed a good root system and looks sturdy, you can pot it up into a slightly larger container with fresh potting mix.
Now, what about when things go wrong? The most common issue for Lucilia kunthiana cuttings is rot. If you notice your cuttings becoming mushy, turning black, or collapsing, it’s usually a sign of too much moisture or poor drainage. Unfortunately, a rotten cutting is usually unsalvageable. You might need to discard it and try again, focusing on improving your soil mix and watering habits. Less commonly, cuttings might simply fail to root. This can be due to taking the cutting at the wrong time, using unhealthy material, or not providing enough humidity. Don’t get discouraged! Every failed attempt is a learning opportunity.
A Encouraging Closing
Growing plants from cuttings is such a wonderful way to connect with nature and build your garden. It takes a bit of learning, a dash of patience, and a whole lot of hope. So, gather your supplies, choose your best stems, and give it a go! Enjoy the process, celebrate every tiny root that forms, and remember that even the most experienced gardeners have their share of withered cuttings. Happy propagating!
Resource:
https://identify.plantnet.org/k-world-flora/species/Lucilia%20kunthiana%20(DC.)%20Zardini/data