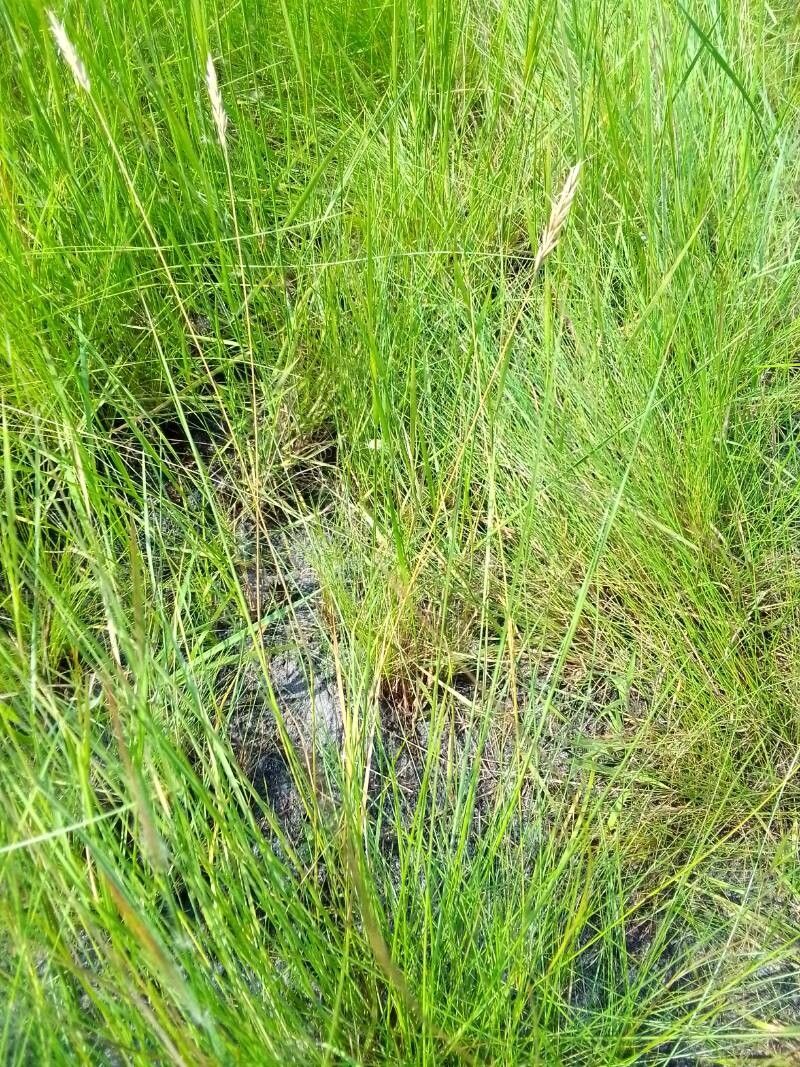
Oh, Loudetia vanderystii! If you’ve seen this beauty with its graceful, arching foliage and delicate, wispy blooms, I can absolutely understand why you’re smitten. It brings such a lovely, airy texture to any garden space. And guess what? Propagating it is totally achievable, and honestly, it’s one of those projects that feels so good when it works. You get to share this plant with friends or simply expand your own collection – pure garden joy! Now, some plants are tricky to start from scratch, but I find Loudetia vanderystii to be moderately easy, especially if you get a few key details right.
The Best Time to Start
For the best chance of success, I always recommend starting your propagation efforts in late spring or early summer. This is when the plant is actively growing and has plenty of energy to put into developing new roots. You’ll be working with healthy, vigorous material, which makes all the difference.
Supplies You’ll Need
Gathering your supplies before you begin is half the battle! Here’s what I usually have on hand:
- Sharp, clean pruning shears or a sharp knife: For making clean cuts.
- A good quality potting mix: I like a well-draining mix, often a blend of peat moss, perlite, and a bit of compost. For Loudetia, something that won’t stay soggy is key.
- Small pots or trays: Clean ones, of course!
- Rooting hormone (optional but recommended): This is a powder or gel that helps cuttings develop roots faster.
- A watering can with a fine rose: For gentle watering.
- Plastic bags or a propagation dome: To create a humid microclimate.
- A gentle spray bottle: For misting.
Propagation Methods
While you can sometimes collect seeds, the most reliable way to propagate Loudetia vanderystii is through stem cuttings or division. Let’s dive into those!
Stem Cuttings
This is my go-to method for multiplying this lovely grass.
- Taking the Cuttings: Gently select healthy, non-flowering stems from your mature plant. Look for stems that are about 4-6 inches long. Using your clean pruning shears, make a clean cut just below a leaf node (that little bump where a leaf attaches to the stem). This is where the magic of root development happens!
- Preparing the Cuttings: Once you have your cuttings, carefully remove the lower leaves. You only want a few sets of leaves at the top. This reduces water loss and prevents the buried leaves from rotting. If your cuttings are quite long, you can even trim the remaining leaves in half to further reduce water loss.
- Applying Rooting Hormone (Optional): If you’re using rooting hormone, dip the cut end of each stem into the powder or gel. Tap off any excess.
- Planting the Cuttings: Fill your small pots or trays with your prepared potting mix. Make a small hole in the soil with a pencil or your finger. Gently insert the cut end of the stem into the hole, ensuring the leaf nodes are buried in the soil. Firm the soil gently around the stem.
- Creating a Humid Environment: Water the soil gently until it’s evenly moist, but not waterlogged. Then, cover the pots with a plastic bag or a propagation dome. You can prop up the bag with a few sticks to keep it from touching the leaves. Place the pots in a bright location but out of direct sunlight.
Division
This is best done when the plant is actively growing, usually in spring.
- Carefully remove the entire plant from its pot or from the ground.
- Gently tease apart the root ball with your fingers or a trowel. You’re looking to separate it into smaller sections, each with a good amount of roots and some healthy foliage. Don’t be afraid to be a little firm here; you want intact root sections.
- Replant each division into its own pot with fresh potting mix, or back into the garden if you have space. Water well after replanting.
The “Secret Sauce” (Pro Tips)
Here are a couple of tricks I’ve learned over the years that can really boost your success rate:
- Bottom Heat is Your Friend: For stem cuttings working in cooler conditions, placing your pots on a gentle heat mat can dramatically speed up root formation. It mimics the warmth of spring soil really effectively.
- Don’t Let Leaves Touch the Water (in water propagation, if you try it): While I primarily recommend soil for Loudetia, if you do decide to try rooting a cutting in water (which is less ideal for this particular plant), be sure no leaves are submerged. Leaves below the waterline will rot, which can then spread to the stem and kill the cutting before it even has a chance to root. The same principle applies to leaves in the soil – keep them dry!
Aftercare & Troubleshooting
Once you see new growth emerging, it’s a fantastic sign! This usually means roots have formed.
- Gradual Acclimation: If you’ve used a plastic bag or dome, gradually remove it over a few days to let your new plant adjust to normal humidity.
- Keep it Moist: Continue to water consistently, keeping the soil moist but not soggy.
- Fertilizing: Wait a few weeks after you see significant new growth before giving your new plant a very dilute liquid fertilizer.
- Signs of Trouble: The most common issue you’ll encounter is rot, which usually looks like mushy, brown stems. This is almost always due to overwatering and poor drainage. If you see this, it’s best to discard the affected cutting and try again, ensuring better air circulation and avoiding soggy conditions. Yellowing leaves can sometimes indicate a lack of light, while wilting might mean it needs more water or isn’t rooting well.
A Encouraging Closing
Propagating plants is a journey, and sometimes they cooperate beautifully, and sometimes they make us work for it! Be patient with your Loudetia vanderystii. Enjoy the process of nurturing these new little lives, and before you know it, you’ll have more of this gorgeous grass to admire and share! Happy gardening!
Resource: