Hello there, fellow plant lovers!
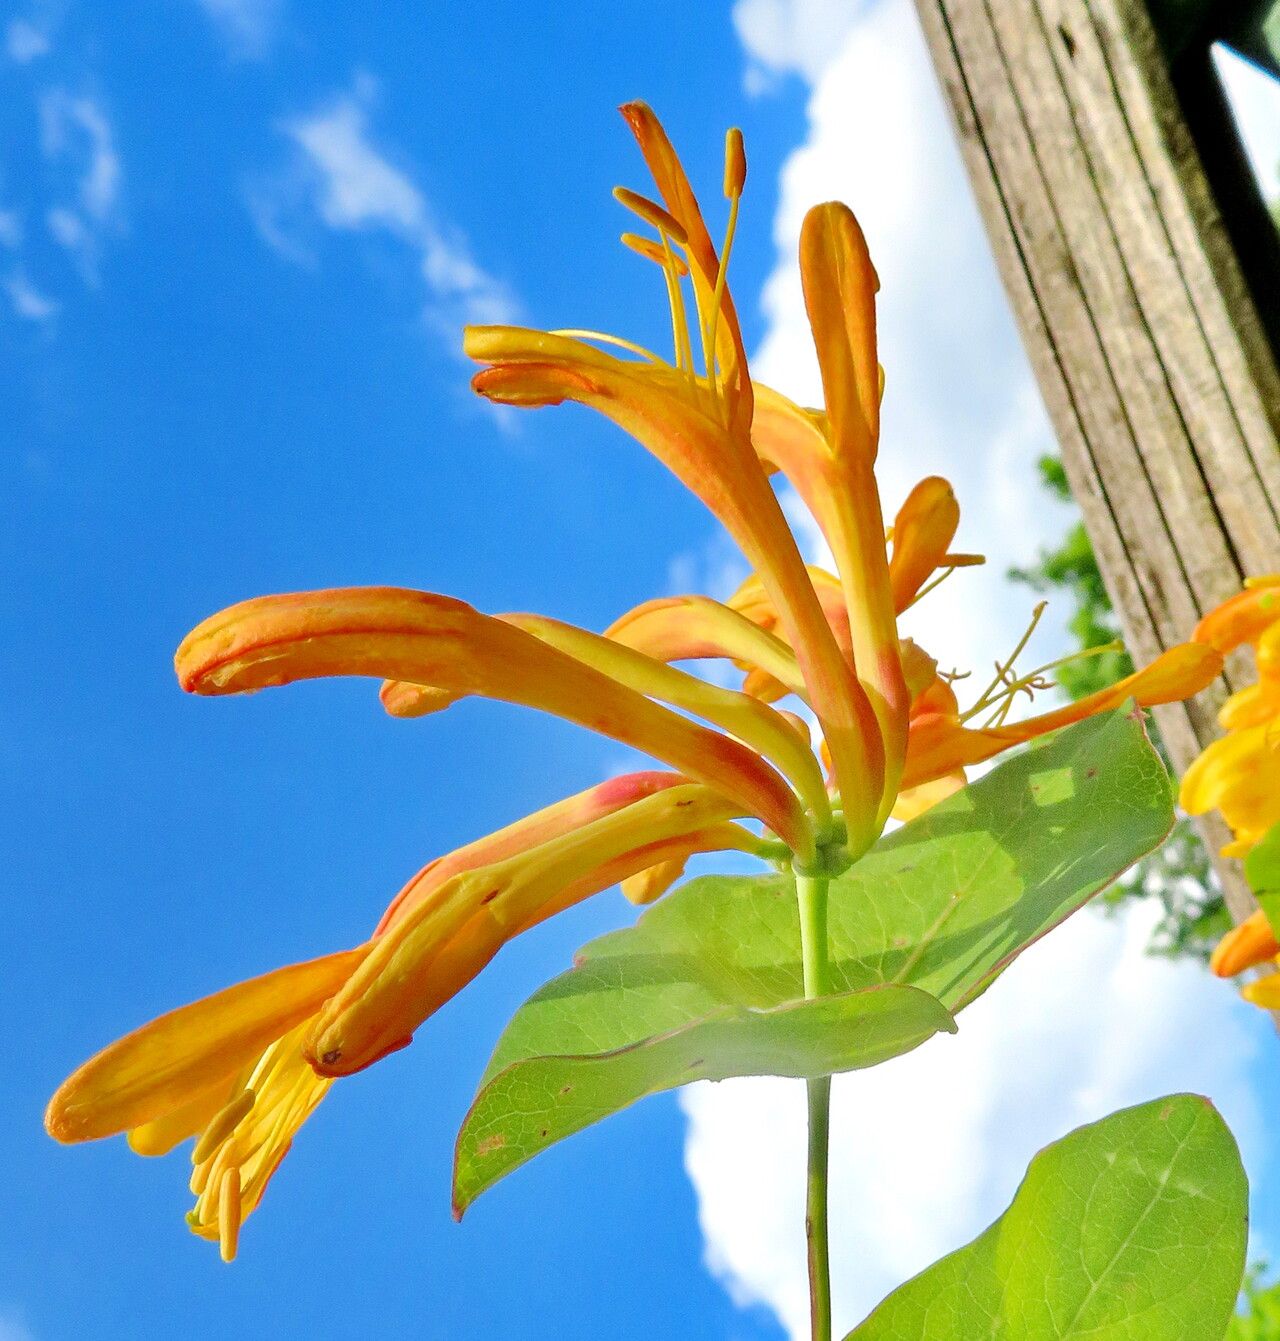
There’s something truly special about coaxing life from a tiny cutting or a division. It’s like unlocking a secret code of nature, and the reward? More of the beautiful plants you adore, for free! Today, we’re diving into the wonderful world of propagating Lonicera flava, more commonly known as Flame Azalea. If you’ve ever admired its vibrant, fiery blooms cascading over a fence or gracing a woodland garden, you’re in for a treat. Propagating this beauty means you can share its charm with friends or simply expand your own collection. For beginners, it’s a manageable project with a good chance of success if you follow a few key steps.
The Best Time to Start
When it comes to Lonicera flava, I find that late spring to early summer is your golden window. This is when the plant is actively growing, and the stems have developed enough to be sturdy but are still relatively soft and pliable. Think of it as the plant’s prime growth spurt – perfect for taking cuttings. Waiting until the flush of spring growth has matured a bit gives you the best chance of success.
Supplies You’ll Need
Before we get our hands dirty, let’s gather our arsenal:
- Sharp pruning shears or a clean, sharp knife: For making precise cuts.
- Rooting hormone powder or gel: This isn’t strictly essential, but it sure does give your cuttings a helping hand.
- Small pots or trays: Drainage holes are a must!
- A well-draining potting mix: I like to use a 50/50 blend of good quality potting soil and perlite or coarse sand. This ensures good aeration and prevents soggy roots.
- Watering can or spray bottle: For gentle watering.
- (Optional) A plastic bag or clear dome: To create a humid microclimate for your cuttings.
- (Optional) A heat mat: For providing gentle bottom warmth.
Propagation Methods
Let’s talk about how we’ll encourage new life. For Lonicera flava, stem cuttings are usually my go-to method.
Stem Cuttings:
- Select your parent plant: Choose a healthy, vigorous Lonicera flava that’s free from pests and diseases.
- Take your cuttings: Using your sharp pruners or knife, take several cuttings that are about 4-6 inches long. Make your cut just below a leaf node (the point where a leaf attaches to the stem).
- Prepare the cuttings: Gently remove the leaves from the bottom half of each cutting. You can leave the top two to four leaves on, but you might want to cut these in half horizontally to reduce water loss through transpiration.
- Apply rooting hormone: Dip the cut end of each stem into your rooting hormone, making sure it’s coated. Tap off any excess.
- Plant your cuttings: Fill your pots with the prepared potting mix. Make a small hole in the center of each pot with your finger or a pencil. Insert the rooting hormone-coated end of the cutting into the hole, and gently firm the soil around it.
- Water gently: Water the soil thoroughly but gently. The goal is to have moist, not waterlogged, soil.
- Create humidity: If you have a plastic bag or dome, place it over the pot to create a greenhouse effect. Make sure the leaves aren’t touching the plastic. You can also mist the cuttings regularly if you’re not using a cover.
The “Secret Sauce” (Pro Tips)
Here are a few tricks I’ve picked up over the years that can really boost your success rate:
- Sharpness is key! A dull tool will crush the stem, making it harder for the cutting to heal and root. Always use your sharpest shears or knife for clean cuts.
- Don’t be afraid of a little shade: While the parent plant might love full sun, your delicate cuttings will appreciate a spot with bright, indirect light. Too much direct sun can scorch them before they even have a chance to establish.
- Bottom warmth works wonders: If you have a heat mat, placing your pots on it can significantly speed up root development. It mimics the warmth of the soil in spring and encourages those roots to emerge from the bottom of the pot.
Aftercare & Troubleshooting
Once your cuttings are planted, patience is your best friend.
- Maintain moisture: Keep the soil consistently moist, but not soggy. Check it every day. If the top inch feels dry, it’s time to water.
- Ventilation is important: If you’re using a plastic bag or dome, open it up for a few minutes each day to allow for air circulation. This helps prevent fungal diseases.
- Brave the tug test: After several weeks (usually 4-8, but sometimes longer!), you can gently tug on a cutting. If there’s resistance, you’ve got roots! You’ll also likely see new leaf growth.
- Troubleshooting: The most common issue you’ll run into is rot. This usually happens when the soil is too wet and there isn’t enough air circulation. If you see any yellowing, wilting, or mushy stems, it’s a sign something’s amiss. You might need to remove the affected cuttings and ensure your soil is draining well.
A Encouraging Closing
And there you have it! Propagating Lonicera flava is a rewarding journey that connects you even more deeply with your garden. Don’t get discouraged if every single cutting doesn’t make it. Gardening is often about trial and error, and each attempt teaches you something new. So, embrace the process, enjoy the satisfaction of nurturing new life, and soon you’ll be surrounded by even more of those stunning flame-colored blooms. Happy propagating!
Resource:
https://identify.plantnet.org/k-world-flora/species/Lonicera%20flava%20Sims/data