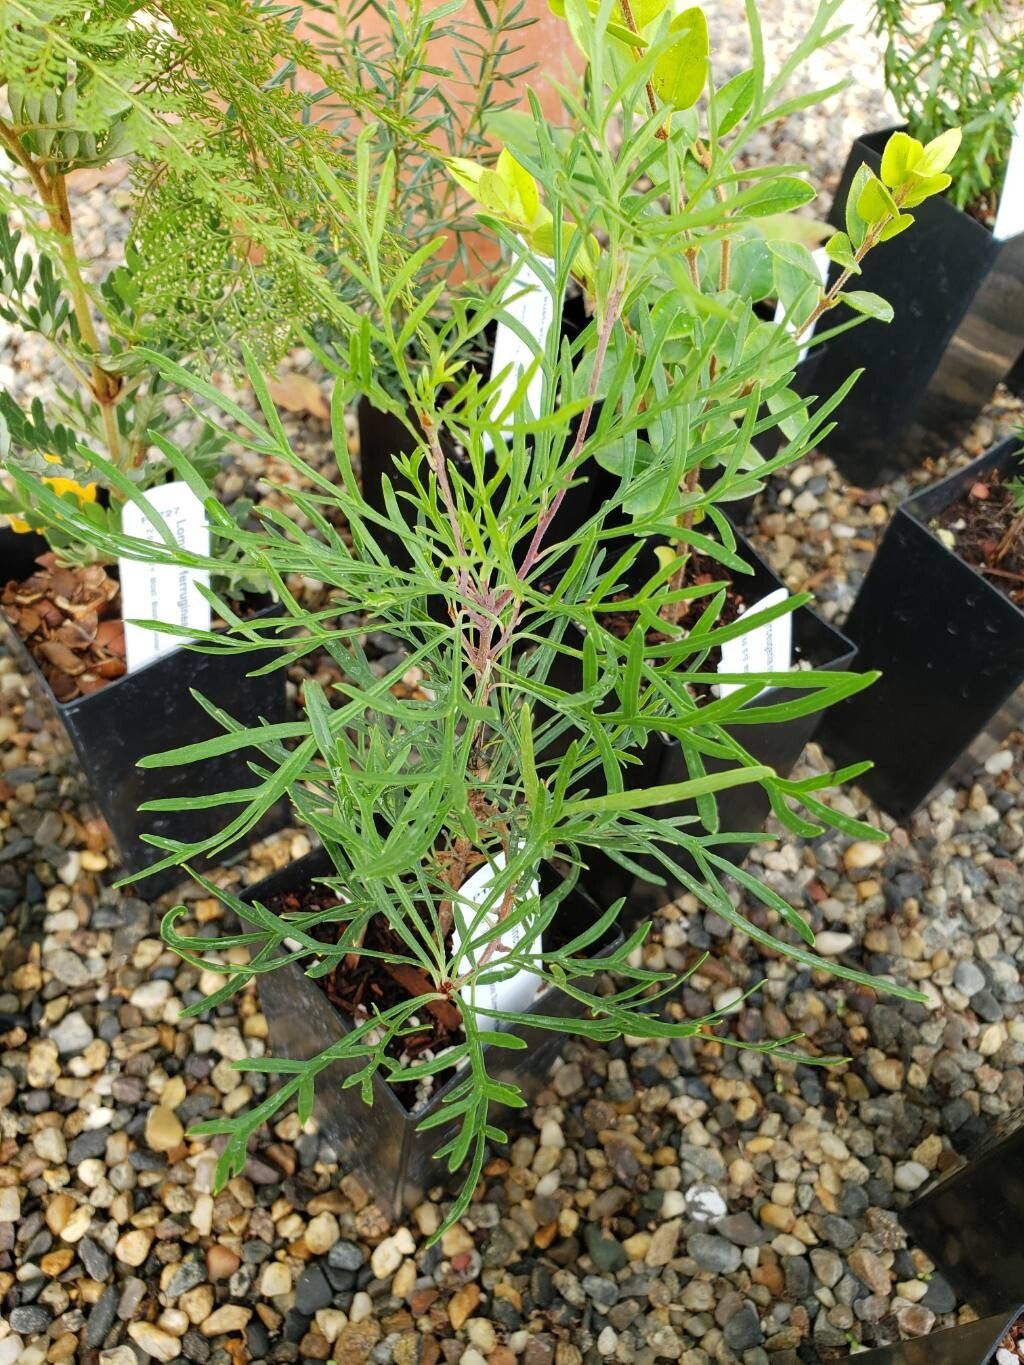
Oh, hello there! Come on in and grab a mug. I’m so glad you’re interested in Lomatia tinctoria. This beautiful native plant, with its intricate foliage and dainty flowers, is a real gem. And trust me, the reward of coaxing a new plant into existence from a piece of an old one is just immense. While Lomatia tinctoria can be a tad fussy compared to, say, a pothos, with a little know-how, even a newer gardener can find success. It’s a patient plant, and it rewards patience back!
The Best Time to Start
For Lomatia tinctoria, I’ve found spring is your absolute best bet. Think late spring, just as things are really starting to wake up and actively grow. You’re looking for new, semi-hardwood growth – not the super soft, floppy new shoots, and definitely not the old woody stems. This is when the plant has the most energy to put into rooting.
Supplies You’ll Need
Here’s what you’ll want to have on hand:
- Sharp pruning shears or a clean knife: For making clean cuts.
- Seedling tray or small pots: Clean ones are essential!
- Well-draining potting mix: A mix of equal parts perlite, coir, and a good quality potting soil works wonderfully. Avoid heavy, overly moist mixes.
- Rooting hormone (optional but recommended): A powder or gel specifically for cuttings.
- Plastic bags or a propagator lid: To create a humid environment.
- Watering can or spray bottle: For gentle watering.
- Labels and a pen: Because trust me, you’ll forget what’s what!
Propagation Methods
Let’s talk about how we can get more Lomatia tinctoria to enjoy.
Stem Cuttings: My Go-To Method
This is generally the most reliable way to propagate Lomatia tinctoria.
- Take your cuttings: In late spring, select a healthy stem that’s about 10-15 cm long. Make a clean cut just below a leaf node (where a leaf attaches to the stem). Remove the lower leaves, leaving just the top few.
- Prepare the cutting: If you’re using rooting hormone, dip the cut end into it, tapping off any excess.
- Pot them up: Fill your pots or seedling tray with your well-draining mix. Make a little hole with a pencil or your finger and gently insert the cutting, firming the soil around it.
- Create humidity: Water the soil gently until it’s moist but not soggy. Then, cover the pot with a plastic bag or place it in a propagator. This humidity is crucial for preventing the cutting from drying out before it can root.
- Find a good spot: Place the pots in a bright spot, out of direct sunlight. A little warmth from the bottom can be beneficial, but it’s not strictly essential.
Division: For the Established Plants
If you have a larger, established Lomatia tinctoria clump, division is a great option.
- Gently remove the plant: Do this in early spring before new growth really takes off. Carefully lift the entire plant from its pot or the ground.
- Separate the root ball: Gently tease apart the root ball with your hands. You’re looking for natural breaks where you can separate sections, ensuring each new piece has plenty of roots and some shoots. If you encounter tough, woody sections, you might need a clean knife or trowel.
- Re-pot immediately: Plant your divisions into their own pots filled with a good potting mix. Water them in well.
The “Secret Sauce” (Pro Tips)
Here are a few things I’ve learned over the years that make a difference:
- Don’t let the leaves touch the water: If you opt for water propagation (which, honestly, Lomatia tinctoria isn’t my first choice for, it can be a bit prone to rot), ensure no leaves are submerged. Only the cut stem should be in the water. This prevents leaf rot, which can quickly kill your cutting.
- A gentle bottom warmth is your friend: While not a must, placing your pots on a heat mat set to a low temperature (around 20-22°C) in early spring can significantly speed up rooting. It mimics the warmth of spring soil and gives those little root cells a boost.
- Air circulation is key: Once roots have formed and you’ve removed the plastic bag, ensure there’s good air circulation around your new plants. This helps prevent fungal issues and strengthens them for life outside their humid nursery.
Aftercare & Troubleshooting
Once you start seeing new leaf growth appearing on your cuttings, that’s a good sign roots are forming!
- Gradual acclimatization: If you used a plastic bag, start by opening it a little each day for a week to let the plant get used to normal humidity.
- Watering: Water when the top inch of soil feels dry. Avoid overwatering, as this is the most common culprit for failure.
- Troubleshooting: The biggest issue you’ll likely face is rot. If your cutting turns black and mushy, it’s usually a sign of too much moisture and not enough air circulation. Don’t be discouraged! Just clear out the failed cutting and try again, perhaps with a drier mix or more airflow. Yellowing leaves can sometimes mean too much direct sun or inconsistent watering.
A Encouraging Closing
Growing Lomatia tinctoria from cuttings or divisions is a journey. It takes a little patience, a touch of observation, and a willingness to learn from each attempt. Enjoy the process, celebrate every sign of life, and before you know it, you’ll have beautiful new plants to admire and share. Happy gardening!
Resource:
https://identify.plantnet.org/k-world-flora/species/Lomatia%20tinctoria%20R.Br./data