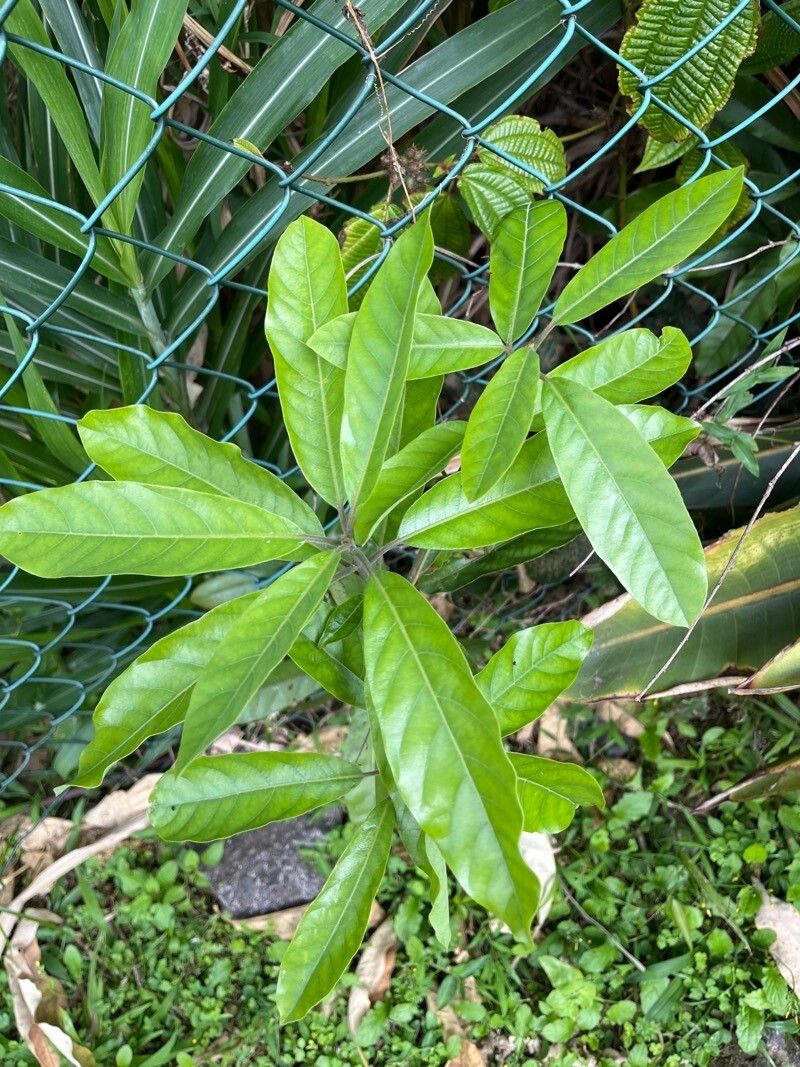
Oh, hello there! It’s so lovely to sit down with you and chat about all things green. Today, I want to share a little secret with you – how to bring more of the wonderful Litsea glutinosa into your garden or home. You know, that beautiful tree with its lush, glossy leaves and, if you’re lucky, its fragrant flowers. There’s something incredibly satisfying about taking a tiny piece of a plant and coaxing it into a whole new life of its own. It’s like a miniature miracle happening right on your windowsill!
Now, I won’t lie to you, Litsea glutinosa can be a tad bit particular when it comes to striking roots. It’s not the absolute easiest for a complete novice, but with a little patience and the right approach, you’ll be celebrating success before you know it. And that’s what this is all about – sharing the knowledge and the joy.
The Best Time to Start
When it comes to getting those cuttings to root, spring and early summer are your golden windows. This is when the plant is actively growing, its sap is flowing, and it’s just bursting with vitality. You’re looking for young, semi-hardwood growth. Think of it as taking cuttings from stems that are firm but not yet woody. They should snap cleanly rather than bend.
Supplies You’ll Need
Gathering your tools before you start makes the whole process much smoother. Here’s what I always have on hand:
- Sharp Pruning Shears or a Craft Knife: Clean cuts are essential.
- Rooting Hormone Powder or Gel: This really gives your cuttings a boost.
- A Clean Potting Mix: I like a blend of perlite and peat moss (about 50/50) for excellent drainage. You can also find specific cactus and succulent mixes that work well.
- Small Pots or Seed Trays: Make sure they have drainage holes!
- Plastic Bags or a Propagator: To create a humid environment.
- Watering Can or Spray Bottle: For gentle watering.
- Labels: You’ll want to remember what you planted where!
Propagation Methods
While Litsea glutinosa can be a bit fussy, stem cuttings are generally the most reliable way to go. Here’s how I do it:
- Take Your Cuttings: Select a healthy stem that fits the “semi-hardwood” description. Using your clean shears or knife, take a cutting about 4-6 inches long. Make the cut just below a leaf node, as this is where rooting hormones are strongest.
- Prepare the Cutting: Gently remove the lower leaves from the cutting. You want to leave just a few leaves at the top. This reduces water loss and prevents leaves from rotting once you plant it. If your leaves are particularly large, you can even cut them in half horizontally to further minimize transpiration.
- Apply Rooting Hormone: Dip the cut end of the stem into your rooting hormone, ensuring it’s coated. Tap off any excess.
- Pot Up: Fill your small pots with your prepared potting mix. Moisten the mix thoroughly.
- Insert the Cutting: Make a small hole in the soil with your finger or a pencil and gently insert the cutting. Firm the soil gently around the base of the stem to ensure good contact.
- Create Humidity: Water the soil lightly again. Then, cover the pot with a clear plastic bag, propped up with stakes so it doesn’t touch the leaves, or place the pot inside a propagator.
- Find the Right Spot: Place your pots in a bright location but out of direct sunlight. A warm windowsill is perfect.
The “Secret Sauce” (Pro Tips)
These little tricks have saved countless cuttings for me over the years:
- Bottom Heat is Your Friend: If you have a heated propagator mat, use it! Maintaining a consistent soil temperature around 70-75°F (21-24°C) can significantly speed up root development and increase your success rate. It’s like a cozy little spa for your cuttings.
- Don’t Drown It! While humidity is key, overwatering is the kiss of death for cuttings. The goal is consistently moist, not soggy, soil. Check the soil moisture regularly. If it feels wet, hold off on watering.
- The ‘Wiggle Test’: After a few weeks, you can very gently give a lightly tug on the cutting. If you feel resistance, congratulations! Roots have begun to form. Don’t be overly aggressive, though; you don’t want to dislodge those precious new roots.
Aftercare & Troubleshooting
Once you see new leaf growth, it’s a great sign! It means your cutting is likely rooting. At this point, you can gradually begin to acclimate it to lower humidity by opening the plastic bag a little each day, or by removing it from the propagator for a few hours at a time. Continue to water when the top inch of soil feels dry.
What do you do if things don’t go as planned? The most common issue is rot. If your cutting turns black and mushy at the base, or develops fuzzy grey mold, it’s usually a sign of too much moisture and not enough air circulation. In this case, sadly, it’s usually time to discard it and try again, perhaps on a drier potting mix or with less frequent watering. Don’t get discouraged; it’s all part of the learning curve!
A Encouraging Closing
Propagating gives us such a wonderful connection to the plant world. It’s a slow dance, a patient wait, and a truly rewarding experience when you see that first hint of new life emerge. So, gather your supplies, embrace the process, and most importantly, enjoy the journey of growing your own Litsea glutinosa. Happy propagating!
Resource:
https://identify.plantnet.org/k-world-flora/species/Litsea%20glutinosa%20(Lour.)%20C.B.Rob./data