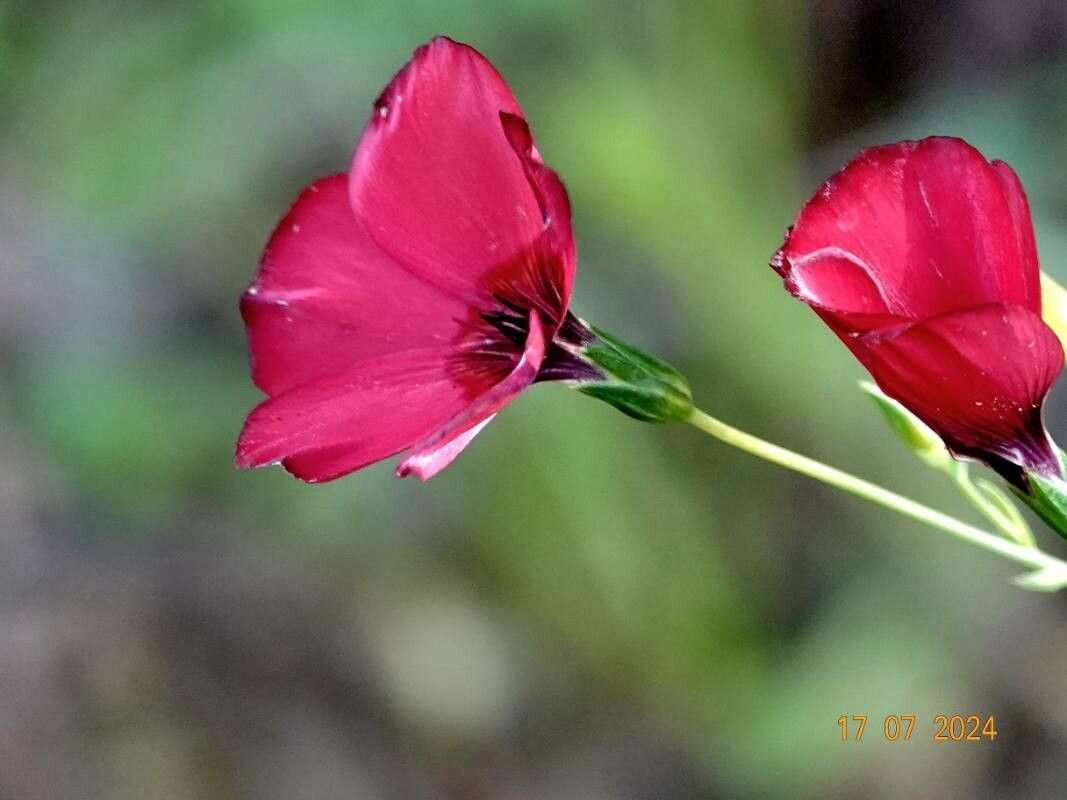
Oh, hello there! Grab a mug of something warm, and let’s chat about one of my very favorite summer bloomers: the Scarlet Flax, or Linum grandiflorum. I’ve had these delicate beauties gracing my garden for years, and there’s something truly special about creating new life from an existing plant. It’s like magic, but the kind you can hold in your hands!
If you love those vibrant, papery-thin red blooms that flutter in the breeze, then propagating your own Scarlet Flax is a fantastic idea. It’s not a tricky plant to get started from seed, but if you’re looking to clone a specific, particularly perfect specimen, or just want to expand your scarlet sea, propagation can be a wonderfully rewarding endeavor. Don’t worry, even if you’re just dipping your toes into gardening, this is very manageable.
The Best Time to Start
Generally, the sweet spot for propagating Linum grandiflorum is late spring to early summer. You want to catch the plant when it’s actively growing and full of vigor. This means the cuttings will be bursting with hormones ready to root. Avoid trying to propagate when the plant is stressed, entering dormancy, or during the peak of a heatwave. Mid-morning, after the dew has dried but before the sun gets too intense, is a great time to snip your material.
Supplies You’ll Need
Here’s what you’ll want to have on hand to give your little flaxes the best start:
- Sharp, clean pruning shears or scissors: A keen edge makes a clean cut, which is vital for rooting. Give them a quick wipe with rubbing alcohol between plants.
- A rooting hormone powder or gel: While not strictly mandatory for Linum grandiflorum, it can give your cuttings an extra boost.
- A suitable potting mix: I like a light, airy blend. A good starting point is one part peat moss or coco coir, one part perlite, and one part vermiculite. This ensures excellent drainage. You can also buy a good quality seed-starting mix.
- Small pots or seed trays with drainage holes: Clean yogurt cups with holes poked in the bottom work in a pinch!
- A clear plastic bag or propagation dome: This creates a mini-greenhouse effect.
- A spray bottle filled with water: For keeping things moist.
- A warm location: Think a sunny windowsill or a heated propagator if you have one.
Propagation Methods
While Scarlet Flax is incredibly easy from seed, if you want to clone a parent plant, stem cuttings are your best bet.
- Take Your Cuttings: Select healthy, non-flowering stems from your parent plant. Look for stems that are about 4-6 inches long. Make a clean cut just below a leaf node (where a leaf emerges from the stem). Remove the lower leaves, leaving just a few at the top. If the cutting has any flower buds, carefully pinch them off.
- Prepare the Cutting: Dip the cut end of the stem into your rooting hormone, if you’re using it. Tap off any excess.
- Pot Them Up: Fill your small pots with your prepared potting mix. Make a small hole in the center of the soil with your finger or a pencil. Gently insert the cutting into the hole, ensuring at least one leaf node is buried beneath the soil surface. Firm the soil gently around the base of the cutting.
- Water and Cover: Water the soil thoroughly until it’s moist but not soggy. Lightly mist the leaves of the cutting. Then, cover the pot with a clear plastic bag or place it inside a propagation dome. This traps humidity, which is crucial for cuttings to root.
- Placement: Place your pots in a bright location that receives indirect sunlight. Avoid direct, scorching sun, which can overheat the cuttings and dry them out too quickly.
The “Secret Sauce” (Pro Tips)
Now, for a couple of little tricks I’ve picked up over the years that can make a real difference:
- Don’t let the leaves touch the water! If you’re doing water propagation (which can work, but is a bit trickier for Scarlet Flax compared to cuttings in soil), make sure only the stem is submerged. Any leaves in the water will rot and often take the whole cutting down with them.
- Gentle bottom heat is your friend. If you have a heated propagator, great! If not, simply placing your pots on top of a gently warm but not hot appliance (like a cable box or a dimmer switch that generates a little warmth) can significantly speed up root development. It mimics the warmth of spring soil.
- Be patient with the airflow. Once you see signs of rooting (new growth!), it’s time to gradually introduce your cuttings to normal air. Start by opening the plastic bag or dome for a few hours each day, slowly increasing the time until they are fully acclimatized.
Aftercare & Troubleshooting
Once you see new growth, which is your signal that roots have formed, it’s time to transition your baby Scarlet Flax to more regular care.
You can start watering them a bit more regularly, letting the soil surface dry out slightly between waterings. Continue to provide bright, indirect light. Once they have a decent root system and a few sets of leaves, you can transplant them into slightly larger pots.
What about trouble? The most common issue you’ll encounter is your cutting rotting at the base. This is usually a sign of overwatering and poor drainage. If you see a stem turning mushy and brown, it’s likely a goner. Start again with fresh cuttings, ensuring your soil drains exceptionally well and you’re not overzealous with the watering can. Another sign of trouble is if the cutting shrivels up and looks completely dried out. This means it wasn’t humid enough, so check that your plastic cover is creating a good seal.
A Encouraging Closing
Growing new plants is such a joy, and a little bit of patience goes a long, long way. Don’t be discouraged if your first few attempts don’t pan out perfectly. Every gardener has their share of cuttings that just don’t make it. Celebrate the successes, learn from the failures, and most importantly, enjoy the process of nurturing these lovely blooms into your garden. Happy propagating!
Resource:
https://identify.plantnet.org/k-world-flora/species/Linum%20grandiflorum%20Desf./data