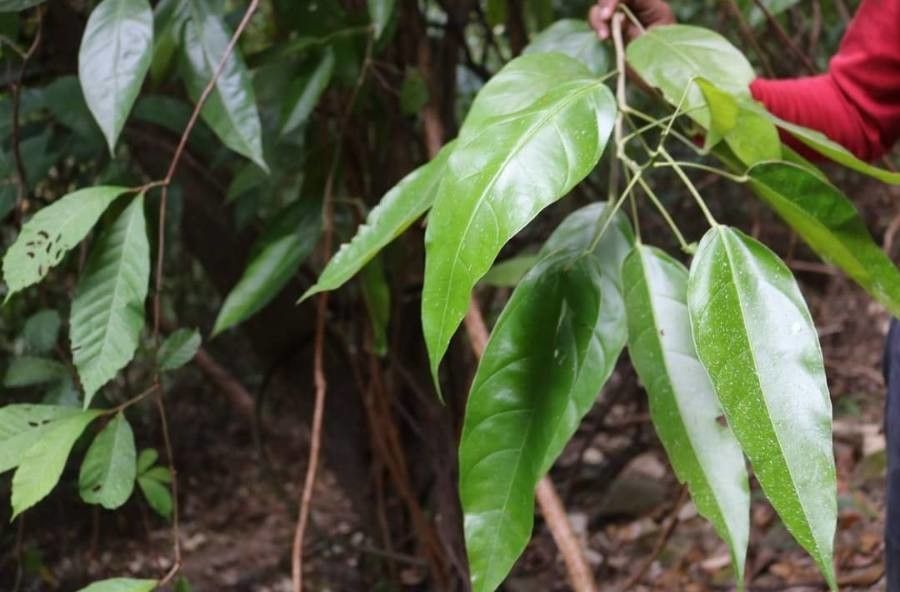
Oh, Lindackeria laurina! That’s such a wonderful choice. Its glossy, deep green leaves and lovely, often fragrant flowers bring a touch of the tropics right into our gardens. And the best part? Sharing this beauty by propagating it yourself is incredibly rewarding. You get to see a tiny bit of plant magic happen right before your eyes. Now, is it a walk in the park for absolute beginners? Honestly, it can be a little bit of a learning curve, but with a few pointers, you’ll be well on your way to success.
The Best Time to Start
For Lindackeria laurina, aiming for late spring to early summer is typically your sweet spot. This is when the plant is actively growing and has plenty of energy to put into rooting. You’ll want to take cuttings from healthy, well-established stems that aren’t flowering. Think of it as taking a piece of vigorous growth.
Supplies You’ll Need
Before we get our hands dirty, let’s gather our tools:
- Sharp Pruning Shears or a Clean Knife: For making precise cuts.
- Rooting Hormone: This isn’t strictly required for every plant, but for Lindackeria, it can really give your cuttings a helpful boost. Look for a powdered or gel formula.
- Well-Draining Potting Mix: A mix of equal parts peat moss or coco coir and perlite or coarse sand is ideal. This prevents waterlogged roots.
- Small Pots or Seed Starting Trays: Clean containers for your cuttings. Make sure they have drainage holes!
- Plastic Bags or a Propagator: To create a humid environment for your cuttings.
- Watering Can with a Fine Rose: For gentle watering.
Propagation Methods
We’ll focus on the most reliable method for Lindackeria: stem cuttings.
- Take Your Cuttings: Select a healthy, non-flowering stem from your mature plant. Look for a stem that’s about 4-6 inches long. Make a clean cut just below a leaf node (where a leaf attaches to the stem). This is where the magic happens for rooting. Remove the lower leaves, leaving just 2-3 leaves at the top.
- Prepare the Cuttings: Dip the cut end of each stem into your rooting hormone, tapping off any excess. This helps encourage root development.
- Plant Your Cuttings: Fill your small pots with the prepared well-draining potting mix. Make a hole in the center of the soil with your finger or a pencil. Gently insert the stem cutting into the hole, ensuring the leaf nodes you removed are below the soil surface. Firm the soil gently around the stem.
- Create a Humid Environment: Water the soil gently until it’s moist but not soggy. Now, cover the pot with a clear plastic bag (you can use a plastic grocery bag or a cloche) or place it inside a propagator. This traps humidity, which is crucial for cuttings to root before they can absorb water through roots.
The “Secret Sauce” (Pro Tips)
Here are a few things I’ve learned over the years that can make a difference:
- Bottom Heat is Your Friend: If you have a heat mat designed for seedlings and cuttings, placing your pots on it will significantly speed up the rooting process. It mimics the warmth of spring soil.
- Don’t Overwater: This is probably the most common mistake! Cuttings in a humid environment don’t need soggy feet. Too much moisture can lead to rot before roots even form. Check the soil moisture by gently probing with your finger.
- Location, Location, Location: Place your cuttings in a bright spot, but out of direct sunlight. Too much sun will scorch those tender new leaves before they’ve had a chance to establish. A north-facing window is often perfect.
Aftercare & Troubleshooting
Once your cuttings have been planted, keep the soil consistently moist but not wet. You should see signs of new growth within 4-8 weeks. A gentle tug on the cutting will tell you if it’s rooted – if there’s resistance, roots have formed!
The most common problem you might encounter is rot. If you see your cutting turning brown and mushy, it’s a sign of too much moisture. Unfortunately, rot is usually irreversible. Prevention is key here – good drainage and careful watering are your best defenses. Drooping leaves can also be a sign of stress or insufficient humidity. Make sure that plastic cover is creating a good seal!
A Encouraging Closing
Propagating Lindackeria laurina really is such a satisfying process. Be patient with your little green charges. There might be a few that don’t make it, and that’s perfectly normal! Every gardener learns from trial and error. Enjoy the journey of nurturing these new plants, and soon you’ll have more of these gorgeous specimens to admire and share. Happy gardening!
Resource:
https://identify.plantnet.org/k-world-flora/species/Lindackeria%20laurina%20C.Presl/data