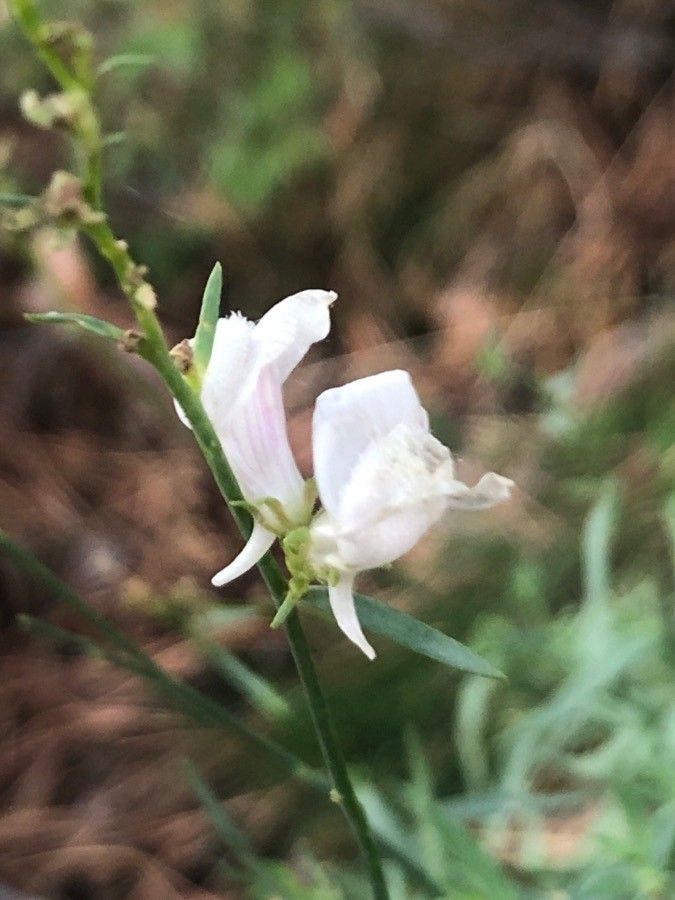
Oh, hello there! So glad you’ve stopped by my little patch of the internet. Today, we’re diving into the delightful world of Linaria nivea, also known as the Snow Toadflax. If you’re looking for a plant that brings a flurry of delicate, snow-white blooms and a whisper of whimsy to your garden, you’ve found a winner. And the best part? You can easily multiply this beauty to share with friends or fill every nook and cranny. Propagating Linaria nivea is a genuinely rewarding experience, and I can tell you, it’s not a beastly challenge for newcomers to the gardening scene. Let’s get our hands dirty!
The Best Time to Start
For the absolute highest success rate, I always recommend starting your propagation in late spring or early summer. This is when the plant is actively growing and has plenty of energy to put into developing new roots. You’re looking for healthy, non-flowering stems that are about one to three inches long. Think of it like giving them a good head start before the heat of summer really kicks in.
Supplies You’ll Need
Before we begin, let’s gather your essentials. A little preparation goes a long way!
- Sharp Pruning Shears or a Craft Knife: Clean cuts are crucial.
- Rooting Hormone (Optional but Recommended): Especially for stem cuttings, this gives them a real boost. Look for one with IBA.
- Well-Draining Potting Mix: A good quality seed starting mix or a blend of peat moss, perlite, and a little coarse sand works wonders.
- Small Pots or Seed Trays: Clean pots are a must.
- Watering Can with a Fine Rose: Gentle watering is key.
- Clear Plastic Bag or Dome: To create a humid environment.
- Labeling Sticks: To keep track of what’s what!
- Small Pebbles or Grit: For drainage at the bottom of pots.
Propagation Methods
Linaria nivea is quite adaptable, but stem cuttings are my go-to method for this lovely plant.
Stem Cuttings
- Take Cuttings: On a healthy, non-flowering stem, use your sharp pruning shears or knife to make a clean cut just below a leaf node. A leaf node is that little bump where a leaf attaches to the stem. Aim for cuttings that are about 3-4 inches long.
- Prepare the Cuttings: Gently remove the lower leaves from your cuttings, leaving just a few at the top. This prevents them from rotting in the soil. If your cutting is thick, you can even try making a small slit on the bottom end to encourage more rooting.
- Apply Rooting Hormone (Optional): Dip the cut end of each stem into your rooting hormone powder, tapping off any excess.
- Plant the Cuttings: Fill your small pots with your well-draining potting mix. Make a small hole in the center with your finger or a pencil. Carefully insert the cut end of the stem into the hole, ensuring at least one leaf node is buried beneath the soil. Gently firm the soil around the base.
- Water Gently: Water thoroughly but gently, so you don’t dislodge your precious cuttings.
- Create Humidity: Place the pots into a clear plastic bag or cover them with a plastic dome. This traps moisture and creates the humid environment new cuttings need.
- Provide Light and Warmth: Place the pots in a bright spot that receives indirect sunlight. Avoid direct sun, which can scorch them. Some gentle warmth from a heat mat can speed things up, but it’s not strictly necessary.
The “Secret Sauce” (Pro Tips)
After years of coaxing plants to grow, I’ve picked up a few little tricks that make a difference.
- Don’t Let Those Leaves Touch the Water (if water propagating): While I prefer soil for Linaria nivea, if you ever dabble in water propagation for other plants, remember to keep the leaves dry. Any submerged foliage will quickly rot and can foul the water, hindering root development.
- Bottom Heat is Your Friend: For stem cuttings, the magic really happens when the roots are being encouraged from below. A simple seedling heat mat set on a low setting can dramatically speed up the rooting process and increase your success rate. It mimics the warmth of spring soil.
- Mist, Don’t Drench: That humidity you’re creating is vital, but overwatering the leaves can lead to fungal issues. A light misting of the leaves every few days, combined with the enclosed humidity, is usually enough until roots form.
Aftercare & Troubleshooting
Once you start seeing new growth at the top of your cuttings, that’s a good sign roots are forming! You can gently tug on a stem. If there’s resistance, roots are there.
- Acclimatize: Gradually introduce your new plants to drier air by opening the plastic bag or dome a little bit each day over a week.
- Transplant: Once the roots have filled the pot (you might see them peeking out the drainage holes), it’s time to transplant them into their own slightly larger pots with fresh potting soil.
- Watering: Continue to keep the soil evenly moist but not waterlogged.
- Signs of Failure: The most common issue is rot. If your cuttings turn mushy and black, or if the leaves wilt and yellow despite being kept moist, it’s likely rot. This is usually due to too much moisture and not enough air circulation. If you spot this, remove the affected cuttings immediately to prevent it from spreading.
A Encouraging Closing
And there you have it! Propagating Linaria nivea is a wonderful way to expand your garden and connect with the rhythm of nature. Remember to be patient; sometimes these little ones take their time. Don’t get discouraged if not every cutting takes. Gardening is a journey, and each new plant is a little victory to savor. Happy propagating!
Resource:
https://identify.plantnet.org/k-world-flora/species/Linaria%20nivea%20Boiss.%20&%20Reut./data