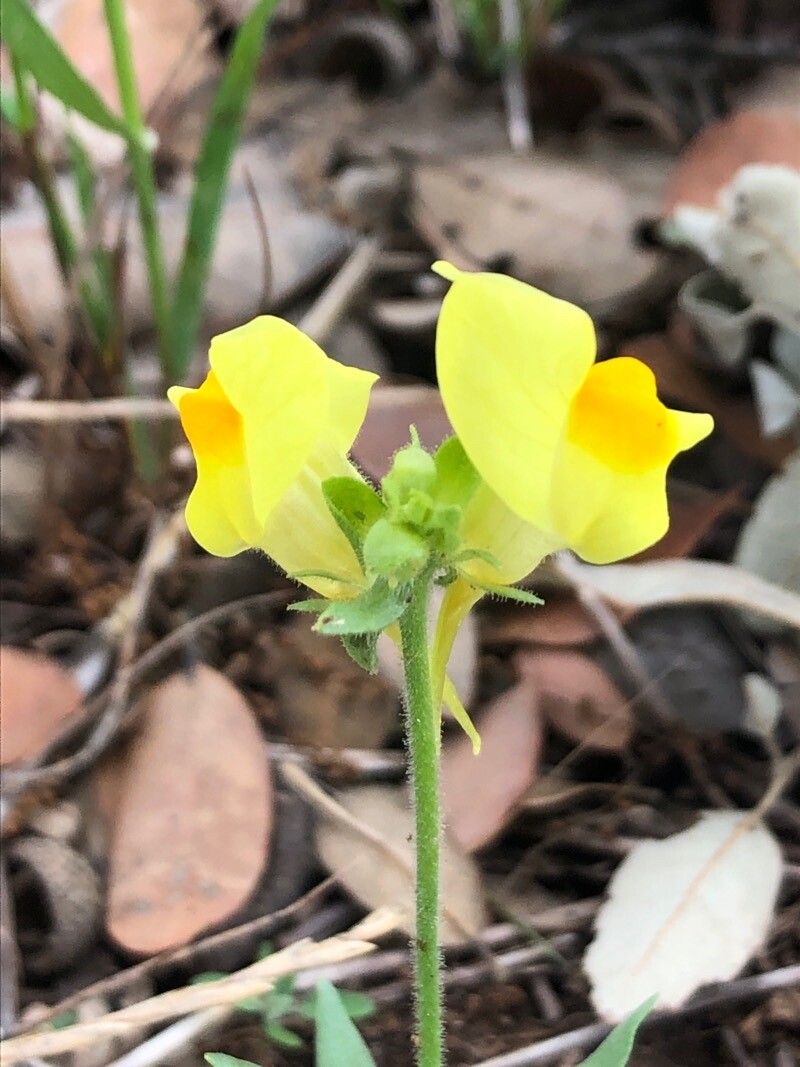
Hello, fellow garden enthusiasts! It’s so lovely to have you join me today. We’re going to dive into the wonderful world of Linaria hirta, also known as the “Toadflax.” If you’ve ever seen this delightful plant gracing a garden with its delicate, snapdragon-like flowers in shades of pink, purple, and yellow, you’ve likely fallen for its charm. The really rewarding part? You can easily bring that charm into your own garden by propagating it! For beginners, I’m happy to say that Linaria hirta is quite forgiving, making it a fantastic plant to try your hand at expanding.
The Best Time to Start
When it comes to Linaria hirta, trust your gut and the rhythm of the seasons. Late spring to early summer is generally your golden window. This is when the plant is in full swing, producing healthy new growth that’s brimming with energy. Waiting until after the initial flush of blooming is often best, as you’ll be taking cuttings from robust, non-flowering stems.
Supplies You’ll Need
Gathering your tools beforehand makes the whole process so much smoother. Here’s what I always have on hand:
- Sharp, clean pruning shears or a sharp knife
- A good quality seed-starting mix or a perlite-rich potting mix – something that drains really well is key!
- Small pots or seed trays
- A spray bottle for misting
- Rooting hormone (optional, but can speed things up!)
- A label and marker to keep track of your precious new plants
Propagation Methods
Linaria hirta is a trooper and can be propagated through a few reliable methods. I find success with stem cuttings and even a little bit by division.
Stem Cuttings: This is my go-to for Linaria.
- First, select a healthy, non-flowering stem from your mature plant. Look for stems that are about 4-6 inches long.
- Using your sharp shears, make a clean cut just below a leaf node (where a leaf attaches to the stem).
- Gently remove the lower leaves, leaving just a couple of sets at the very top.
- If you’re using rooting hormone, dip the cut end into it now.
- Fill your small pots with your well-draining seed-starting mix.
- Make a small hole in the mix with your finger or a pencil.
- Carefully insert the cutting into the hole, ensuring the leaf nodes are buried where you want roots to form. Gently firm the soil around it.
- Water gently to settle the soil.
- Place your pots in a bright location but out of direct, harsh sunlight. Keeping them consistently moist, but not waterlogged, is crucial. A plastic bag tented over the pot can help maintain humidity.
Division: Sometimes, if your Linaria is getting a bit crowded, you might have several stems growing from a central root mass.
- Gently dig up the entire clump.
- Carefully shake off excess soil to see the root system.
- Using your fingers or a clean trowel, gently pull apart the clump into smaller sections. Try to ensure each section has some roots and at least one or two healthy stems.
- Replant these new divisions into pots or directly into your garden. Water them in well.
The “Secret Sauce” (Pro Tips)
Here are a couple of tricks I’ve learned over the years that really make a difference with these delicate beauties:
- Don’t be afraid to prune overhead: If your cuttings are getting a bit leggy before they root, a gentle pinch back can encourage bushier growth and more potential rooting points.
- Bottom heat is your friend: While not strictly necessary, placing your pots on a heating mat designed for seedlings can significantly speed up root development. It mimics the warmth of the soil in spring and gives your cuttings that extra boost.
Aftercare & Troubleshooting
Once you spot new leaf growth or feel a gentle tug when you carefully try to wiggle the cutting, you know roots have formed! This is cause for celebration!
Continue to water regularly, but allow the top inch of soil to dry out slightly between waterings. Avoid overwatering, as this is the most common culprit behind rot. If you see mushy stems or the cutting turns black and wilts dramatically, it’s likely too much moisture and not enough air circulation. You might need to start again, ensuring better drainage and less frequent watering.
A Encouraging Closing
Propagating Linaria hirta is a wonderful journey that connects you even more deeply to your garden. Be patient with the process – nature has its own timing! Enjoy watching those tiny roots develop and seeing your new plants flourish. Happy gardening!
Resource:
https://identify.plantnet.org/k-world-flora/species/Linaria%20hirta%20(L.)%20Moench/data