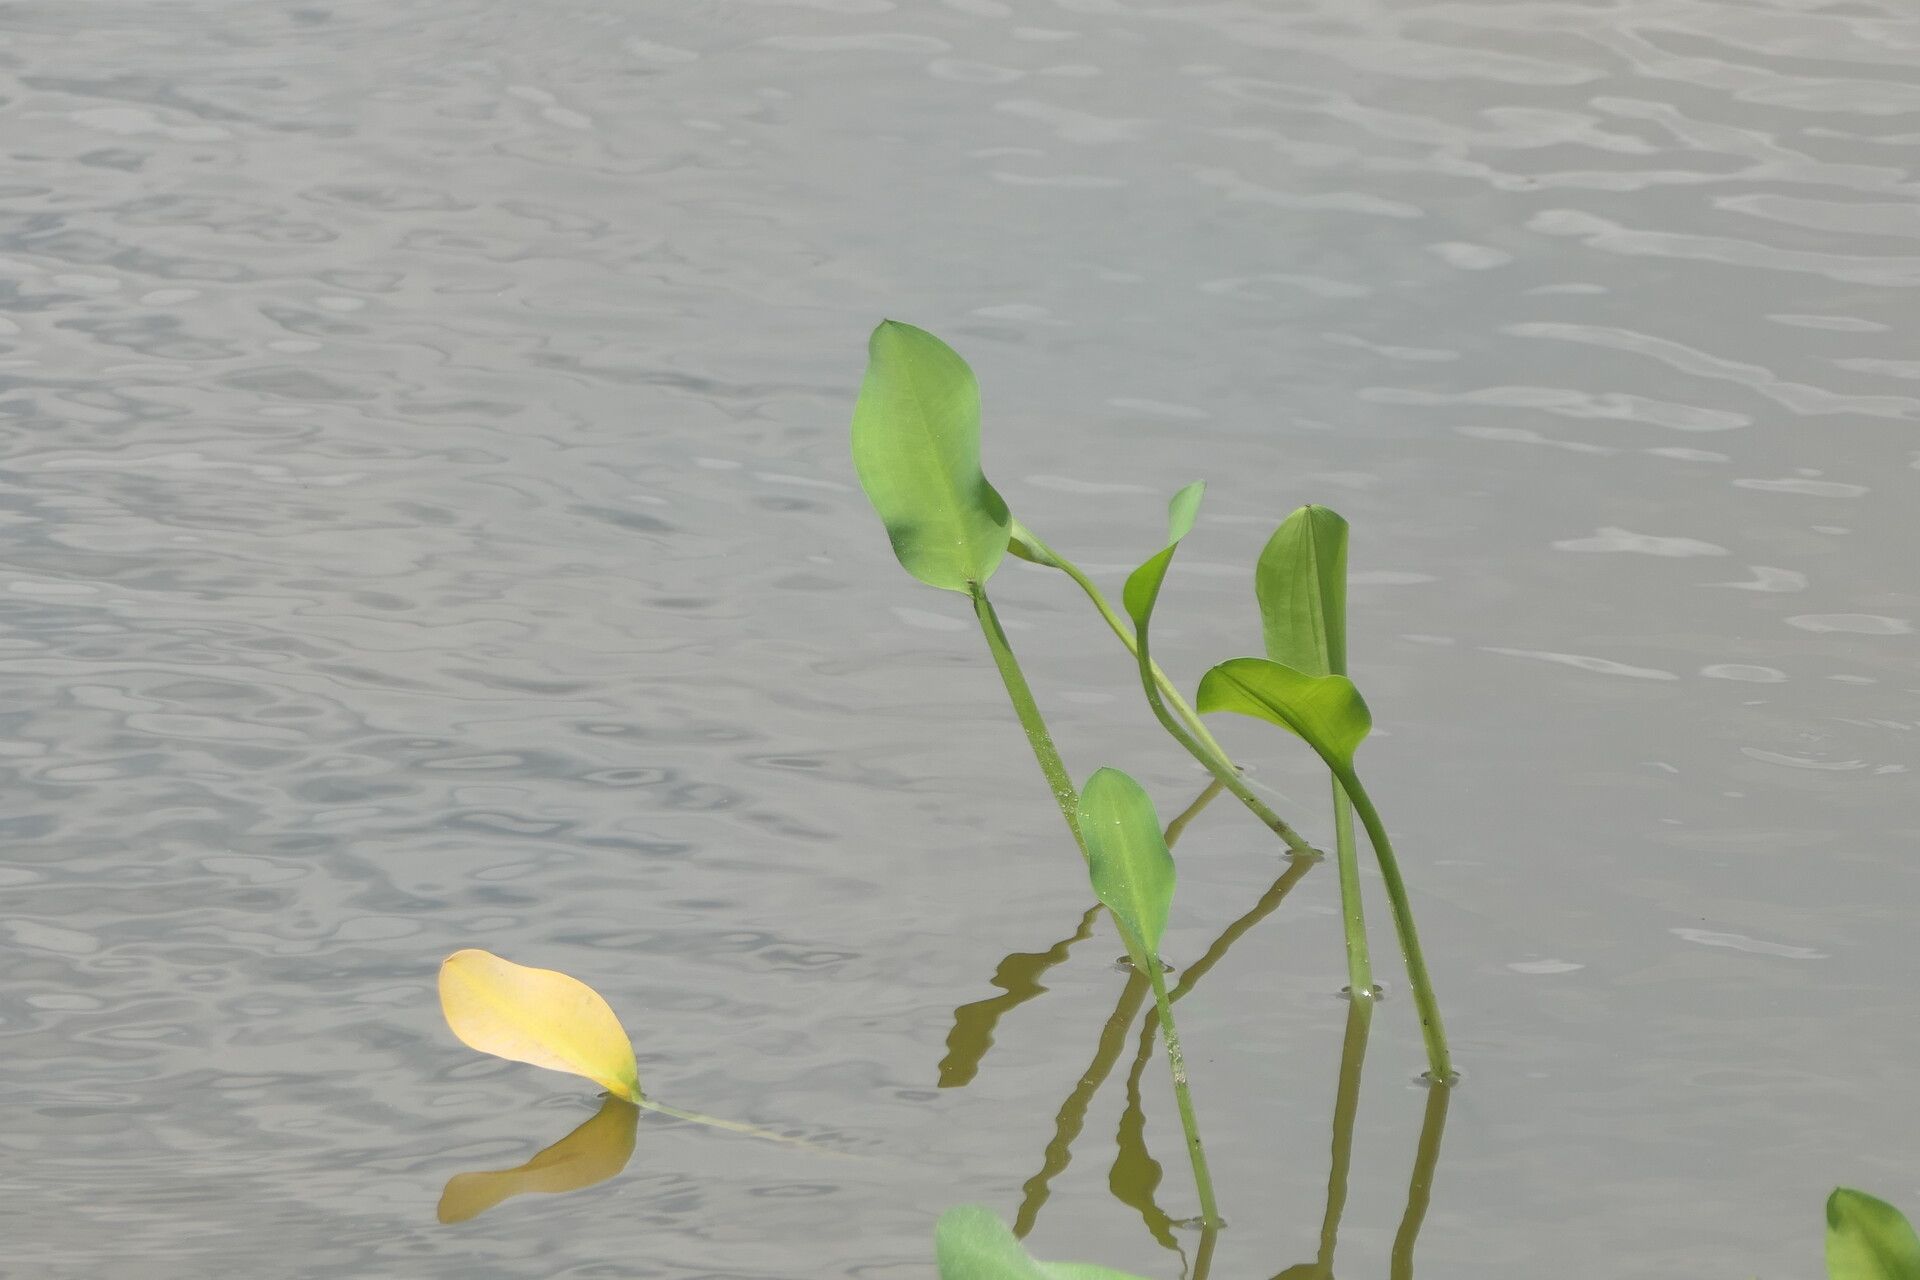
Oh, Limnocharis flava! If you’re anything like me, you’ve fallen for its lovely, bright green leaves and the charming way it floats in the water. It’s such a cheerful addition to any pond or water garden, bringing a splash of vibrant life. And the best part? Propagating this beauty is surprisingly easy and incredibly rewarding. If you’re new to plant propagation, you’ll find this a wonderful place to start. It’s a fantastic way to fill your water features or share with fellow plant lovers without breaking the bank.
The Best Time to Start
For Limnocharis flava, propagation really takes off when things are warming up. Spring and early summer are your golden windows. The plant is actively growing then, full of vigor, and has plenty of energy to dedicate to forming new roots. I usually find myself repotting and dividing my Limnocharis when I see new shoots emerging enthusiastically from the base.
Supplies You’ll Need
You won’t need much to get started. Here’s what I keep handy:
- Sharp pruning shears or a clean knife: For making clean cuts.
- A sterile container: Like a small pot or a shallow tray.
- Appropriate growing medium: For potted plants, a bog garden mix or a rich, aquatic plant potting soil works wonders. If you’re going the water route, just clean water is all you need.
- Rooting hormone (optional): While Limnocharis is a champion at rooting on its own, a little dip can speed things up for eager beavers.
- Water: For water propagation and keeping things hydrated.
Propagation Methods
Limnocharis flava offers a couple of straightforward ways to multiply.
Division
This is my go-to method, especially when my plants are getting a bit crowded.
- Gently remove the plant from its container or its spot in the pond. If it’s in a pot, carefully tip it on its side. If it’s in the ground, try to lift it with a good chunk of its root ball.
- Rinse away excess soil from the roots to get a clear view of the plant’s structure.
- Identify healthy clumps. You’ll see where new shoots are emerging from a central crown or stolons.
- Carefully separate these clumps. You can often do this with your hands, gently teasing them apart. If they’re stubborn, use your clean pruning shears or knife to make a clean cut through the stolons or roots. Ensure each new division has a good set of roots and at least one healthy leaf or growing point.
- Replant immediately. Place your divisions into their new pots filled with your chosen soil mix, or directly into your pond.
Stem Cuttings (Less Common, but Possible)
Sometimes, you might have a particularly long stem that you want to encourage to root.
- Select a healthy stem on the mature plant.
- Make a clean cut just below a leaf node. You want a piece that’s at least a few inches long and has a couple of leaves.
- Optional: Dip the cut end in rooting hormone.
- Place the cutting in a container of water, ensuring the leaf node is submerged.
- Keep the water clean and change it every few days. Roots should appear in a few weeks. Once roots are well-established, you can plant it in a pot.
The “Secret Sauce” (Pro Tips)
Here are a few things I’ve learned over the years that make a difference:
- Don’t over-pot them initially. When you divide or plant cuttings, start them in smaller pots. This helps them focus their energy on developing roots rather than trying to fill a huge space with soil they can’t yet claim. They transplant easily later.
- Think about drainage, even for water plants. If you’re potting them in soil, ensure your containers have drainage holes. While they love water, stagnant waterlogged soil in a pot can lead to root rot. For bog plants, this is less of an issue as they are adapted to wet feet, but good aeration is still key.
- Patience is key with water propagation. If you go the water route, resist the urge to constantly poke or prod. Let those roots dangle and grow undisturbed. They’ll tell you when they’re ready to be planted.
Aftercare & Troubleshooting
Once your divisions or cuttings have established roots, they’re ready for a little extra tender loving care.
- For potted plants: Keep them consistently moist, as you would with the mother plant. Gradually acclimate them to more direct sun if they were started in shade.
- For water-planted divisions: They should settle in quite quickly. Just ensure they have a stable spot where they won’t be uprooted by strong currents.
The most common issue you might encounter is rot. If you see a cutting turning mushy and black, or if a division’s leaves start to yellow and slime, it’s usually a sign of too much stagnant moisture and not enough air circulation, or bacterial issues. Remove any affected parts immediately. Ensure good water circulation if in a pond, or check pot drainage if potted. Sometimes, starting again with a healthier piece is the best solution.
A Little Encouragement
Growing new plants is one of the most satisfying parts of gardening, and Limnocharis flava is a wonderful teacher. Be patient with your new propagations. Some will take off immediately, others might seem to slumber for a bit before showing you their true colors. Just keep them happy, and before you know it, you’ll have a whole new batch of these delightful water dwellers. Happy growing!
Resource:
https://identify.plantnet.org/k-world-flora/species/Limnocharis%20flava%20(L.)%20Buchenau/data