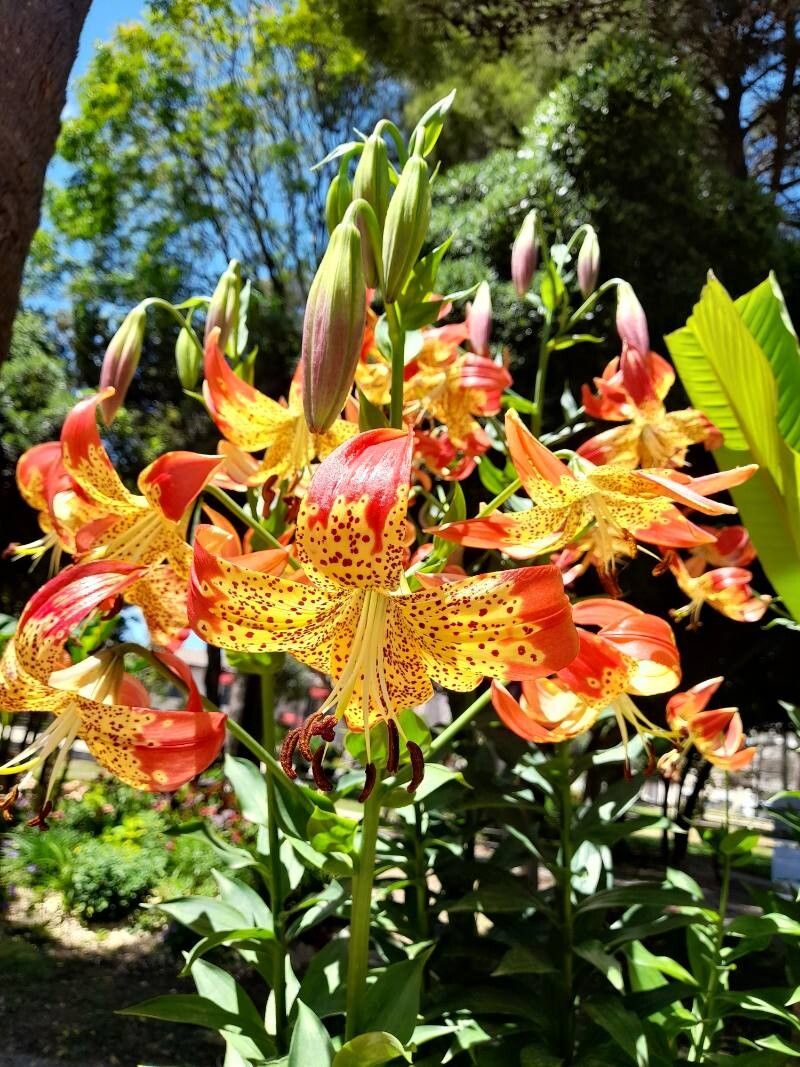
Oh, the California native lily! Lilium pardalinum, or the Panther Lily, is just a marvel in the garden. Those vibrant orange-red petals splashed with maroon spots? Simply captivating. And the best part? Getting more of them to enjoy is a wonderfully rewarding endeavor. Now, if you’re brand new to the gardening world, I’d say propagating Lilium pardalinum might be a little of a learning curve. They’re not entirely set-and-forget, but with a bit of care, you’ll absolutely be successful.
The Best Time to Start
For Lilium pardalinum, the golden window for propagation is after the plant has finished flowering, typically in late summer or early fall. This is when the bulb has stored up plenty of energy. You can also work with divisions in early spring, just as new growth begins to emerge. Waiting until the plant has put on its show ensures it’s well-equipped to handle the stress of being divided or having cuttings taken.
Supplies You’ll Need
Gathering your tools beforehand makes the whole process smoother. Here’s what I usually have on hand:
- Sharp pruning shears or a clean knife: For making neat cuts.
- Well-draining potting mix: A blend of perlite, coarse sand, and good quality compost works wonders.
- Small pots or containers: With drainage holes, of course!
- Rooting hormone powder (optional but recommended): Especially for stem cuttings.
- Watering can with a fine rose: For gentle watering.
- Labels and a permanent marker: Don’t forget to label your efforts!
Propagation Methods
There are a couple of ways we can coax new Panther Lilies into existence. I find division to be the most reliable for this particular lily.
Division (Bulb Propagation)
This is essentially splitting up the existing bulb. It’s like multiplying your plant from the source.
- Dig Carefully: In late summer or early fall, after the foliage has started to yellow, gently dig around the base of your Lilium pardalinum. Try to get a generous radius to avoid damaging the bulbs. Carefully lift the entire clump from the soil.
- Separate the Bulbs: You’ll see the main bulb with smaller offsets or bulblets attached. Gently twist or break these apart. Look for bulbs that are at least the size of a dime, as these have the best chance of establishing. Remove any old, shriveled, or damaged ones.
- Plant Immediately: Find a spot with good drainage and plenty of sun. You can also pot them up. Plant the divisions about 6-8 inches deep, with the pointed side facing up. Don’t overcrowd them; give them room to grow. Water them in well.
Stem Cuttings (Slightly More Advanced)
While less common for Lilium pardalinum, it’s possible and can be satisfying if successful.
- Take Cuttings: In mid-summer, when the stems are firm but not yet woody, select a healthy stem. Using your sharp shears, take a cutting that is about 4-6 inches long. Make the cut just below a leaf node, as this is where roots are most likely to form.
- Prepare the Cutting: Remove the lower leaves from the cutting, leaving just a few at the top. If you’re using rooting hormone, dip the cut end into it, tapping off any excess.
- Plant the Cutting: Fill a small pot with your well-draining potting mix. Make a hole with your finger or a pencil and gently insert the cutting, ensuring the node where you removed the leaves is buried. Firm the soil around it.
- Water and Cover: Water the pot gently. You can improve humidity by placing the pot inside a clear plastic bag, propped up with stakes so the bag doesn’t touch the leaves.
The “Secret Sauce” (Pro Tips)
Here are a couple of little tricks I’ve picked up that really help boost success:
- When dividing, don’t be afraid to get your hands dirty and really examine the bulb clusters. Sometimes, the best divisions are hidden just beneath the surface. Also, discard any bulbs that feel soft or mushy – that’s a sign of rot already setting in.
- For stem cuttings, bottom heat can be a game-changer. If you have a propagation mat or even a warm windowsill that gets gentle sun, placing your pots on it can really encourage root development. It mimics the warmth of the soil from spring.
Aftercare & Troubleshooting
Once your divisions are planted, or your cuttings are in their pots, the real waiting game begins! Keep the soil consistently moist but not waterlogged. For cuttings in bags, air them out every few days to prevent fungal issues.
You’ll know you’re on the right track when you see new shoots emerge from the soil. For divisions, this might happen in the next spring. For stem cuttings, it can take several weeks, or even months, to see significant growth.
The most common issue you might encounter is rot. If your cuttings or divisions start to turn slimy or mushy, it’s a sign of too much moisture or poor drainage. Unfortunately, rot can be pretty aggressive, so it’s best to discard affected plant material to prevent it from spreading. Prevention with good drainage and careful watering is key!
A Little Patience Goes a Long Way
Propagating Lilium pardalinum is such a fulfilling way to fill your garden with these stunning blooms. It might take a little time to see results, especially from cuttings, but the reward of nurturing a new plant from an existing one is truly special. So, be patient, enjoy the process, and soon you’ll be admiring more Panther Lilies than you can count! Happy gardening!
Resource:
https://identify.plantnet.org/k-world-flora/species/Lilium%20pardalinum%20Kellogg/data