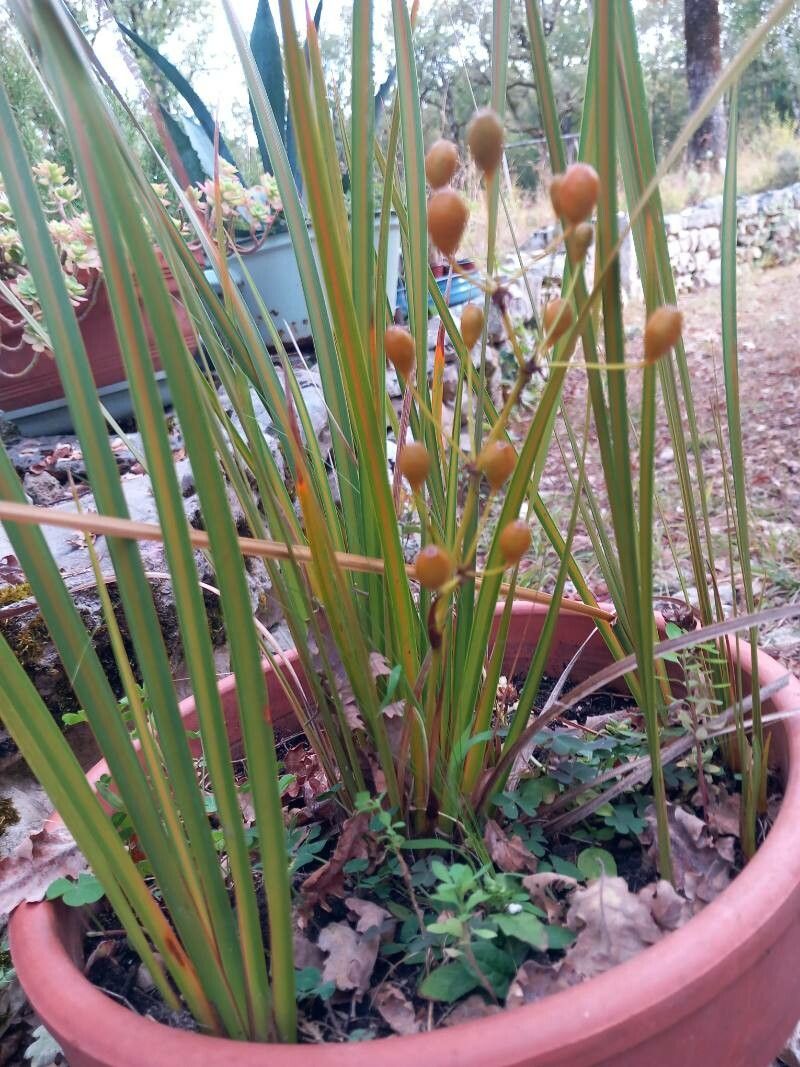
Oh, hello there! It’s so lovely to have you join me for a chat about a truly underrated star in many gardens: the Libertia peregrinans. If you haven’t met this beauty before, imagine graceful, sword-like evergreen foliage that’s always tidy, topped in spring and summer with delicate, star-shaped white flowers that have a lovely little pop of yellow stamens. It brings a wonderful architectural element. And the best part? Propagating them is a really rewarding little project. For beginners, I’d say it’s quite manageable and very satisfying, especially with a little guidance.
The Best Time to Start
When it comes to Libertia, the sweet spot for propagation is usually late spring to early summer. This is when the plant is actively growing and has plenty of energy to put into developing new roots. You can also do it in early autumn, but you’ll want to give those babies plenty of time to establish before winter’s chill sets in. I tend to find the spring and early summer window gives me the most robust results.
Supplies You’ll Need
Before we get our hands dirty, let’s gather our trusty tools. Having everything ready makes the whole process so much smoother:
- Sharp pruning shears or a clean knife: For making clean cuts.
- Small pots or seed trays: A few inches deep works well.
- Well-draining potting mix: A good seed-starting mix or a blend of potting soil and perlite (about a 2:1 ratio) is perfect.
- Rooting hormone (optional but helpful): A powder or gel can give your cuttings a little boost.
- Watering can with a fine rose: For gentle watering.
- Small labels or markers: To keep track of your new additions!
- Clear plastic bags or a propagation dome: To create a humid environment.
- Dibber or pencil: For making planting holes.
Propagation Methods
Libertia is a fantastic candidate for division, which is my go-to method for this particular plant. It’s incredibly straightforward and yields almost instant results. Here’s how I do it:
- Digging Up the Parent Plant: Gently dig around the base of your established Libertia plant. You want to loosen the root ball without causing too much damage. Lift the entire clump out of the ground or pot.
- Identifying Divisions: Look at the root ball. You’ll see distinct clumps of foliage emerging from the base. These are your potential new plants!
- Separating the Clumps: This is where the magic happens. You can often pull these clumps apart by hand. If they’re tricky, use your clean trowel or even your hands to gently tease the roots apart. Aim to get sections that have a good chunk of roots and at least a few leafy shoots.
- Replanting: Fill your prepared pots with your well-draining mix. Make a little hole with your finger or a dibber. Place each division into its hole, ensuring the roots are spread out. Backfill with soil and gently firm it down.
- Watering In: Give your newly potted divisions a good, thorough watering. You want the soil to be evenly moist, but not waterlogged.
You can also try stem cuttings, though division is far easier for Libertia. If you do want to experiment with cuttings:
- Take Cuttings: In late spring or early summer, select healthy, non-flowering stems that are about 4-6 inches long. Using your sharp shears, make a clean cut just below a leaf node.
- Prepare the Cuttings: Remove the lower leaves, leaving just a few at the top. If you’re using rooting hormone, dip the cut end into it.
- Plant the Cuttings: Fill small pots with your well-draining mix. Use a pencil or dibber to make holes and insert the cuttings, ensuring the nodes are buried.
- Create Humidity: Water gently and cover the pots with a plastic bag or propagation dome. Place them in a bright spot out of direct sun.
The “Secret Sauce” (Pro Tips)
Here are a few little tricks I’ve picked up over the years that can really help your Libertia cuttings thrive:
- Don’t Overcrowd Your Pots: When dividing, give each new plant enough space in its pot. They might look small now, but they’ll soon be happily stretching their roots.
- The Power of a Humid Tent: For cuttings, that plastic bag or dome isn’t just for show! It keeps the humidity high, which is crucial for preventing those tender leaves from drying out before roots have a chance to form.
- Patience with Roots: For division, you’ll see new growth relatively quickly. With cuttings, be patient! It can take several weeks for roots to develop. You can gently tug a cutting after 4-6 weeks – if there’s resistance, you have roots!
Aftercare & Troubleshooting
Once your divisions are potted up, keep them in a bright spot, but out of harsh direct sun, especially during the hottest part of the day. Water them whenever the top inch of soil feels dry. You’ll soon see new green shoots emerging, which is a fantastic sign!
For cuttings, continue to keep them moist and humid. You’ll know they’re happy when you see new leaf growth. Once they’ve developed a good root system (you can check by gently trying to lift them or by seeing roots poking out the drainage holes), you can transplant them into slightly larger pots or directly into the garden, just like your divisions.
The main thing to watch out for is rot. This usually happens if the soil stays too wet for too long. If you see stems turning mushy or leaves wilting dramatically despite moist soil, it’s a sign of overwatering. Make sure your potting mix is airy and that your pots have drainage holes. Don’t be afraid to let the soil dry out ever so slightly between waterings.
A Encouraging Closing
Don’t be discouraged if your first attempt isn’t perfect. Gardening is all about learning and experimenting. Propagating Libertia peregrinans is a wonderfully accessible way to multiply your greenery and share your love for these plants with friends. Be patient, enjoy the process, and before you know it, you’ll have a whole collection of your own beautiful Libertia to admire! Happy gardening!
Resource: