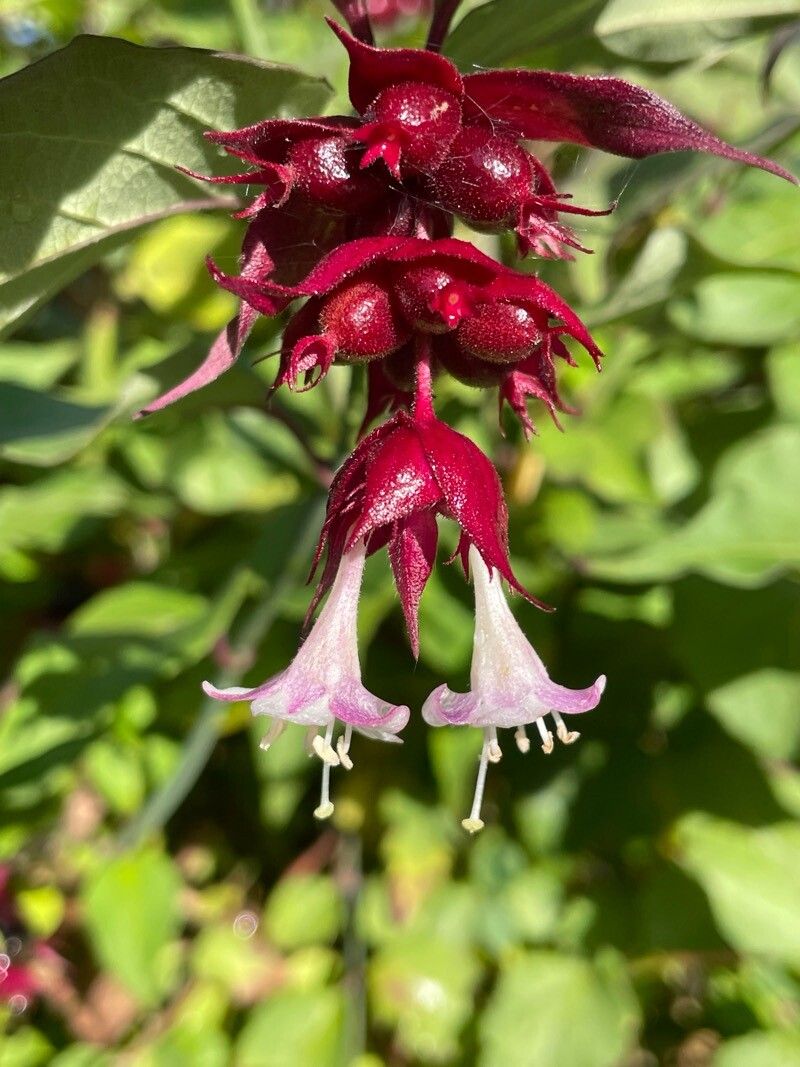
Oh, Leycesteria formosa! Isn’t she just a breath of fresh air in the garden? With those elegant, arching stems and those utterly charming, lantern-like flowers that hang down, it’s no wonder folks fall in love with the Himalayan Honeysuckle. And the best part? You can easily share that beauty with friends, or simply fill your own garden with more of it, by propagating it yourself! For beginners, you’ll be happy to know Leycesteria formosa is quite forgiving. It’s a wonderfully rewarding plant to multiply, and I’m excited to walk you through how to do it.
The Best Time to Start
For the very best success, I find starting propagation in late spring to early summer is ideal. This is when the plant is actively growing and has plenty of energy. You’ll be taking cuttings from this year’s new, semi-hardwood growth – it’s a perfect balance between being flexible enough to root and mature enough to have some stored energy.
Supplies You’ll Need
Here’s what you’ll want to have on hand:
- Sharp pruning shears or secateurs: Cleanliness is key!
- Rooting hormone powder or gel: This isn’t strictly necessary, but it really gives cuttings a boost.
- Small pots or trays: With drainage holes, of course.
- Potting mix: A good quality, well-draining seed-starting or potting mix is perfect. I sometimes add a little perlite to improve drainage even further.
- Plastic bags or a propagator lid: To maintain humidity.
- Watering can with a fine rose: For gentle watering.
Propagation Methods
Let’s get our hands dirty! The easiest and most reliable way to propagate Leycesteria formosa is through stem cuttings.
- Take Your Cuttings: On a lovely, mild day, select a healthy stem that’s around pencil thickness and has new growth. Using your clean secateurs, cut a piece about 6-8 inches long. Make your cut just below a leaf node (where a leaf attaches to the stem).
- Prepare the Cuttings: Gently remove the lower leaves, leaving just one or two at the very top. This prevents them from rotting when buried. If the leaves at the top are very large, you can even cut them in half horizontally to reduce water loss.
- Dip in Rooting Hormone: Dip the cut end of the stem into your rooting hormone, tapping off any excess.
- Pot Them Up: Fill your pots with the well-draining potting mix. Make a hole in the center of the soil with a pencil or your finger. Insert the cutting into the hole, ensuring the bottom leaf nodes are below the soil surface. Gently firm the soil around the stem.
- Water and Cover: Water gently but thoroughly so the soil is moist but not waterlogged. Pop your pots into a clear plastic bag, or cover them with a propagator lid. This creates a mini-greenhouse to keep humidity high, which is crucial for cuttings.
The “Secret Sauce” (Pro Tips)
Here are a couple of little tricks I’ve picked up over the years that can make a big difference:
- Don’t Skimp on Drainage: I know I’ve mentioned it, but it bears repeating. Ensuring your pots have excellent drainage is non-negotiable. Leycesteria cuttings absolutely hate sitting in soggy soil. A bit of coarse grit or perlite mixed into your soil is a game-changer.
- Bottom Heat (If You Have It): While not essential, if you can provide a little gentle bottom heat from a heated propagator mat, it can really speed up root formation. It mimics the warmth of spring soil and gives your cuttings a lovely warm start.
Aftercare & Troubleshooting
Once your cuttings are potted up, find them a bright spot out of direct sunlight. Keep the soil consistently moist but not soggy. You’ll want to lift the plastic bag or lid occasionally for a bit of fresh air to prevent mould.
You’ll know your cuttings are rooting when you see new leaf growth appearing. This can take anywhere from 4 to 8 weeks, so be patient! Once they have a good root system (you can gently tug on a leaf; if there’s resistance, they’re rooting), it’s time to gradually acclimatise them to normal conditions by removing the plastic cover for longer periods each day over a week. Then, you can pot them into slightly larger containers.
The most common issue you might encounter is rot. If a cutting turns black and mushy, it’s likely succumbed to rot. This is usually a sign of too much moisture and not enough air circulation. Don’t be discouraged! Just discard the rotted cutting and try again with a fresh one, paying extra attention to drainage and airing out the cuttings.
A Encouraging Closing
There you have it! Propagating Leycesteria formosa is a delightful way to expand your garden and share the joy of this beautiful plant. Remember to be patient with your little cuttings. Nature takes its time, and the reward of seeing new life emerge from a simple stem is truly special. Happy propagating, and enjoy your blooming bounty!
Resource:
https://identify.plantnet.org/k-world-flora/species/Leycesteria%20formosa%20Wall./data