Hello my fellow garden enthusiasts! It’s wonderful to connect with you all again. Today, I want to chat about a plant that truly captures a bit of the wild, untamed beauty of the South African fynbos: the Leucadendron galpinii. Its striking foliage, often a vibrant mix of reds, yellows, and greens, makes it a real showstopper in any garden. And the best part? It’s surprisingly rewarding to propagate. Now, if you’re just dipping your toes into the world of plant propagation, I’ll be honest – Leucadendron can be a tad finicky. But with a little patience and the right approach, you’ll be well on your way to success. It’s a project that truly feels like nurturing life!
The Best Time to Start
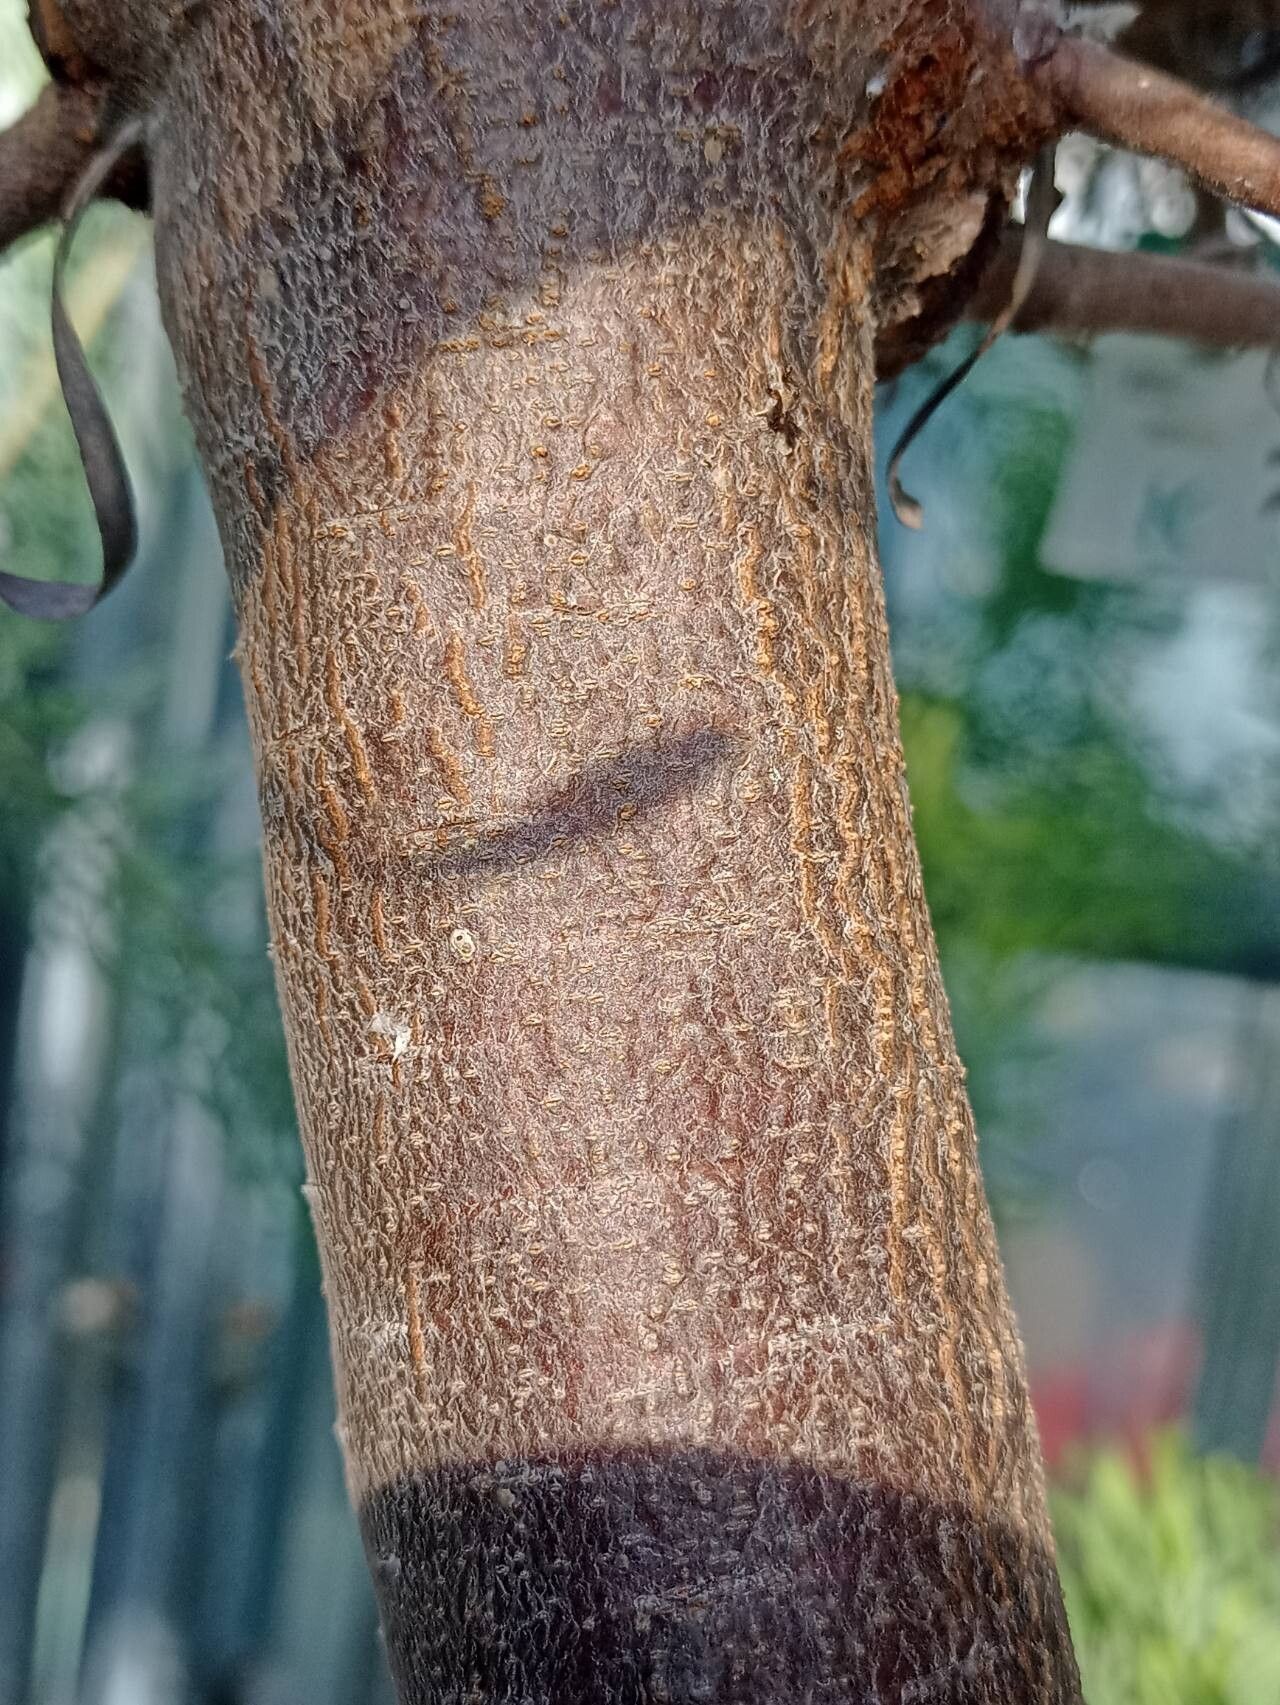
For Leucadendron galpinii, late spring to early summer is your golden window. This is when the plant is actively growing, producing fresh, semi-hardwood stems that have the best chance of rooting. You’re looking for shoots that are becoming firm but haven’t fully hardened off. Think of a pencil – they should be about that stiffness. Trying to propagate when the plant is dormant or stressed, like during the peak of summer heat or the dead of winter, will likely lead to disappointment.
Supplies You’ll Need
Gathering your supplies beforehand makes the whole process so much smoother. Here’s what I always have on hand:
- Sharp Pruning Shears or a Craft Knife: Clean cuts are crucial!
- Rooting Hormone: I prefer a powdered rooting hormone with IBA (indole-3-butyric acid). It significantly boosts your success rate.
- A Well-Draining Potting Mix: A good blend would be equal parts perlite and peat moss, or you can use a commercial succulent or cactus mix. Whatever you choose, it needs to drain like a sieve.
- Small Pots or Seed Trays: Clean ones, of course!
- Plastic Bags or a Propagator: To create a humid environment.
- Watering Can with a Fine Rose: Gentle watering is key.
- Optional: Bottom Heat Mat: This is a game-changer, especially if your propagating space is a bit cool.
Propagation Methods: Stem Cuttings
This is by far the most common and effective way to propagate Leucadendron galpinii.
- Take Your Cuttings: In your chosen growing season, select healthy, vigorous stems that are about 4-6 inches long. Using your sharp shears or knife, make a clean cut just below a leaf node. Remove the lower leaves, leaving just a few at the top.
- Prepare the Cuttings: If the cuttings are particularly long, you can trim them down to size. You want to reduce the amount of foliage that needs to be supported until roots form.
- Apply Rooting Hormone: This is a step I never skip! Dip the cut end of each stem into a small amount of rooting hormone, ensuring it’s well-coated. Tap off any excess.
- Pot Them Up: Fill your clean pots with your well-draining mix. Make a small hole in the center of the mix with your finger or a pencil. Carefully insert the prepared cutting into the hole, gently firming the mix around it. Make sure the leaves aren’t buried.
- Create a Humid Environment: Water the mix thoroughly but gently. Cover the pots with a plastic bag, balancing it on top so it doesn’t touch the leaves, or place them in a propagator. This will trap moisture and create that essential humid environment.
The “Secret Sauce” (Pro Tips)
Here are a few things I’ve learned over the years that can make a real difference:
- Don’t Let Those Leaves Touch the Water: This might sound obvious, but it’s really important when you water your pot. If the lower leaves are sitting in damp soil saturated with water, they’ll rot before roots have a chance to form. It’s better to err on the side of slightly drier than too wet.
- Bottom Heat is Your Best Friend: If you can, invest in a bottom heat mat. Leucadendrons love a bit of warmth from below while their tops stay relatively cool. It encourages root development much faster and more successfully. Just keep it on a low setting.
- Observe, Don’t Poke: Resist the urge to constantly pull your cuttings out to check for roots! This can damage the delicate new growth. Patience is key. You’ll usually see new leaf growth as a sign that rooting has occurred.
Aftercare & Troubleshooting
Once you see signs of new growth, congratulations! This means roots are forming.
- Gradual Acclimation: Slowly remove the plastic bag or propagator lid over a week or two. This allows the young plants to adjust to the ambient humidity.
- Gentle Watering: Continue to water sparingly, letting the surface of the soil dry out slightly between waterings. Overwatering is the number one killer of young cuttings.
- Light Needs: Place your new plants in a bright spot, but out of direct, intense sunlight for now. They need light to grow but can be easily scorched.
- Troubleshooting: The most common problem you’ll face is rot. If a cutting turns mushy and black, it’s usually a sign of too much moisture or poor drainage. If you see a white mold on the surface of the soil, it indicates excess humidity and lack of air circulation. Remove any affected cuttings immediately and try to improve ventilation.
Don’t be discouraged if some cuttings don’t make it. Propagation is a process of learning and experimentation. Every gardener has lost a few along the way! Keep at it, enjoy the journey of watching these little snippets of beauty take hold, and soon you’ll have more gorgeous Leucadendron galpinii to admire in your garden. Happy growing!
Resource: