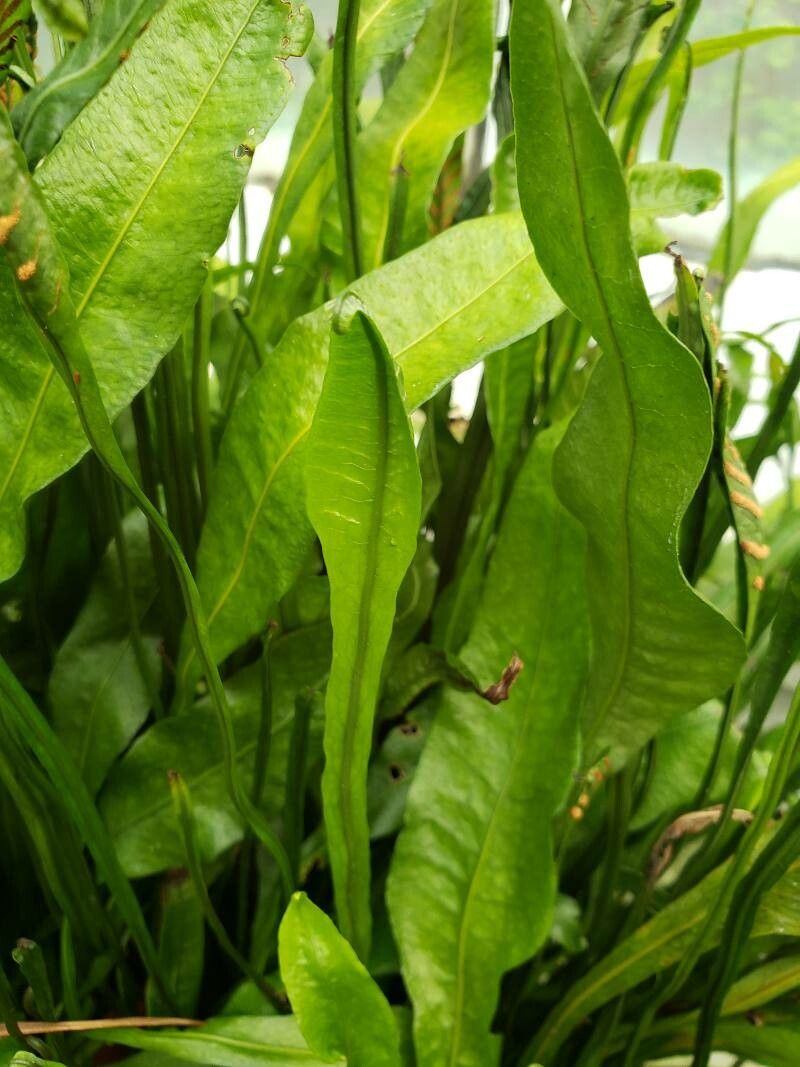
Hey there, fellow plant lovers! I’m so excited to chat with you today about a truly gorgeous fern: Leptochilus macrophyllus. You might know it by its common name, the Elephant Ear Fern, and believe me, those large, elegant leaves are absolutely captivating. Bringing a little piece of this beauty into your own home, or even sharing it with friends, is incredibly rewarding. And the best part? You can absolutely propagate Leptochilus macrophyllus yourself! For beginners, I’d say it’s a moderately easy plant to propagate, especially with a little know-how.
The Best Time to Start
When it comes to giving your Leptochilus macrophyllus the best chance at new life, spring and early summer are your golden ticket. This is when the plant is actively growing and has the most energy stored up. You’ll want to look for new, healthy growth. Think of it as tapping into the plant’s prime time for creating babes!
Supplies You’ll Need
Gathering your tools beforehand makes the whole process so much smoother. Here’s what I usually have on hand:
- Clean, sharp pruning shears or a knife: For making clean cuts.
- Well-draining potting mix: A blend of peat moss, perlite, and a bit of orchid bark works wonders for ferns.
- Small pots or seedling trays: With drainage holes, of course!
- Rooting hormone (optional but recommended): Helps speed things along.
- Plastic bags or a propagator: To create a humid environment.
- Watering can with a fine rose: For gentle hydration.
- Labeling stakes and a marker: So you remember what you planted!
Propagation Methods
Leptochilus macrophyllus is best propagated through division and stem cuttings. Let’s dive into how to do it.
Division
This is probably the easiest method for this fern.
- Gently remove the parent plant from its pot. If it’s been in the same pot for a while, you might need to loosen the soil around the edges.
- Examine the root ball. You’re looking for natural divisions, where the plant has grown into separate crowns or clumps.
- Carefully tease apart the clumps. You can use your fingers for this, or a clean knife if the roots are tightly bound. Aim to keep as much of the root system intact as possible for each new section.
- Pot up each new division into its own pot filled with your well-draining potting mix.
- Water gently and place in a bright, indirect light location.
Stem Cuttings
This method takes a bit more patience, but it’s very satisfying.
- Select a healthy stem from your Leptochilus macrophyllus. Look for a stem that has at least two or three healthy leaves and is not too old or woody.
- Make a clean cut just below a leaf node using your sharp shears or knife. This is where new roots will form.
- Remove the lower leaves from the cutting, leaving just two or three at the top.
- Dip the cut end in rooting hormone, if you’re using it. Tap off any excess.
- Insert the cutting into your prepared potting mix. Make sure the leaf nodes are buried.
- Water lightly and cover the pot with a plastic bag or place it in a propagator to maintain high humidity.
The “Secret Sauce” (Pro Tips)
Here are a couple of tricks I’ve learned over the years that make a real difference.
- Keep it humid, humid, humid! Ferns absolutely love moisture in the air. That plastic bag or propagator is your best friend. When you first pot up your cuttings or divisions, resist the urge to unzip that bag too often.
- Bottom heat is your friend. If you can, place your pots on a heat mat designed for seedlings. This gentle warmth from below encourages root development much faster than just relying on ambient room temperature.
Aftercare & Troubleshooting
Once you see those tiny roots starting to peek out, or the plant looking perkier and showing new growth, you’re on the right track! For cuttings, this usually takes a few weeks. For divisions, they’ll bounce back pretty quickly.
- Gradually acclimate your new plants to normal humidity levels before removing the plastic cover completely. Start by opening the bag for an hour or two each day.
- Continue to water when the top inch of soil feels dry, but avoid letting the pot sit in water.
- Watch out for rot! This is the most common pitfall. If the leaves of your cutting turn yellow and mushy, or the stem feels soft and brown, it’s likely rot. This usually happens from too much moisture and poor air circulation. If you catch it early, you might be able to save it by repotting in fresh, dry soil and improving ventilation.
A Encouraging Closing
Propagating Leptochilus macrophyllus is a wonderful way to deepen your connection with these beautiful plants. Don’t get discouraged if your first attempt isn’t picture-perfect. Gardening is all about learning and experimenting. Be patient, enjoy the process, and celebrate every little bit of new growth you achieve! Happy planting!
Resource: