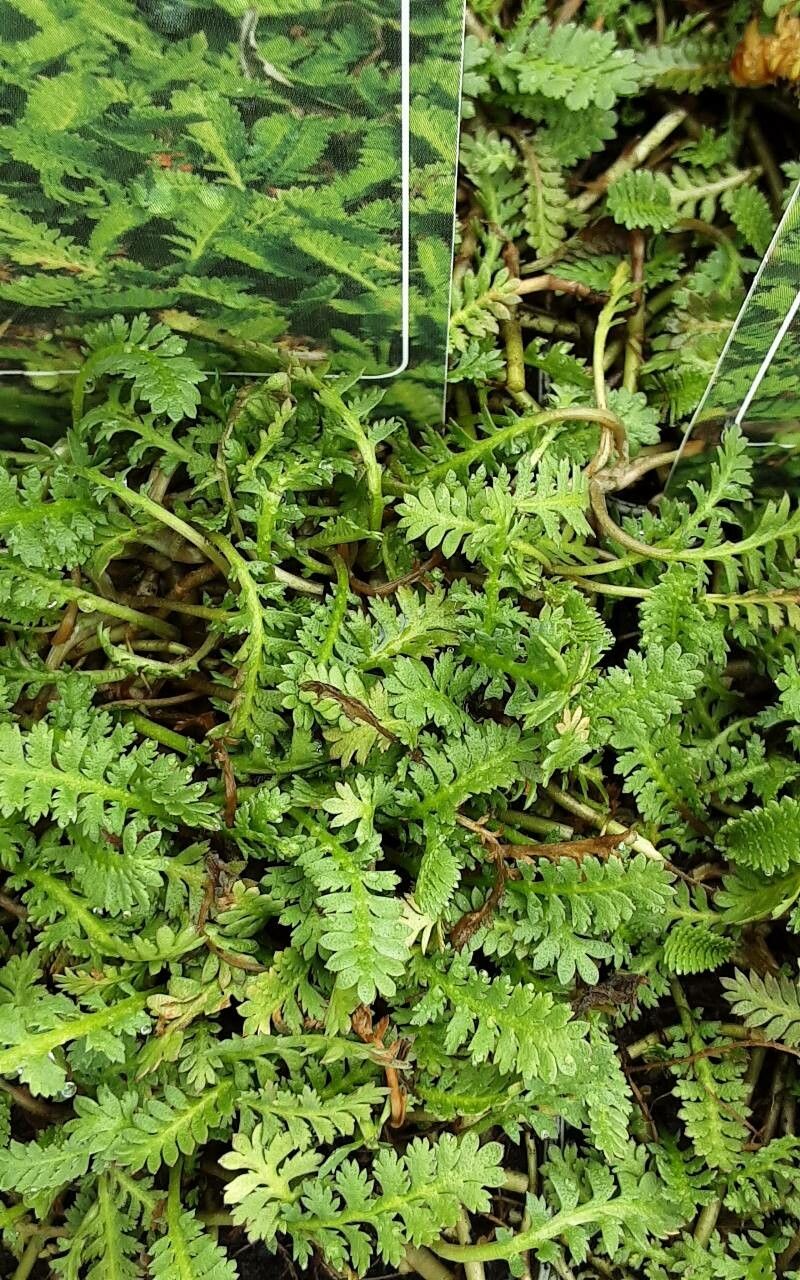
Oh, hello there, fellow plant enthusiast! It’s lovely to have you join me for a chat about bringing more of that delightful Leptinella albida into your life. If you’ve ever admired its delicate, fern-like foliage, often with a beautiful bronze or silvery cast depending on the light and variety, you know exactly why I’m so smitten. Propagating this little beauty is a wonderfully rewarding craft, a chance to multiply that charm and fill every corner of your garden or even share those precious cuttings with friends. And the best part? For many of us, Leptinella albida is quite forgiving, making it a great plant to practice your propagation skills on, even if you’re just starting out.
The Best Time to Start
For the highest chance of success with Leptinella albida, I always reach for my secateurs in late spring or early summer. This is when the plant is actively growing and brimming with energy. Those new shoots are pliant and full of life, which means they’re more likely to root. Waiting until after the initial flush of spring growth has settled down is key. Avoid propagating right in the heat of summer or the dead of winter.
Supplies You’ll Need
Gathering your supplies beforehand makes the whole process much smoother. Here’s what I like to have on hand:
- Sharp pruning shears or a clean, sharp knife: For making clean cuts.
- Small pots or seed trays: With good drainage holes.
- A well-draining potting mix: I often use a mix of equal parts peat moss or coco coir and perlite or coarse sand. You want it to drain freely, but still hold a little moisture.
- Rooting hormone (optional but helpful): A powder or gel can give your cuttings a little boost.
- A watering can or spray bottle: For gentle watering.
- Plastic bags or a propagation dome: To create a humid environment.
Propagation Methods
Propagating Leptinella albida is most commonly done through stem cuttings or by division.
Stem Cuttings
This is my go-to method for multiplying my collection.
- Select your shoots: Look for healthy, non-flowering stems that are at least 3-4 inches long. These will typically be the younger, softer growth.
- Make your cut: Using your sharp secateurs or knife, make a clean cut just below a leaf node (where a leaf emerges from the stem). This is where new roots are most likely to form.
- Prepare the cutting: Gently remove the lower leaves from the cutting, leaving just a few leaves at the top. If the leaves are very large, you can even snip them in half to reduce moisture loss.
- Apply rooting hormone (optional): Dip the cut end of the stem into your rooting hormone, tapping off any excess.
- Plant your cuttings: Fill your small pots with your prepared potting mix. Make a small hole with your finger or a pencil, and gently insert the base of the cutting into the hole. Firm the soil gently around it.
- Water and cover: Water the soil lightly. Then, cover the pot with a plastic bag or place it under a propagation dome to maintain high humidity. You can prop the bag up with sticks so it doesn’t touch the leaves.
Division
If you have a mature clump of Leptinella albida, dividing it is another excellent and quick way to get new plants.
- Gently lift the plant: Carefully dig around the base of your Leptinella albida and lift the entire clump from the pot or the ground.
- Separate the sections: You can often gently pull the plant apart with your hands. If it’s a bit tough, use a clean trowel or knife to slice through the root ball, ensuring each section has plenty of roots and some leafy growth.
- Replant immediately: Pot up the divided sections into their own containers with fresh, well-draining soil, or replant them directly into your garden beds. Water them in well.
The “Secret Sauce” (Pro Tips)
Over the years, I’ve picked up a few tricks that really seem to make a difference.
- Don’t let the leaves touch the water (if water propagating): While some plants root beautifully in water, Leptinella albida can be prone to rot this way. If you are experimenting with water propagation, make sure that only the stem is submerged, and that no leaves are dipping into the water. Change the water every few days to keep it fresh.
- Bottom heat is your friend: If you have a heated propagator mat, placing your pots on it can significantly speed up root formation. Leptinella albida loves warmth, especially when it’s trying to grow new roots.
- Be patient with the “dormant” look: Sometimes, cuttings can look a bit sad for a while before they show signs of rooting. Don’t give up too soon! Keep them in their humid environment and wait.
Aftercare & Troubleshooting
Once you see signs of new growth – tiny new leaves or a gentle tug resistance indicating roots – it’s time for a little adjustment.
Slowly acclimatize your cuttings to lower humidity by gradually opening the plastic bag or ventilation on your dome over a few days. Continue to keep the soil consistently moist but not waterlogged. As they grow stronger, you can transplant them into slightly larger pots or their permanent garden home.
The most common issue you might encounter is rot. This usually happens if the cuttings are kept too wet or if the air circulation is poor. If a cutting turns mushy and black, it’s best to discard it to prevent it from affecting others. Ensure good drainage and don’t overwater.
A Little Encouragement
Propagating plants is an exercise in patience and observation. Don’t be discouraged if your first few attempts aren’t perfect. Each cutting you take, each division you make, is a step in your gardening journey. Enjoy the process of nurturing these little ones, and before you know it, you’ll have a whole carpet of Leptinella albida to admire! Happy propagating!
Resource: