Bringing More of That Wonderful Lepisorus excavatus Into Your Life!
Oh, Lepisorus excavatus! If you’re already a fan, you know exactly what I’m talking about. That delicate unfurling of new fronds, the subtle elegance it brings to any corner… it’s truly a charmer. And the best part? It’s a plant that’s quite happy to share itself, meaning you can easily expand your collection or give a special cutting to a fellow plant lover. For those just starting out with ferns, I’d say Lepisorus excavatus is a pleasantly rewarding project. It’s not overly fussy, and with a little care, you’ll be well on your way to a flourishing new plant.
When’s the Best Time to Get Started?
For Lepisorus excavatus, the absolute sweet spot for propagation is during its active growing season. Think of it as when the plant is feeling its most vigorous and energized. For most of us, this means late spring and throughout the summer. You’ll notice new growth appearing, and the rhizomes will be actively spreading. This is when the plant has the best reserves to put into creating new roots.
What You’ll Need for Your Propagation Project
Gathering your supplies beforehand makes the whole process smoother, doesn’t it? Here’s what I usually have on hand:
- Sharp, clean pruning shears or a sharp knife: This is crucial for clean cuts that heal well.
- A well-draining potting mix: I like a blend of good quality potting soil mixed with perlite and a bit of orchid bark. For Lepisorus, aeration is key!
- Small pots or propagation trays: Choose something with drainage holes.
- A clear plastic bag or propagation dome: This helps maintain humidity.
- Watering can or spray bottle: For gentle watering.
- Optional: Rooting hormone powder: While not strictly necessary for Lepisorus excavatus, it can give an extra little boost.
- Optional: Small pebbles or perlite: To cover the surface of the propagation mix.
Let’s Get Propagating! Methods for Success
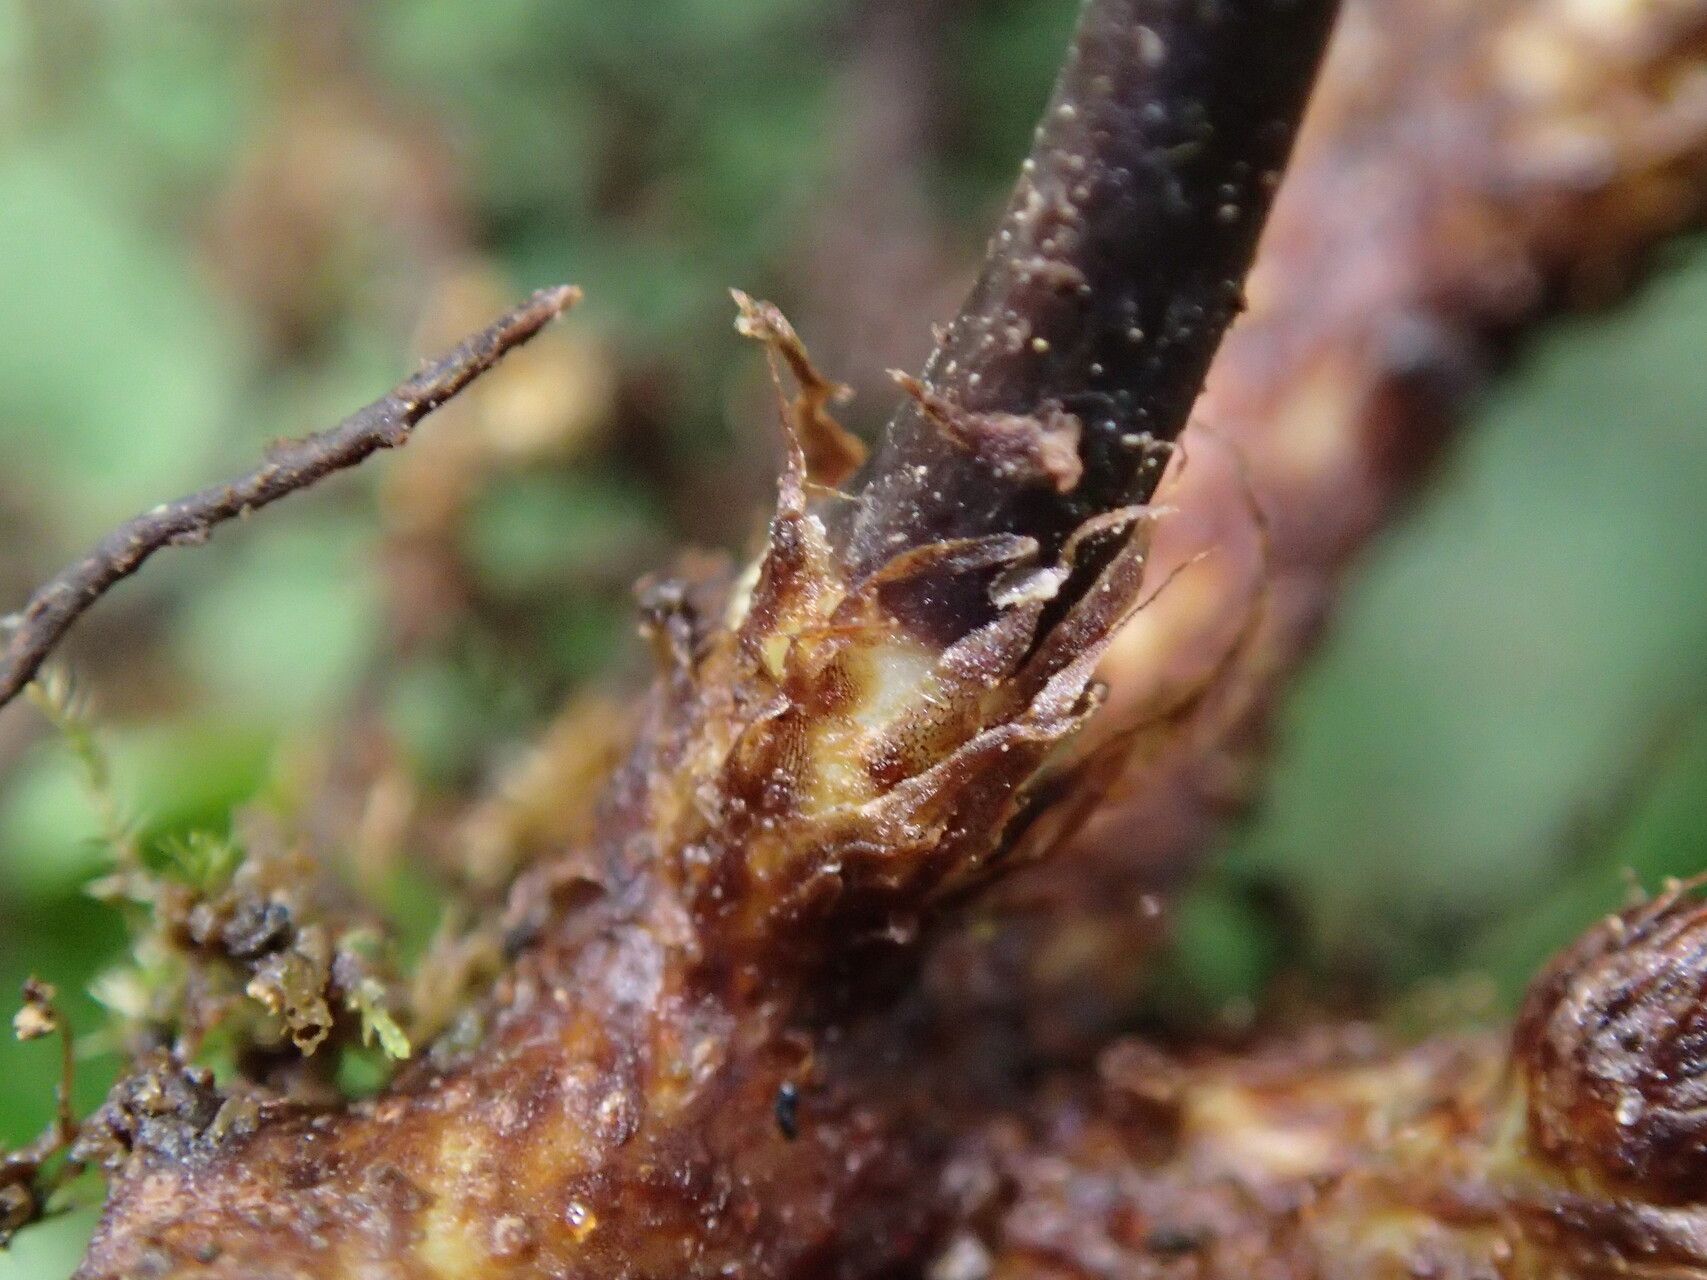
Lepisorus excavatus is most commonly propagated through its rhizomes. These are the creeping stems that grow just below or on the surface of the soil.
1. Rhizome Division: The Most Dependable Method
This is my go-to! It’s straightforward and gives you the best chance of success.
- Gently remove your Lepisorus excavatus from its pot. You want to be careful not to damage the roots.
- Loosen the soil around the rhizome. You can use your fingers or a small trowel.
- Identify a healthy section of the rhizome. Look for segments that have a few leaves or at least a bud where a new frond will emerge.
- Using your clean shears or knife, carefully cut the rhizome. Make sure the piece you’re taking has at least one or two fronds and a good portion of the rhizome itself (an inch or two is usually plenty).
- Plant your new division in its own pot. Use that well-draining mix we talked about. Bury the rhizome just slightly, ensuring the fronds are above the surface.
- Water gently. You want the soil to be moist but not waterlogged.
- Create a humid environment. Cover the pot with a clear plastic bag or a propagation dome. Make sure the leaves don’t touch the plastic bag if possible. Place it in bright, indirect light.
2. Stem Cuttings (Less Common, but Possible!)
While rhizome division is the easiest for this particular fern, you can sometimes get a new plant from a piece of the rhizome with just one frond.
- Take a section of rhizome with a single, healthy frond attached.
- Plant it as you would a rhizome division, making sure the rhizome is just covered in soil and the frond is upright.
- Maintain high humidity. This method relies heavily on the cutting not drying out before it can form roots.
The “Secret Sauce” – My Insider Tips
I’ve learned a few things over the years that can really make a difference.
- When you’re working with divisions, don’t be afraid to trim back any excessively long or damaged roots. A healthy root system is more important than sheer length.
- Bottom heat can be a game-changer. If you have a seedling heat mat, placing
Resource: