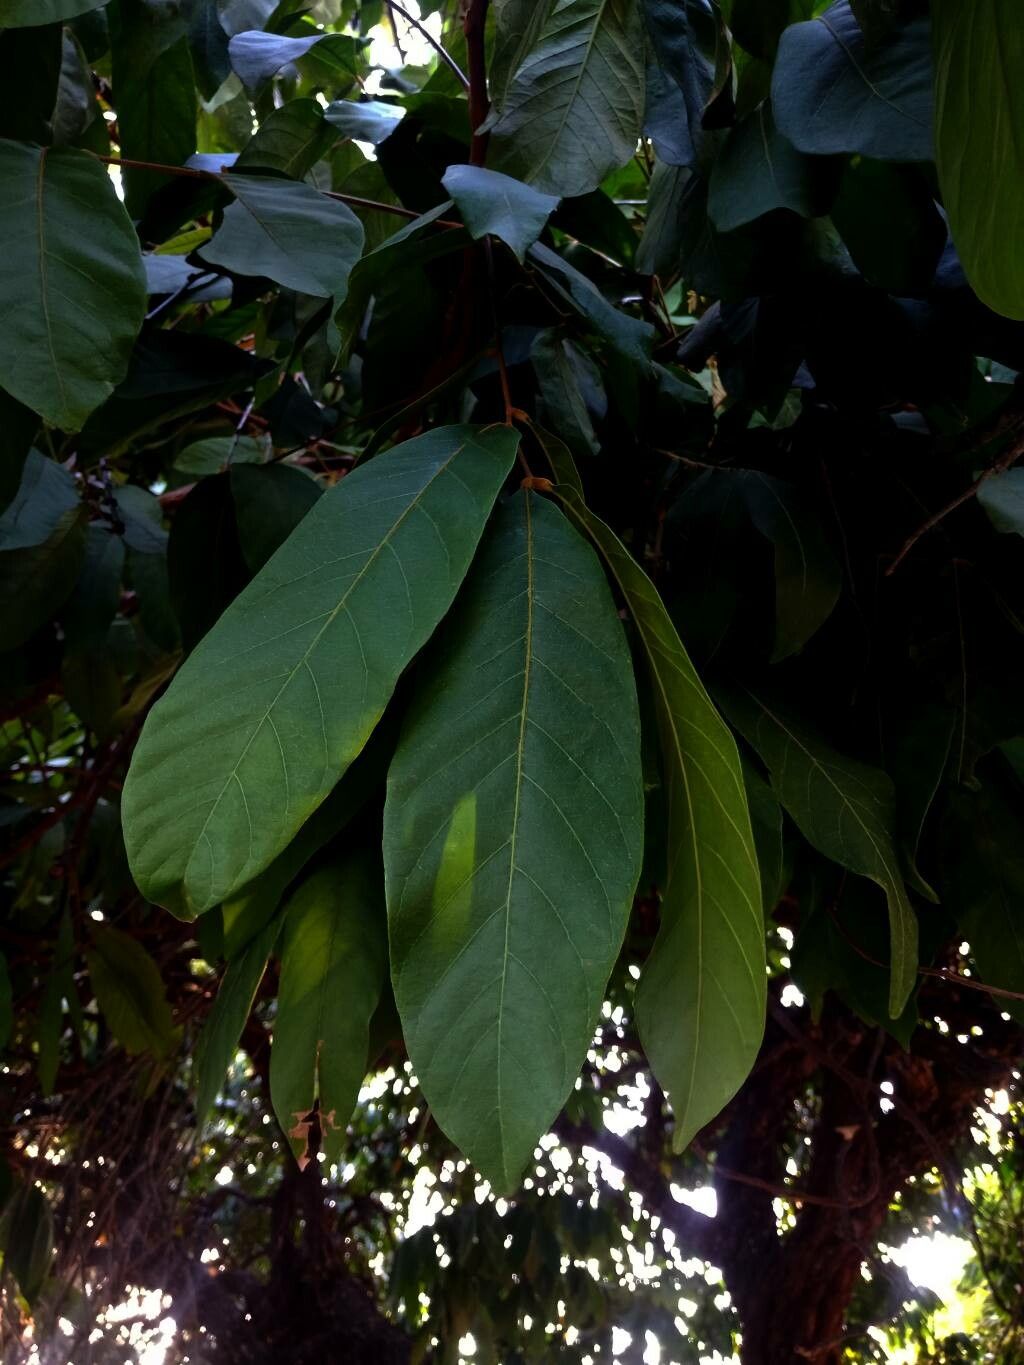
Hello, fellow plant lovers! Today, we’re diving into something truly special: propagating Lepisanthes rubiginosa. This delightful plant, with its delicate foliage and often fragrant blooms, is a real gem in any garden. And the best part? You can easily share that beauty by creating your own new plants! It’s a truly rewarding experience, like getting a little piece of your garden to give to a friend, or just to fill another empty pot. For those of you just starting out, I’d say Lepisanthes rubiginosa is moderately easy to propagate, with a little patience and the right know-how.
The Best Time to Start
When it comes to getting the best results with your Lepisanthes rubiginosa, late spring to early summer is your golden window. This is when the plant is in its most vigorous growth phase, meaning its stems are full of energy and ready to put down roots. You want to choose stems that are neither brand new and floppy, nor old and woody. Think of semi-hardwood cuttings – they have a bit of flexibility but are firm enough to hold their shape.
Supplies You’ll Need
To get started with your propagation journey, gather these essentials:
- Sharp pruning shears or a clean, sharp knife: For making clean cuts.
- Rubbing alcohol or a bleach solution: To sterilize your tools before and after use.
- Potting mix: A well-draining blend is crucial. I like a mix of perlite, peat moss, and a bit of standard potting soil. You can also buy specialized seed-starting or propagation mixes.
- Small pots or seed trays: With drainage holes, of course!
- Rooting hormone (optional but recommended): This can give your cuttings a helpful boost. Look for one that’s suitable for softwood or semi-hardwood cuttings.
- Plastic bags or propagator: To create a humid environment.
- Water spray bottle: For misting.
- Labels and a marker: To keep track of what you’ve planted!
Propagation Methods
There are a few ways to go about it, but I find stem cuttings to be the most reliable and rewarding for Lepisanthes rubiginosa.
Stem Cuttings
- Take your cuttings: In late spring or early summer, select healthy, semi-hardwood stems. Using your sterilized pruning shears or knife, make a cut just below a leaf node (where a leaf attaches to the stem). Aim for cuttings that are about 4-6 inches long. Remove the lower leaves, leaving just a couple at the very top.
- Prepare the cutting: If you’re using rooting hormone, dip the cut end of the stem into the hormone powder. Gently tap off any excess.
- Plant your cuttings: Fill your small pots or trays with your well-draining potting mix. Make a hole in the center of the soil with a pencil or your finger.
- Insert and water: Place the prepared cutting into the hole, and gently firm the soil around it. Water thoroughly until you see water draining from the bottom of the pot.
- Create humidity: Cover the pot with a clear plastic bag or place it in a propagator. This will keep the humidity high, which is vital for preventing the cuttings from drying out. Poke a few small holes in the bag if it looks like condensation is building up excessively.
- Find a good spot: Place the pots in a bright, indirect light location. Avoid direct sun, as this can scorch the delicate cuttings.
The “Secret Sauce” (Pro Tips)
Here are a couple of things I’ve learned over the years that make a big difference:
- Don’t let the leaves touch the water: If you happen to be water propagating, make sure the leaves are above the water line. Any submerged foliage will rot and can transfer that rot to the entire cutting. This also applies to your soil mix – good drainage is your best friend!
- Bottom heat works wonders: If you have a heat mat, place your pots on it. This gentle warmth encourages root development from below, giving your cuttings that extra push they need to thrive. It mimics the coziness of spring soil temperatures.
- Cleanliness is paramount: I can’t stress this enough. Always sterilize your tools. Fungus and bacteria can be the death of a promising new plant, and a quick wipe-down with rubbing alcohol takes just a second.
Aftercare & Troubleshooting
Once your cuttings have started to root (you’ll usually see new leaf growth or feel a gentle tug when you lightly pull on the stem), it’s time to transition them to a slightly less humid environment. Gradually remove the plastic bag over a few days to acclimate them. Continue to water when the top inch of soil feels dry.
The most common sign of trouble is rot. If your cutting turns black and mushy, it’s likely succumbed to rot. This is usually due to overwatering, poor drainage, or lack of air circulation. If you see signs of rot, it’s best to discard the affected cutting. Sometimes, wilting can also indicate that the cutting hasn’t rooted yet or is drying out too quickly. Ensure your humidity levels are adequate.
A Little Encouragement
Propagating plants is a journey, and not every cutting will make it. But that’s okay! Each one you nurture is a small victory. Be patient, observe your plants, and enjoy the process of bringing new life into your home. Happy propagating!
Resource:
https://identify.plantnet.org/k-world-flora/species/Lepisanthes%20rubiginosa%20(Roxb.)%20Leenh./data