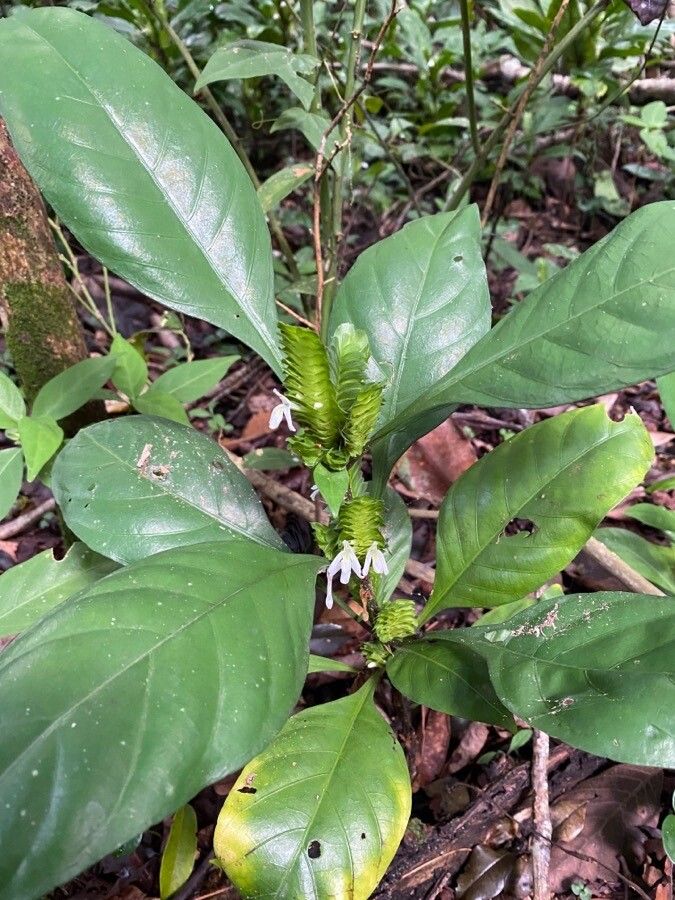
Oh, hello there! Pull up a chair and let’s chat about a truly delightful plant that’s been capturing my heart lately: Lepidagathis nemoralis. You know, the one with those gorgeous, deep green, almost velvety leaves. It brings such a touch of lushness to any shady corner, and honestly, watching new life sprout from your own efforts is one of the most satisfying things a gardener can do. Now, I’m going to be honest with you – Lepidagathis nemoralis isn’t exactly a “stick it in the ground and forget it” plant when it comes to propagation. It has its little quirks, but with a bit of care, I promise you can have plenty of these beauties to share or fill your own garden.
The Best Time to Start
When it comes to coaxing Lepidagathis nemoralis to grow, spring and early summer are your golden ticket. This is when the plant is actively growing and has plenty of energy stored up. You want to take cuttings from healthy, vigorous stems that aren’t flowering. Think of it like this: you’re harvesting a piece of vibrant life, so picking when the plant is at its peak makes all the difference.
Supplies You’ll Need
Here’s what you’ll want to have on hand before you get started:
- Sharp pruning shears or a clean, sharp knife: For taking neat cuts.
- Well-draining potting mix: A good blend for houseplants or a mix of peat moss and perlite works wonderfully.
- Small pots or seed trays: Clean ones are key to preventing disease.
- Rooting hormone (optional but helpful): A powder or gel can give your cuttings a boost.
- Plastic bag or a clear dome: To create a mini-greenhouse effect.
- Watering can or spray bottle: For gentle watering.
- Labels and a marker: To keep track of your projects!
Propagation Methods
I find that stem cuttings are the most reliable way to go with Lepidagathis nemoralis. It’s straightforward and gives you a great success rate if you follow a few key steps.
- Take Your Cuttings: Using your sharp pruning shears, snip a healthy stem that’s about 4-6 inches long, making a clean cut just below a leaf node (that’s where a leaf joins the stem). Remove the lower leaves, leaving just a few at the top. This prevents them from rotting when they’re buried.
- Prepare for Rooting: If you’re using rooting hormone, dip the cut end of the stem into the powder or gel, tapping off any excess.
- Plant Your Cuttings: Fill your small pots with your moist potting mix. Make a small hole in the center of the soil with your finger or a pencil. Gently insert the cut end of the stem into the hole, ensuring it’s deep enough to stand upright. Firm the soil gently around the stem.
- Create a Humid Environment: This is crucial! Mist the soil lightly and then cover the pot with a clear plastic bag or a propagation dome. Make sure the plastic doesn’t touch the leaves too much. Place the pot in a warm spot with bright, indirect light. Avoid direct sun, as it can scorch your delicate cuttings.
The “Secret Sauce” (Pro Tips)
Now for a couple of little tricks I’ve learned over the years that really can make a difference:
- Bottom Heat is Your Friend: If you truly have trouble with rooting, consider placing your pots on a seedling heat mat. This gentle warmth from below encourages root development beautifully, especially in cooler conditions.
- Don’t Drown Your Dreams: It’s so tempting to water everything generously, but with cuttings, overwatering is a fast track to rot. Let the surface of the soil dry out slightly between waterings. A happy cutting looks firm, not soggy.
Aftercare & Troubleshooting
Keep your cuttings consistently moist but not waterlogged. You should start seeing signs of rooting within 3-6 weeks. You can gently tug on a cutting – if there’s resistance, you have roots! Once roots have formed and you see new growth, it’s time to gradually acclimate your new plants to normal room conditions. Remove the plastic bag for a few hours each day, slowly increasing the time over a week before removing it completely.
The biggest challenge you might face is rot, which usually happens from too much moisture and poor air circulation. If a cutting turns mushy and black, unfortunately, it’s best to discard it to prevent spreading any funk to other cuttings. Sometimes, cuttings just don’t take, and that’s okay too! Nature has its own rhythm.
A Encouraging Closing
So there you have it! Propagating Lepidagathis nemoralis is a rewarding journey. Be patient with your little soldiers, observe them closely, and celebrate every little bit of progress. Happy propagating, and enjoy the abundance your green thumbs bring!
Resource: