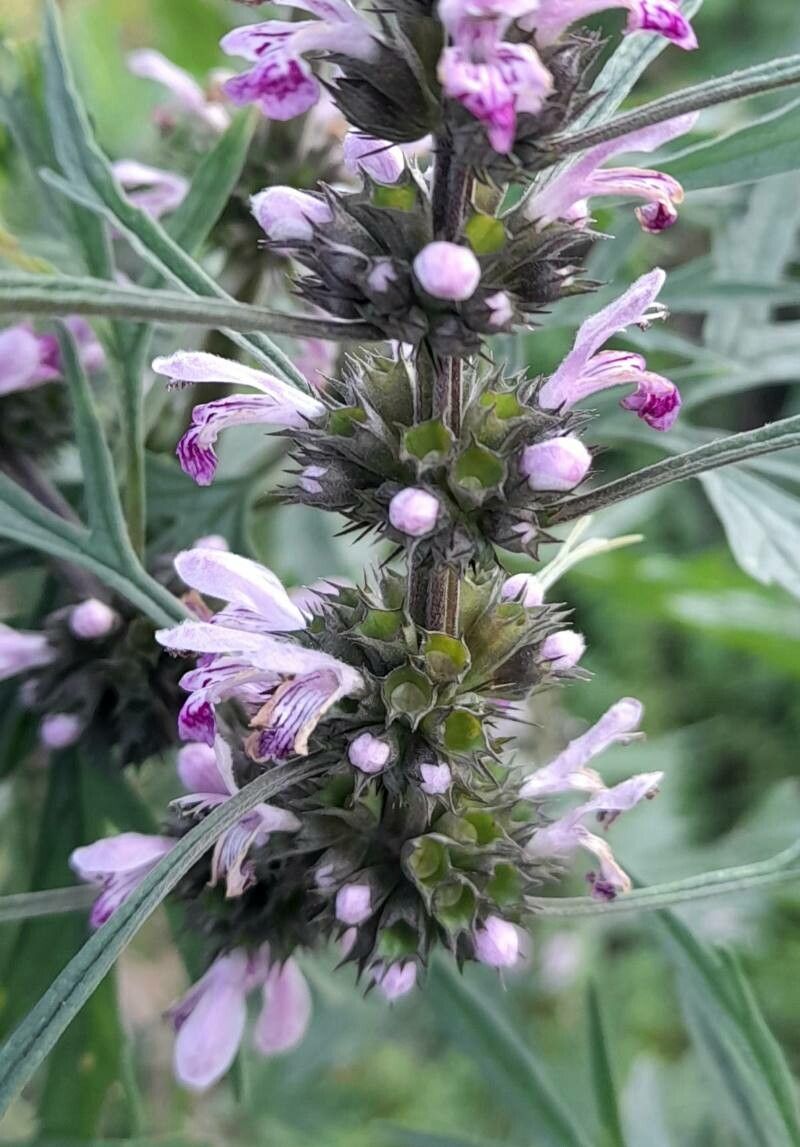
Hey there, fellow garden enthusiasts! Today, I want to chat about a plant that often flies under the radar but brings so much charm and resilience to any garden: Leonurus japonicus, or Motherwort. You might know it for its pretty, ruffled leaves and its unassuming but welcome blooms. It’s a plant that asks for little but gives a lot, especially its medicinal properties that have been cherished for centuries.
Propagating Motherwort is a real joy. It’s incredibly generous, meaning you can quickly fill your garden beds or share its magic with friends. And for you beginners out there? Good news! Motherwort is remarkably forgiving. I’d put it in the easy to moderate category for propagation, making it a fantastic plant to get your hands dirty with.
The Best Time to Start
For the most success, I always reach for my pruning shears in late spring or early summer. This is when the plant is actively growing and has plenty of fresh, healthy stems that are eager to take root. You’re essentially tapping into its peak energy, which makes all the difference. If you miss that window, don’t fret! You can often have good luck with cuttings in late summer, but you’ll want to give them a bit more time to establish before winter sets in.
Supplies You’ll Need
Here’s what I like to have on hand when I’m propagating Motherwort:
- Sharp pruning shears or a clean knife: For making clean cuts.
- A well-draining potting mix: I usually go for a mix of peat moss, perlite, and a bit of compost. You really want to avoid anything that stays waterlogged.
- Small pots or seed trays: Clean ones are key to preventing disease.
- Rooting hormone (optional but helpful): This little boost can speed things up considerably, especially for stem cuttings. I prefer a gel-based one.
- Watering can or spray bottle: For gentle watering.
- A plastic bag or propagation dome: To create a humid environment.
- A sunny, but not scorching, spot: Out of direct, intense sunlight is best for young cuttings.
- A heat mat (optional): This is more of a “nice-to-have” for faster rooting, especially if your house is on the cooler side.
Propagation Methods
Motherwort is quite versatile, but two methods stand out for their ease and effectiveness:
Stem Cuttings: My Go-To
This is my absolute favorite way to propagate Motherwort because it’s so reliable.
- Select healthy stems: Look for non-flowering stems that are at least 4-6 inches long. They should be firm and green, not woody or too soft.
- Make the cut: Using your sharp shears, make a clean cut just below a leaf node. A node is that little bump where a leaf attaches to the stem. This is where the magic happens, as roots are more likely to form there.
- Prepare the cutting: Gently remove the lower leaves from the stem, leaving just a few at the very top. This prevents them from rotting when buried in the soil.
- Dip in rooting hormone (if using): Lightly dip the cut end of the stem into your rooting hormone powder or gel. Tap off any excess.
- Plant the cuttings: Fill your small pots with your well-draining potting mix. Make a small hole with your finger or a pencil and gently insert the cutting, ensuring the leaf nodes are below the soil surface. Firm the soil around the stem.
- Water gently: Water thoroughly but gently. You want the soil to be moist, not soggy.
- Create a humid environment: Cover the pot with a clear plastic bag or propagation dome. This traps moisture and keeps the cuttings from drying out while they’re trying to root. Make sure the bag isn’t touching the leaves.
- Provide warmth and indirect light: Place the pots in a bright location that doesn’t get harsh direct sun. A little warmth from a heat mat underneath can be a big help.
Water Propagation: The See-Through Method
This is a fun one because you can actually watch the roots grow!
- Take cuttings: Follow steps 1-3 from the stem cutting method.
- Place in water: Get a clean jar or glass and fill it with room-temperature water. Place your prepared cuttings in the water, making sure the lower leaf nodes are submerged. Crucially, don’t let the leaves themselves touch the water. This is a prime spot for rot to start.
- Change the water regularly: Every couple of days, change out the water to keep it fresh and oxygenated.
- Find a bright spot: Place the jar in a well-lit area, out of direct sun.
- Watch for roots: Within a couple of weeks, you should start seeing tiny white roots emerge from the nodes.
- Plant when roots are established: Once the roots are about an inch long, it’s time to carefully transplant them into pots with your well-draining potting mix. Treat them gently at this stage.
The “Secret Sauce” (Pro Tips)
Now, for a few little tricks I’ve learned over the years that can really boost your success:
- Don’t underestimate the power of a “wounded” stem: After you make the initial cut, you can gently scrape a tiny sliver of bark off the bottom half-inch of the stem. This exposes more of the cambium layer, which is packed with rooting hormones and can encourage faster root development. Be gentle, though – you don’t want to damage the stem too much.
- Bottom heat is your friend: Especially for stem cuttings, a propagation mat set to around 70-75°F (21-24°C) can dramatically speed up root formation. It mimics the warmth of the soil that a parent plant experiences, signaling the cutting to get to work. You’ll be amazed at how much faster things happen.
- “Callusing” cuttings is a thing: For slightly woodier stems (though Motherwort usually stays pretty herbaceous), letting the cut end of the stem dry out for a few hours after dipping in rooting hormone before planting can actually help it form a callus. This protective layer can prevent rot and encourage better rooting. This might sound counterintuitive, but it works!
Aftercare & Troubleshooting
Once you see those lovely little roots appearing, it’s time to shift your focus slightly.
For cuttings that have rooted in pots, continue to keep the soil consistently moist but not saturated. As they grow, you can gradually acclimate them to slightly less humidity by opening the plastic bag a bit more each day over a week. Once they look robust and are actively putting out new growth, you can transplant them into slightly larger pots or directly into your garden.
If you propagated in water, handle the new roots with extreme care when transplanting. Water them well after planting and keep them in a protected spot for the first week or two.
Now, what if things go wrong? The most common culprit is rot. If your cuttings are turning mushy, black, or slimy, it almost always comes down to too much moisture and not enough air circulation. Make sure your soil is draining well, and don’t drown your young plants. If you see rot starting, trim away the affected parts and try to improve drainage and airflow. For water propagation, if the water gets cloudy or smelly, or the stem starts to rot, throw it out and start fresh with clean water and a new cutting. Patience is key here; sometimes a cutting just doesn’t take, and that’s okay!
A Encouraging Closing
Propagating Motherwort is a truly rewarding experience. It’s a chance to connect with nature, learn a little more about how plants grow, and of course, get more of this wonderful herb for yourself or to share. Don’t be discouraged if your first few attempts aren’t perfect. Gardening is a journey, and every plant you nurture is a step forward. So grab those shears, get your hands in the soil, and enjoy the magic of creating new life! Happy gardening, everyone!
Resource:
https://identify.plantnet.org/k-world-flora/species/Leonurus%20japonicus%20Houtt./data