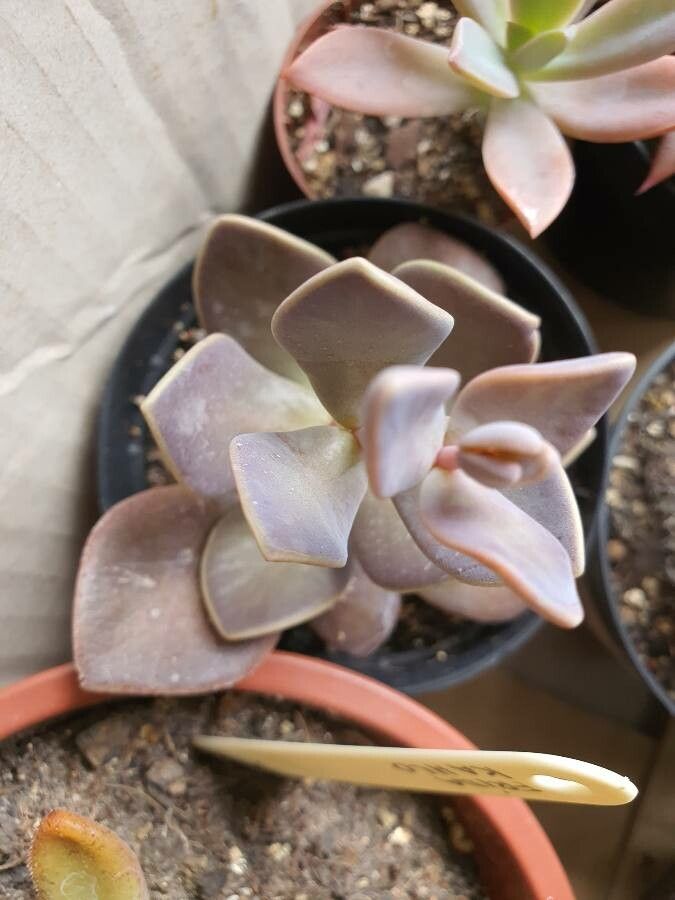
Hello there, fellow garden enthusiasts! Today, we’re diving into the wonderful world of propagating Lenophyllum obtusum. If you’ve ever admired this charming succulent with its plump, silvery-green leaves, you’re in for a treat. Not only is it a joy to look at, but growing more of them from cuttings is incredibly rewarding. The best part? It’s a super easy plant to propagate, making it a fantastic choice for beginners and seasoned gardeners alike. Let’s get started on filling your garden with more of these beauties!
The Best Time to Start
For Lenophyllum obtusum, the prime time to take cuttings is during its active growing season. This typically falls within the spring and summer months. You’ll find the plant is most vigorous then, with lush stems that are eager to root. Waiting until the plant is actively producing new growth, usually after the chill of winter has passed, will give you the best chance of success.
Supplies You’ll Need
Gathering your supplies beforehand makes the process so much smoother. Here’s what I recommend having on hand:
- Sharp, clean pruning shears or a sharp knife: For making clean cuts that heal well.
- Rooting hormone (optional but recommended): Helps speed up the rooting process.
- Well-draining potting mix: A cactus or succulent mix is perfect. You can also make your own by mixing equal parts potting soil, perlite, and coarse sand.
- Small pots or trays: For starting your cuttings. Make sure they have drainage holes!
- Watering can or spray bottle: For gentle watering.
- Gloves (optional): Some people prefer them, especially if working with many plants.
Propagation Methods: Let’s Get Planting!
Lenophyllum obtusum is a breeze to propagate, and the most common method is through stem cuttings.
- Take Your Cuttings: Look for healthy, mature stems on your Lenophyllum obtusum. Using your sharp shears or knife, take cuttings that are about 3-5 inches long. Make your cut just above a leaf node, if possible.
- Let Them Callus: This is a crucial step for succulents! Gently remove the lower leaves from the cutting, exposing a bit of the stem. Then, lay the cuttings on a dry surface in a well-lit area for a few days to a week. You want the cut end to dry out and form a callus. This prevents rot when you plant them.
- Apply Rooting Hormone (Optional): Once the callus has formed, you can dip the callused end of the cutting into rooting hormone if you’re using it. Tap off any excess.
- Plant Your Cuttings: Fill your small pots or trays with your well-draining potting mix. Make a small hole in the soil with your finger or a pencil. Carefully insert the callused end of the cutting into the hole, ensuring at least one leaf node is below the soil surface.
- Water Gently: Water the soil lightly. You want it to be barely moist, not soggy.
The “Secret Sauce” (Pro Tips)
Here are a few little tricks I’ve picked up over the years that really help:
- Don’t Let Leaves Touch the Water (if water propagating): While stem cuttings are my go-to, some people like to start them in water. If you try this, ensure the bottom leaves aren’t submerged. They’ll just rot in the water and can take the rest of the cutting down with them.
- Bottom Heat is Your Friend: If you’re propagating in cooler months or want to speed things up, placing your pots on a seedling heat mat can make a huge difference. Warmth encourages roots to develop more quickly.
- Patience with Propagation: Succulents can sometimes take their sweet time developing roots. Don’t be tempted to dig them up too soon to check for roots! Give them at least 3-4 weeks before you start gently tugging to feel for resistance.
Aftercare & Troubleshooting
Once you see signs of new growth, or your cuttings feel firm when gently tugged, they’ve likely rooted! Continue to water sparingly, allowing the soil to dry out completely between waterings. Place them in a bright spot, but avoid direct, harsh sunlight initially, as they can get scorched.
The most common issue you might encounter is rot. This usually happens if the soil stays too wet or if you skip the callusing step. If you see a cutting turning mushy or black at the base, it’s best to discard it to prevent any spread.
A Gentle Encouragement
Propagating Lenophyllum obtusum is such a joy, and seeing those tiny roots appear is a rewarding experience. Don’t be discouraged if a cutting doesn’t make it – it happens to all of us! Just keep trying, learn from each attempt, and most importantly, enjoy the process of watching your garden grow. Happy propagating!
Resource:
https://identify.plantnet.org/k-world-flora/species/Lenophyllum%20obtusum%20Moran/data