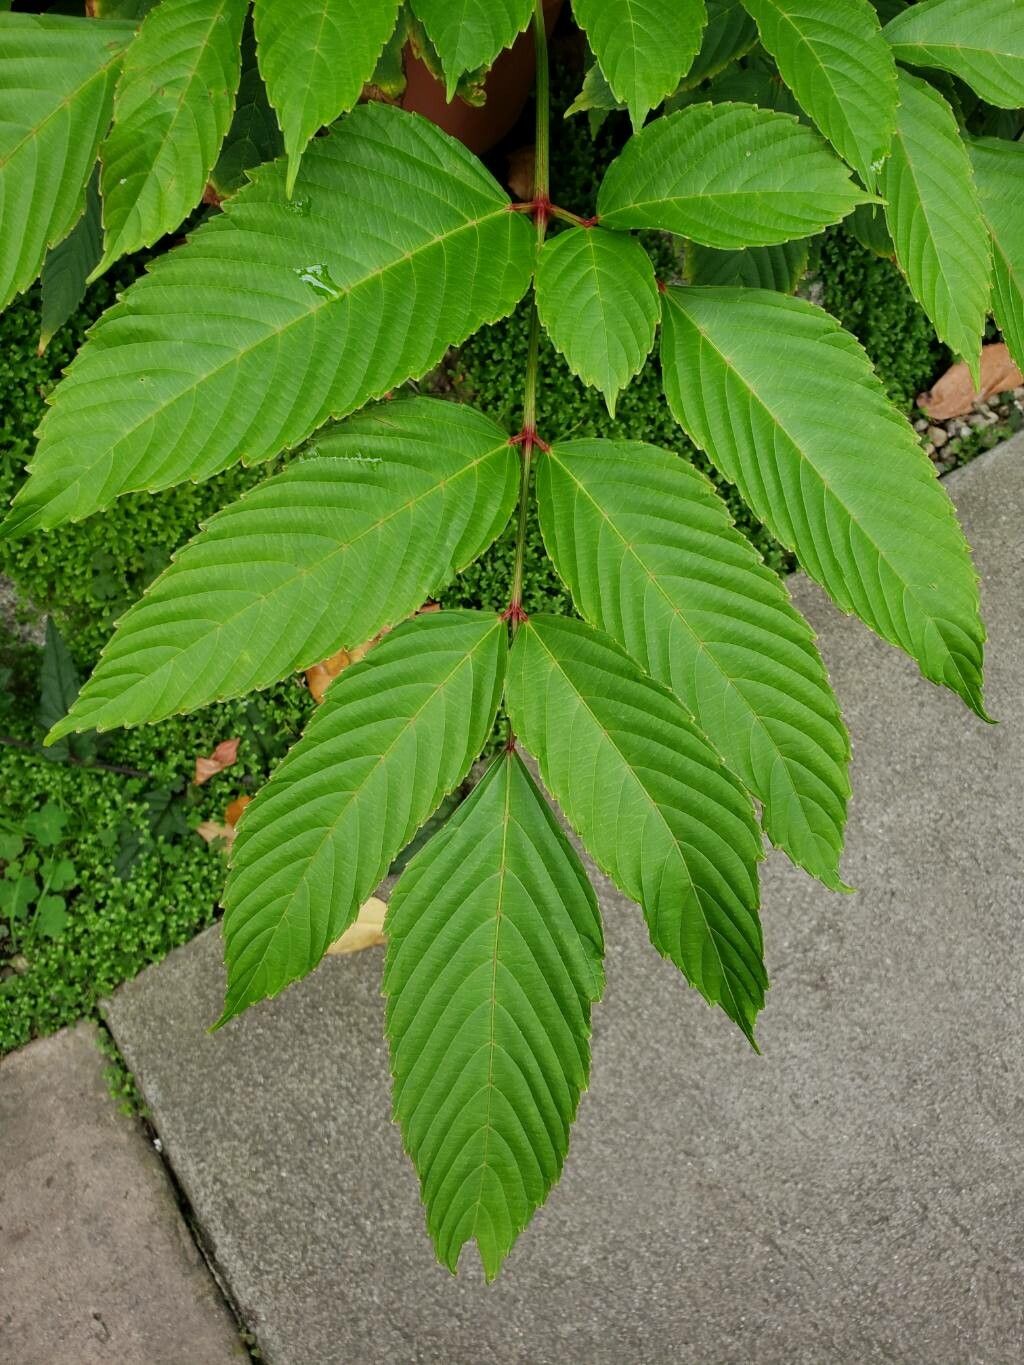
Hey fellow plant lovers! I’m so excited to talk to you today about a gem in the plant world: Leea rubra. If you’re looking for a plant that brings a touch of the tropics with its lush, deep red foliage and elegant form, you’ve found your match. Propagating Leea rubra is a wonderfully rewarding endeavor. Watching a tiny slip transform into a thriving plant is pure magic, and honestly, it’s not as daunting as you might think. For beginners, it’s a great plant to try your hand at propagation with, offering a good chance of success if you follow a few simple guidelines.
The Best Time to Start
When it comes to coaxing new life from your Leea rubra, spring and early summer are your golden windows. This is when the plant is in its most vigorous growth phase. New shoots are actively developing, meaning they have plenty of energy to put into forming roots. Trying to propagate when the plant is dormant in winter is much less likely to yield exciting results.
Supplies You’ll Need
Before we get our hands dirty, let’s gather our tools. Think of this as your little propagation toolkit:
- Sharp Pruning Shears or a Clean Knife: For making clean cuts.
- Rooting Hormone (Optional but Recommended): A powder or gel to encourage root development.
- Well-Draining Potting Mix: A good blend of potting soil and perlite or coarse sand works wonders.
- Small Pots or Seedling Trays: With drainage holes, of course!
- Clear Plastic Bag or Propagator: To create a humid environment.
- Spray Bottle: For misting.
- Labels and a Pen: To keep track of your precious cuttings!
Propagation Methods
Leea rubra is fairly amenable to several propagation techniques. I find the most reliable method for this beauty is stem cuttings.
Stem Cuttings
- Take Your Cuttings: Select a healthy stem on your Leea rubra that has at least two or three sets of leaves. Using your sharp shears or knife, make a clean cut just below a leaf node (where a leaf attaches to the stem). Your cutting should ideally be about 4-6 inches long.
- Prepare the Cutting: Gently remove the lower leaves from the cutting, leaving just one or two at the very top. This prevents leaves from rotting when they’re in the soil or water.
- Apply Rooting Hormone (Optional): Dip the cut end of the stem into your rooting hormone, tapping off any excess. This step isn’t strictly necessary for Leea rubra, but it can give your cutting a helpful boost.
- Plant Your Cutting: Fill your small pot with your well-draining potting mix. Make a small hole in the center with your finger or a pencil. Insert the cut end of the stem into the hole, ensuring the lowest leaf node is buried. Gently firm the soil around the stem to keep it upright.
- Create a Humid Environment: Water the soil lightly until it’s moist but not soggy. Then, cover the pot with a clear plastic bag or place it in a propagator. This will trap humidity, which is crucial for cuttings to root. If you’re using a bag, you can support it with stakes to keep it from touching the leaves.
- Provide Light and Warmth: Place your pot in a bright location out of direct sunlight. A warm spot, like on top of a refrigerator or using a propagation mat, can significantly speed up the rooting process.
Water Propagation (An Alternative)
You can also try rooting cuttings directly in water.
- Follow steps 1 and 2 above for preparing your cuttings.
- Place the cuttings in a clean glass or jar filled with room-temperature water.
- Crucially, ensure no leaves are submerged in the water. Any leaves below the waterline will rot and can contaminate the water.
- Change the water every few days to keep it fresh.
- Place the jar in a bright spot away from direct sun.
- Once you see a good bit of root growth (typically a few inches), you can then transplant them into pots with soil.
The “Secret Sauce” (Pro Tips)
Here are a couple of things I’ve learned over the years that really make a difference:
- Don’t Drench, Just Dampen: While humidity is key, soggy soil is the enemy of cuttings. It leads to rot. Aim for a consistently moist, but not waterlogged, soil. If you’re unsure, err on the side of slightly drier.
- Bottom Heat is Your Friend: I know I mentioned it, but it’s worth repeating! Leea rubra truly appreciates a bit of gentle bottom heat. It mimics warmer soil temperatures and encourages roots to form much faster than they would in cooler conditions. A dedicated heat mat is worth its weight in gold for propagation.
- Patience is a Virtue (But So Is Observation): You’ll want to peek constantly, I know! But try to resist lifting the cover too often. Instead, look for condensation on the inside of the plastic. That’s a good sign of healthy humidity.
Aftercare & Troubleshooting
Once you start seeing new leaf growth, that’s a strong indicator that roots have formed! Gradually acclimate your new plant to normal room humidity by slowly opening the plastic bag or propagator over a week. Continue to water when the top inch of soil feels dry.
The most common issue you might encounter is rot. If your cutting wilts suddenly, turns mushy, or develops black spots, it’s likely due to overwatering or a lack of air circulation. If you catch it early, you might be able to save a portion of the stem by cutting away the rotted parts and trying again with slightly drier conditions or better air flow. Brown, crispy leaves can indicate it’s too dry or getting too much direct sun.
A Little Bit of Patience
Propagating Leea rubra is a journey, not a race. There will be times when you have to wait patiently for roots to appear, and sometimes, not every cutting will make it. That’s part of the gardening fun! But the satisfaction of nurturing a new plant from a simple stem is truly immense. So, grab your shears, get your hands in the soil, and happy propagating! I can’t wait to hear about your successes.
Resource:
https://identify.plantnet.org/k-world-flora/species/Leea%20rubra%20Blume/data