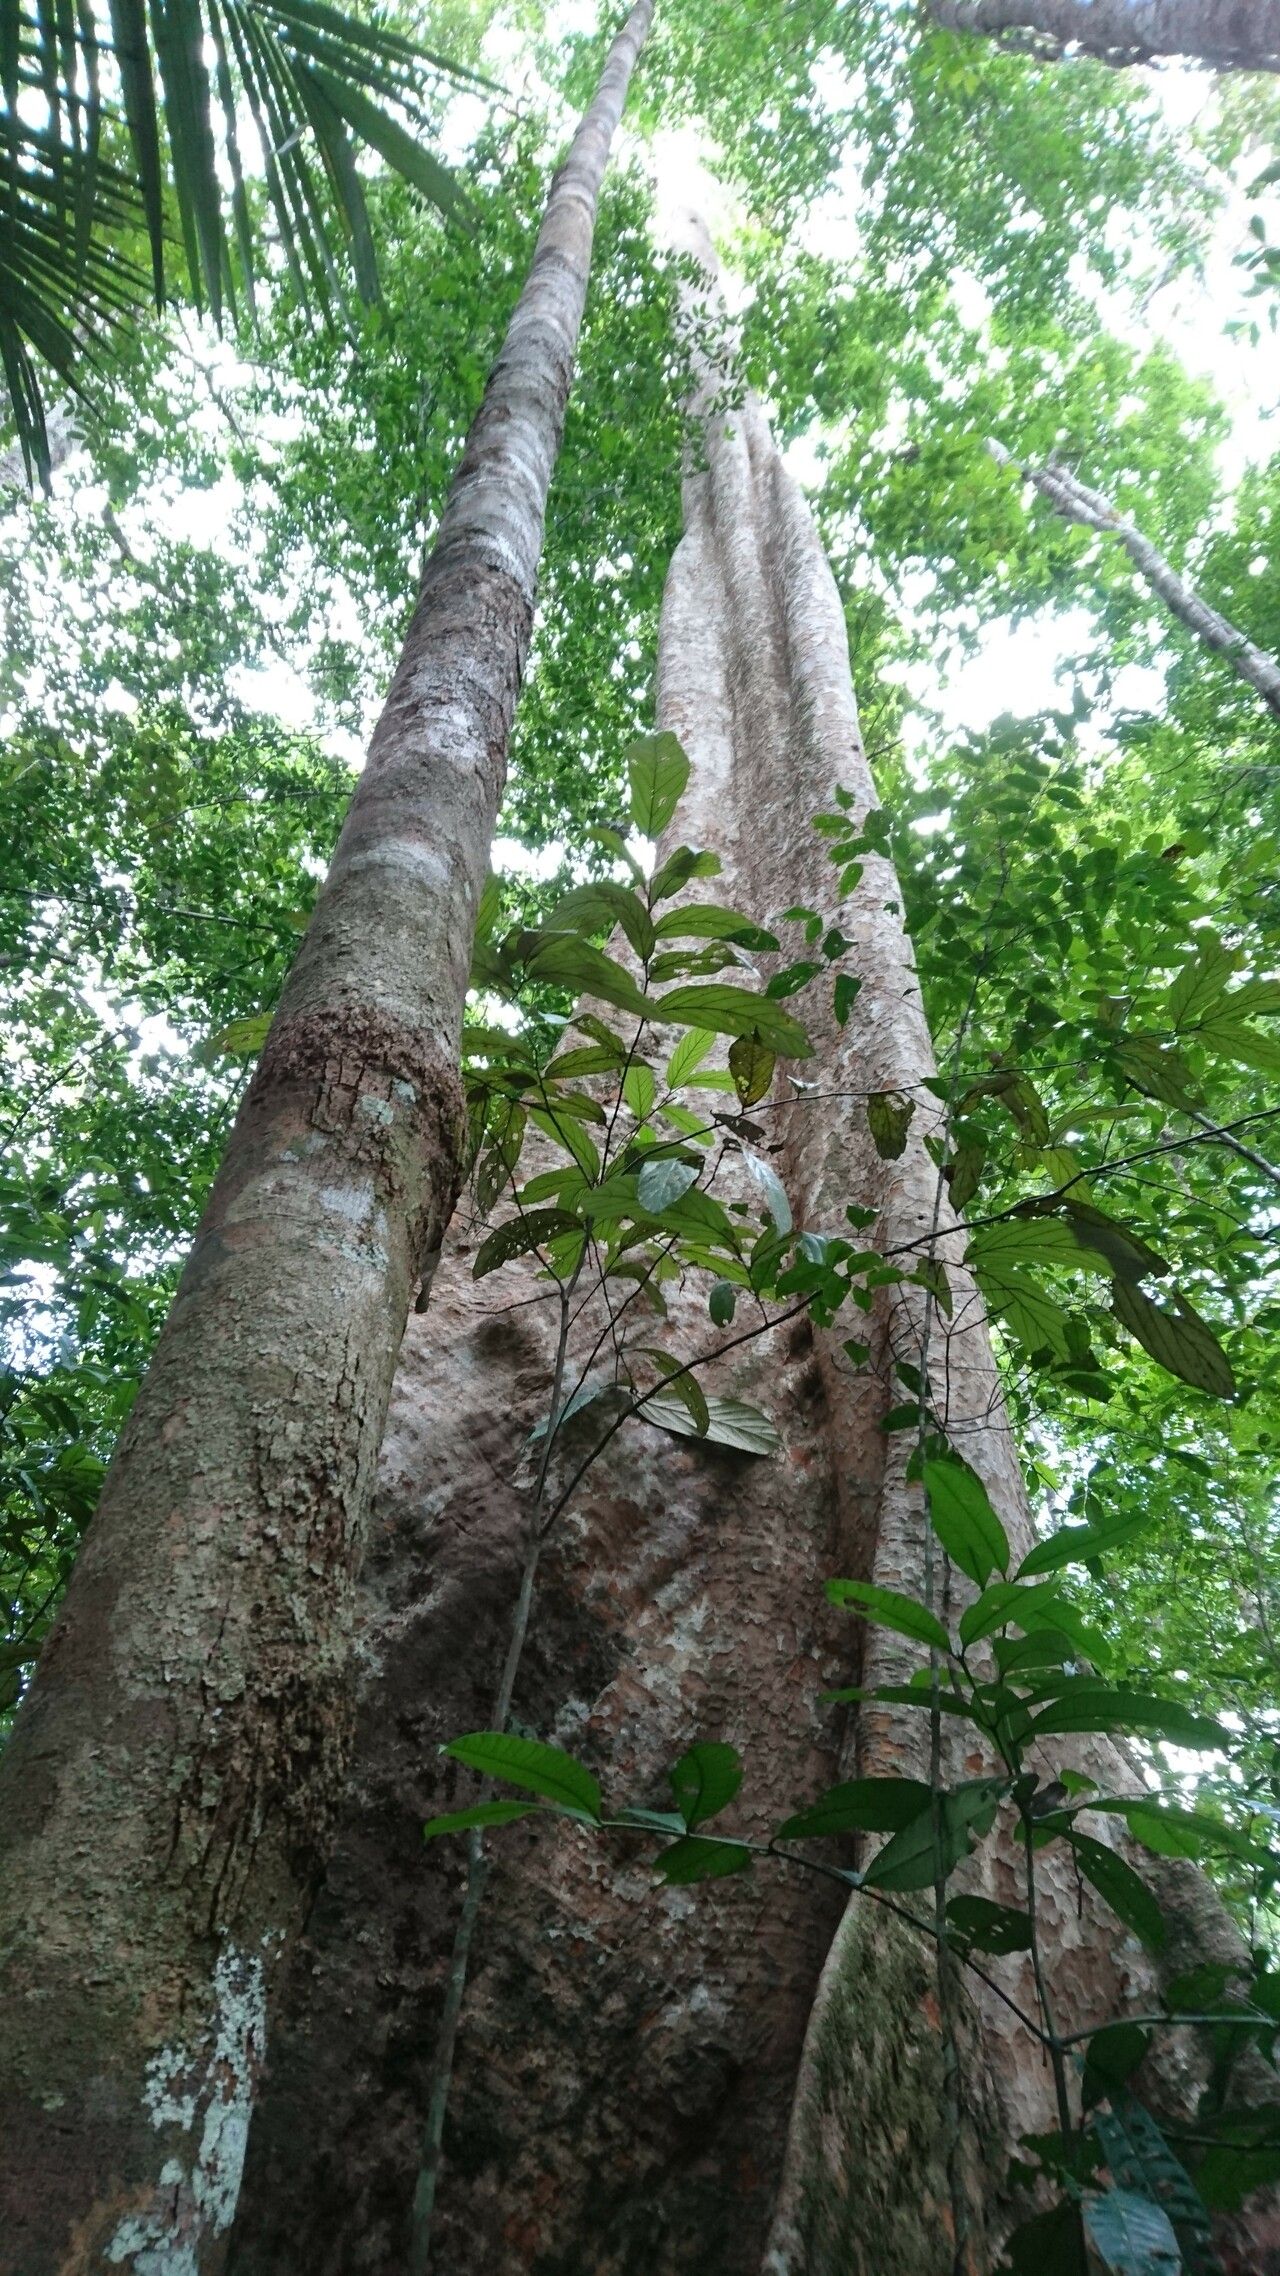
Hey there, fellow plant enthusiasts! Today, we’re diving into the wonderful world of Lecythis idatimon, also known as the Monkey Pot tree. If you’ve ever seen one of these beauties, you know why they capture our hearts. Their distinctive, woody fruits, resembling little pots, are just the start. The lush foliage and unique appeal make it a truly special addition to any garden or collection. And the best part? You can bring this magic into your own space by propagating your own! Now, I’ll be honest, Lecythis idatimon can be a bit of a grower’s challenge. It’s not exactly a beginner’s plant, but don’t let that deter you. With a little patience and attention, it’s absolutely achievable and incredibly rewarding.
The Best Time to Start
For Lecythis idatimon, spring is your golden ticket. This is when the plant is actively growing, pushing out fresh, tender shoots. You’ll want to select stems that are new growth but have started to firm up a bit – think of them as “semi-hardwood” cuttings. Avoid the really soft, floppy new tips, and definitely steer clear of old, woody growth.
Supplies You’ll Need
To give your Lecythis idatimon cuttings the best chance, gather these essentials:
- Sharp Pruning Shears or a Clean Knife: For making clean cuts.
- Rooting Hormone: This is a game-changer! Look for one formulated for woody plants.
- Well-Draining Potting Mix: A mix of equal parts peat moss, perlite, and coarse sand works wonders. You can also use a specialized seedling starter mix if you prefer.
- Small Pots or Propagation Trays: Clean, with drainage holes!
- Plastic Bags or a Propagator: To create a humid environment.
- Water Spray Bottle: For misting.
- Labeling Stakes: To keep track of your efforts.
Propagation Methods: Stem Cuttings
This is generally the most successful route for Lecythis idatimon. Here’s how we do it:
- Select Your Cuttings: In spring, find those semi-hardwood stems. Look for branches that are about pencil-thick and have started to lose their bright green color, turning a bit more woody (but not hard).
- Make the Cut: Using your sharp shears, make a clean cut just below a leaf node (where a leaf attaches to the stem). Aim for cuttings that are 4 to 6 inches long. Remove any lower leaves, leaving just a couple at the very top.
- Prepare the Cutting: You can optionally gently scrape away a thin strip of bark on one side of the bottom inch of the cutting. This encourages root development.
- Apply Rooting Hormone: Dip the cut end of the stem into your rooting hormone, ensuring the bottom 1-2 inches are coated. Tap off any excess.
- Plant Your Cuttings: Fill your small pots with the well-draining potting mix. Make a pilot hole with a pencil or stick. Insert the cutting into the hole, ensuring the node where you removed the leaves is buried. Gently firm the soil around the stem.
- Create a Humid Environment: Water the soil thoroughly. Then, cover the pot with a clear plastic bag or place it in a propagator. This will trap humidity, which is crucial. Make sure the leaves don’t touch the sides of the bag if possible.
- Find the Right Spot: Place your pots in a warm location with bright, indirect light. Direct sun will scorch the cuttings.
The “Secret Sauce” (Pro Tips)
Here are a couple of things I’ve learned over the years that really make a difference:
- Bottom Heat is Your Friend: If you can, place your pots on a heated propagation mat. This gentle warmth at the base of the cutting encourages root formation significantly. It mimics the natural warmth of the soil in spring, which these plants love.
- Don’t Overwater, But Keep Them Moist: It’s a delicate balance. The soil should feel like a wrung-out sponge – moist but not waterlogged. Constantly soggy soil is a recipe for rot. Occasional misting can help keep the leaves hydrated, especially if your humidity dome isn’t perfect.
- Be Patient with the Potting Mix: Lecythis idatimon can take its sweet time to root. Don’t be tempted to pull them out too early to check. It can take anywhere from 4 weeks to several months. Trust your gut (and the tips below!).
Aftercare & Troubleshooting
Once you see new leaf growth or feel a gentle tug when you very carefully try to wiggle the cutting, it’s a good sign that roots have formed! Gradually acclimate your new plants to normal humidity by opening the plastic bag or propagator a little more each day for a week or two. Water them gently when the top inch of soil dries out.
The most common issue you might encounter is rot. If your cuttings turn black and mushy at the base, or if the leaves start to yellow and wilt without any sign of new growth, it’s likely rot. This usually signals too much moisture or poor air circulation. Unfortunately, if rot sets in, there’s not much you can do to save that particular cutting. Learn from it, adjust your watering, and try again with a fresh batch!
A Encouraging Closing
Propagating Lecythis idatimon is certainly a journey, not a race. There might be a few failed attempts along the way, and that’s perfectly normal. Every gardener has them! Treat each attempt as a learning experience, adjust your methods, and keep that hopeful spirit alive. Watching those first tiny roots emerge and eventually grow into a new plant you nurtured from a cutting is pure gardening joy. So, grab your shears, get your hands dirty, and enjoy the process of bringing more Monkey Pot trees into the world! Happy propagating!
Resource:
https://identify.plantnet.org/k-world-flora/species/Lecythis%20idatimon%20Aubl./data